wikiHow is a “wiki,” similar to Wikipedia, which means that many of our articles are co-written by multiple authors. To create this article, 13 people, some anonymous, worked to edit and improve it over time.
wikiHow marks an article as reader-approved once it receives enough positive feedback. In this case, 91% of readers who voted found the article helpful, earning it our reader-approved status.
This article has been viewed 110,795 times.
Learn more...
Dried moss is a craft material that can be used in a variety of home projects from wreaths to flower arrangements. Purchasing dried moss, however, can quickly become expensive, especially considering that many homes have the materials necessary to make a large collection of dried moss. Read the following article to learn how to dry moss from your own backyard and save yourself the expense of purchasing the specialty item from a craft store.
Steps
-
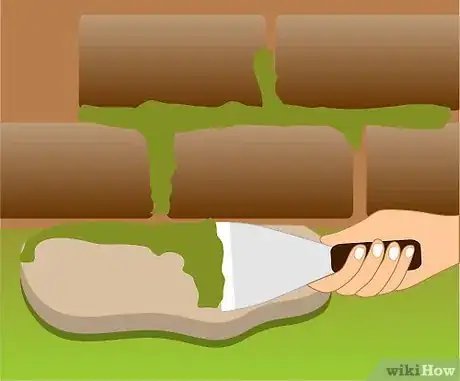
1Pick moss from your own backyard. Rocks and trees offer the easiest access for moss. Place the scraper under one corner of the moss and slowly work forward, lifting the moss from the rock, tree or surface as you go. Dislodge the moss in the largest pieces possible.
- Use a rake if you are having difficulty getting the moss to come off its surface cleanly.
- Use a plastic scraper for particularly stubborn pieces of moss.
-
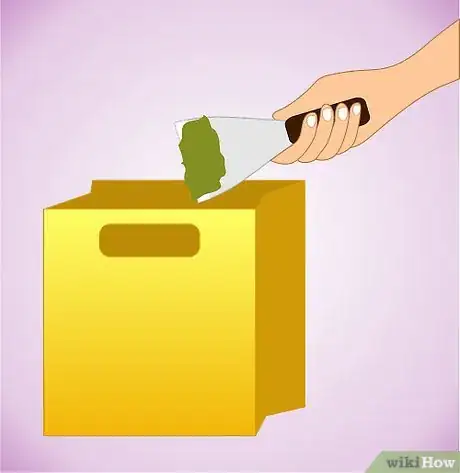
2Place the collected moss in bags.Advertisement
-
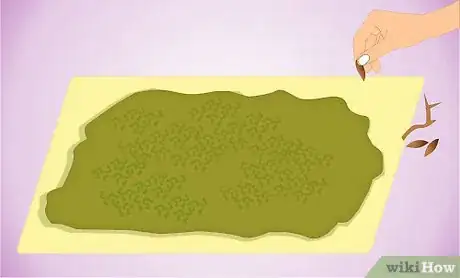
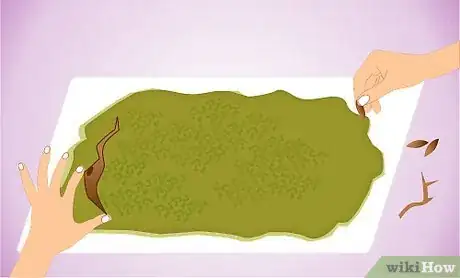
3Take the moss home and spread each piece out on a flat, clean surface. Pick out all twigs, leaves, pine needles or other stray materials stuck in the moss and discard outside.[1]
-
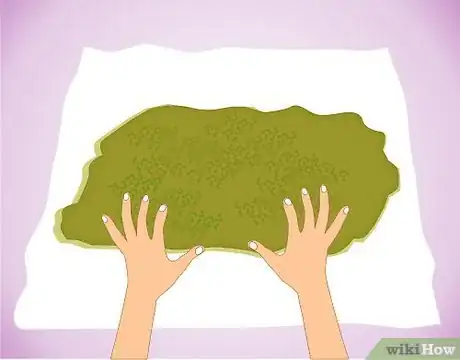
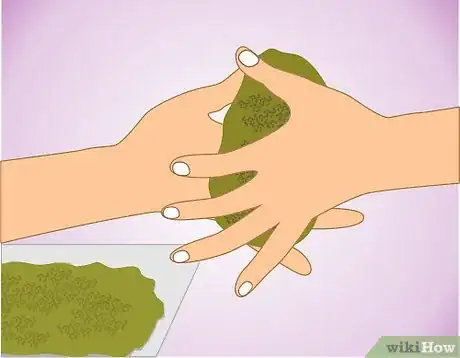
4Remove moisture from the collected moss. Place it on a paper towel or other absorbent surface. Press your palm against the moss into the absorbent surface. (When squeezing the moss, don't ball the moss up in your hands. When moss dries, it can become brittle and difficult to work with. Unfolding the moss can cause it to break into small pieces.) Spread all partially dry pieces of moss onto a flat surface.
- The surface should receive generous ventilation (open windows, outside breeze, fans or other air source).
-
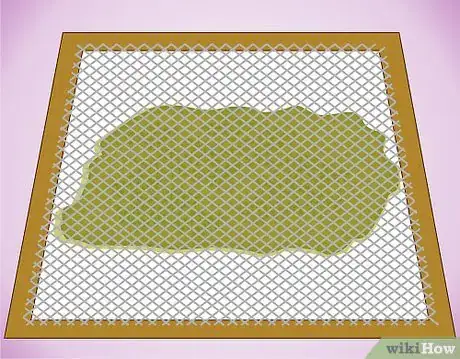
5Place light wire netting over the moss. This prevents the moss from blowing away or becoming folded or twisted while drying.[2]
-
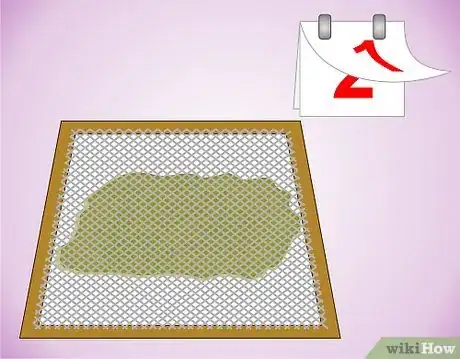
6Leave the moss for several days or until it dries out thoroughly.
-
7Preserve moss for specialty craft projects.
- Remove twigs as for drying.
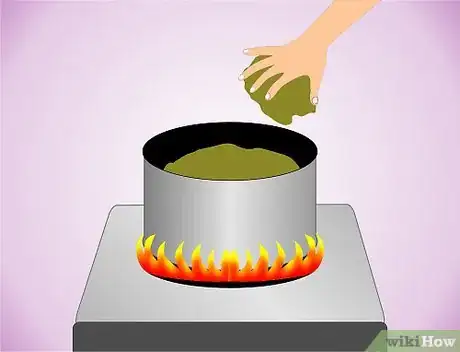
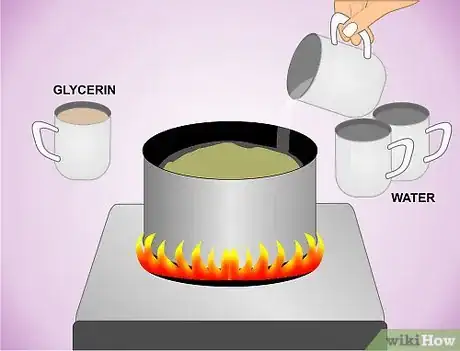
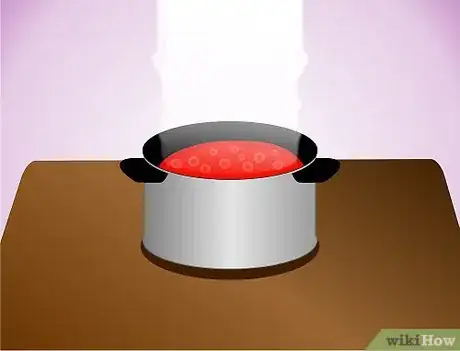
- Place moss in a cooking pot.
- Add 1 part glycerin to 3 parts water.[3]
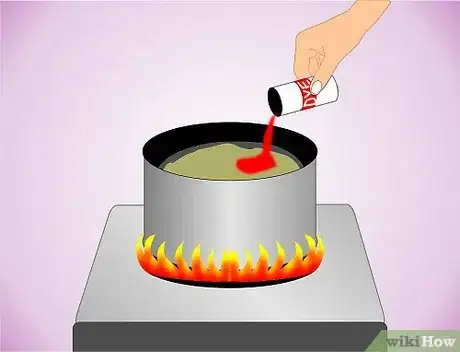
- Add fabric dye as desired.
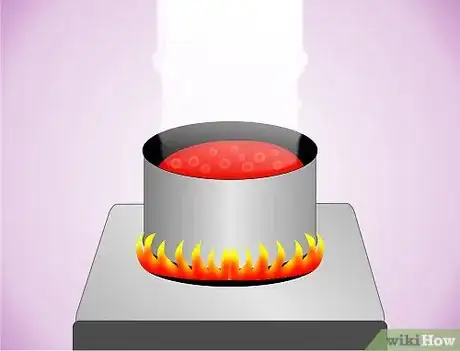
- Bring the contents almost to a boil.
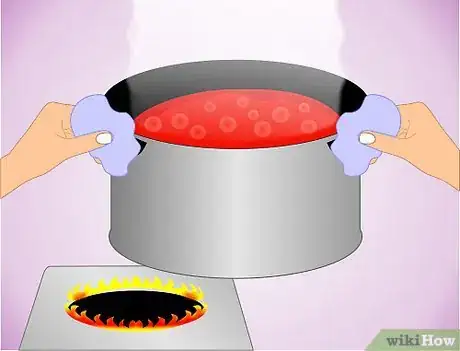
- Remove from heat.
- Cool for one hour.
- If you want the moss to take on a greater amount of color, you can allow it to sit in the glycerin, water and dye solution for a greater amount of time.
-
8Remove the now-dyed and preserved moss. Squeeze out excess moisture. Dry as you would for other, non-dyed moss.[4]
-
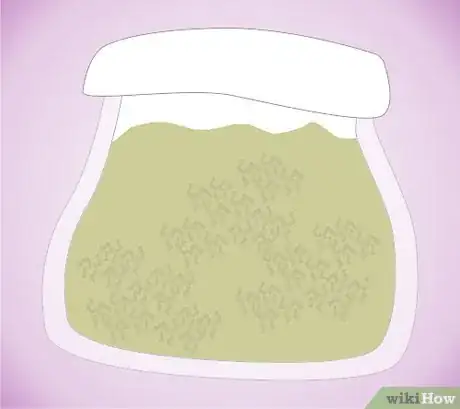
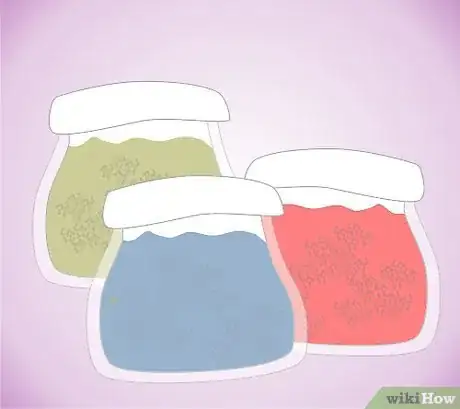
9Store in plastic bags until used in craft projects or other home projects.
-
10You have successfully dried moss.
Community Q&A
-
QuestionIs it possible to do this without using chemicals?
 Community AnswerYes, it is. Just spray it with lemon juice (or any other citrus) and leave out for a few days.
 -
QuestionHow long will the dried moss hold it's color once out of the bag and used in a craft/centerpiece? Will it dry out more and turn brown?
 Community AnswerThis depends on where you bought it. If you bought it from a craft store then there is a lower chance of it turning brown.
 -
QuestionDo I have to dye the moss after it has dried?
 Community AnswerNo. You don't have to dye the moss at all, you can leave it the color it is, although some prefer it dyed. If you're going to dye it, dye it after it has dried.
Warnings
- Do not employ the aid of artificial heaters to dry moss. This will cause the moss to become overly brittle and crumbly, and the moss will be difficult to work with after the fact.⧼thumbs_response⧽
- When you make dry moss, make sure each piece of moss is separated. If multiple pieces of moss dry together, they will not be easily removed from each other.⧼thumbs_response⧽
Things You'll Need
- Moss
- Rake
- Plastic scraper
- Towel, paper towel or absorbent surface
- Flat surface
- Wire netting
- Glycerin
- Water
- Fabric dye
- Cooking pot
- Plastic storage bags
