X
This article was co-authored by wikiHow Staff. Our trained team of editors and researchers validate articles for accuracy and comprehensiveness. wikiHow's Content Management Team carefully monitors the work from our editorial staff to ensure that each article is backed by trusted research and meets our high quality standards.
The wikiHow Tech Team also followed the article's instructions and verified that they work.
This article has been viewed 145,468 times.
Learn more...
This wikiHow teaches you how to change the photos at the top of your Facebook timeline, below your profile picture and cover image.
Steps
Method 1
Method 1 of 3:
Using an iPhone and iPad
-
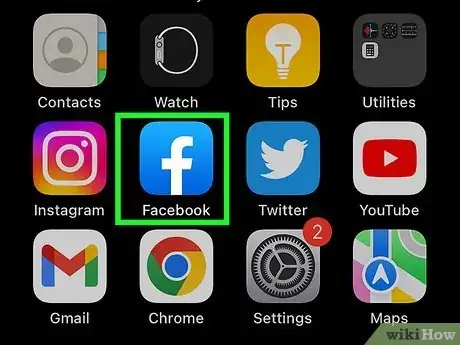
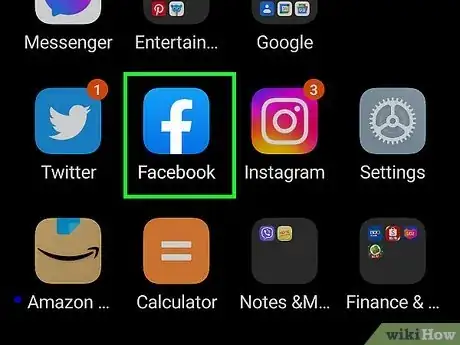
1Open the Facebook app. It's a blue app that contains a lowercase, white "f."
-
2Tap your profile picture. It's in the upper-left corner of the screen, at the top of your Newsfeed, in the status box next to "What's on your mind?".Advertisement
-
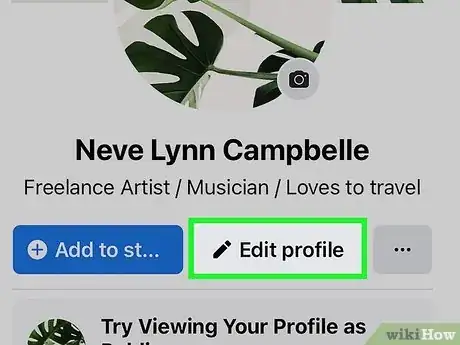
3Tap the "Edit Profile" button. It's a white silhouette of a person and a pencil in the upper-right corner of the screen.
-
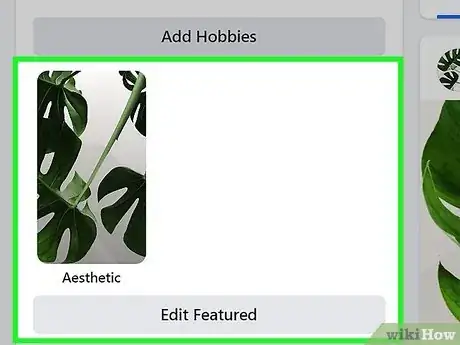
4Scroll down to Featured Photos. These are the photos in the "Featured" section of your profile, below your Bio and above the status box that asks, "What's on your mind?"
-
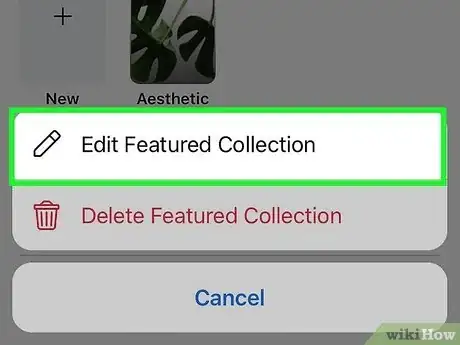
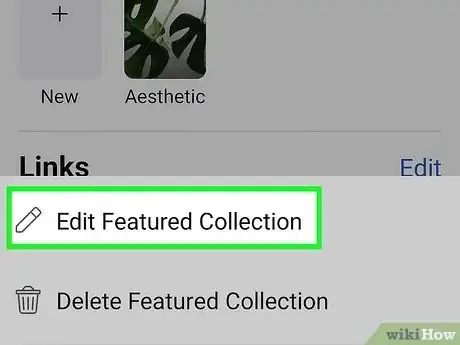
5Tap Edit Featured Photos. It's below the photos in the "Featured" section.
- If you don't see an Edit Featured Photos button, tap any of the photos in the "Featured" section.
- If you haven't added any featured photos yet, tap Add Featured Photos in the same section.
-
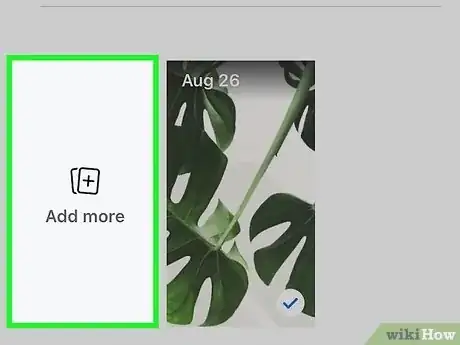
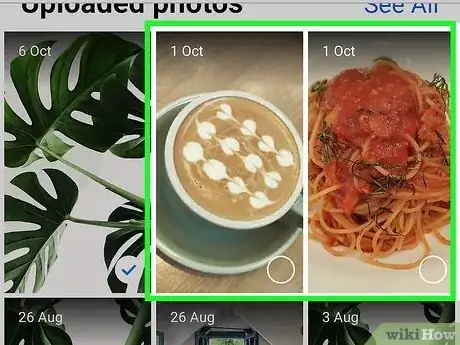
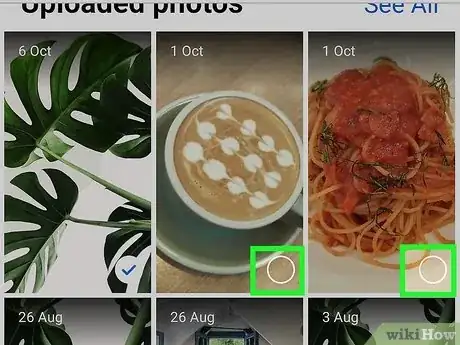
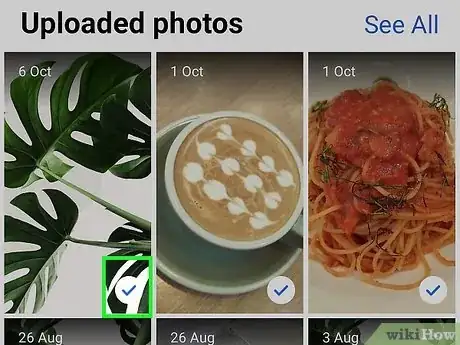
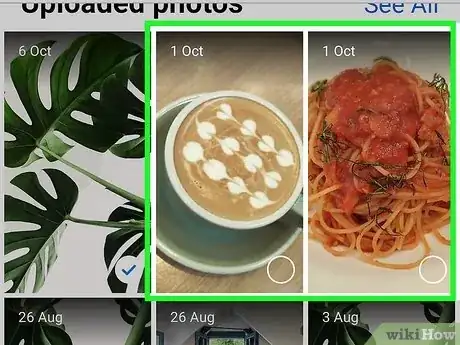
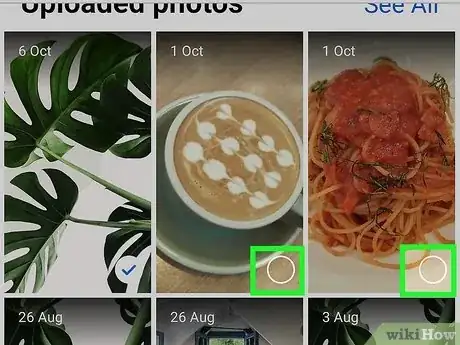
6Add or change photos. Tap on a photo icon in the center of a gray square or in the lower-left corner of an existing photo.
- Featured photos are supposed to help others get to know you a little better, so choose photos that tell something about yourself.
- You can add up to five featured photos.
- Featured photos are always public and can be seen by anyone.[1]
-
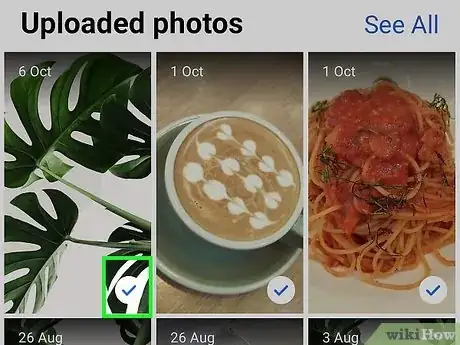
7Tap Upload Photo. Do so if you want to add a photo from your device's camera roll/gallery.
-
8Tap Select Photo on Facebook. Select this option if you want to use a photo from your Facebook albums.
-
9Delete photos. Tap the blue ⓧ in the upper-right corner of any photo to delete it.
-
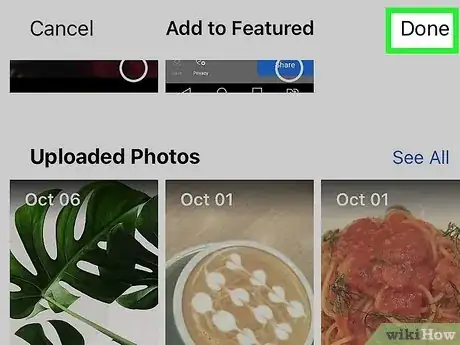
10Tap Save. It's in the upper-right corner. Your featured photos will appear just below your profile picture on your Timeline.
Advertisement
Method 2
Method 2 of 3:
Using an Android
-
1Open the Facebook app. It's a blue app that contains a lowercase, white "f."
-
2Tap your profile picture. It's in the upper-left corner of the screen, at the top of your Newsfeed, in the status box next to "What's on your mind?".
-
3Scroll down to Featured Photos. These are the photos in the "Featured" section of your profile, below your Bio and above the status box that asks, "What's on your mind?"
-
4Tap Edit Featured Photos. It's below the photos that appear in this section.
- If you haven't added any featured photos yet, tap Add Featured Photos in the same section.
-
5Add or change photos. Tap on a photo icon in the center of a gray square or in the lower-left corner of an existing photo.
- Featured photos are supposed to help others get to know you a little better, so choose photos that tell something about yourself.
- You can add up to five featured photos.
- Featured photos are always public and can be seen by anyone.[2]
-
6Tap Upload Photo. Do so if you want to add a photo from your device's camera roll/gallery.
-
7Tap Select Photo on Facebook. Select this option if you want to use a photo from your Facebook albums.
-
8Delete photos. Tap the blue ⓧ in the upper-right corner of any photo to delete it.
-
9Tap Save. It's in the upper-right corner. Your featured photos will appear just below your profile picture on your Timeline.
Advertisement
Method 3
Method 3 of 3:
Using a Computer
-
1Go to Facebook. Enter your email and password if you're not automatically logged in.
-
2Click on your user name. It's in the blue bar at the top of the window, to the right of the search field.
-
3Hover over the "Featured Photos" section. It's on the left side of the window, under "Intro" on your Timeline.
- If you haven't added any featured photos yet, click on Add Featured Photos.
-
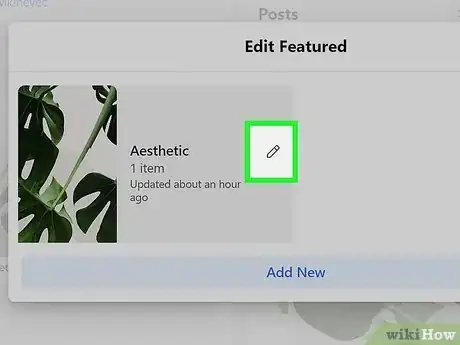
4Click on the gray pencil. It will appear in the upper right corner of the "Featured Photos" section.[3]
-
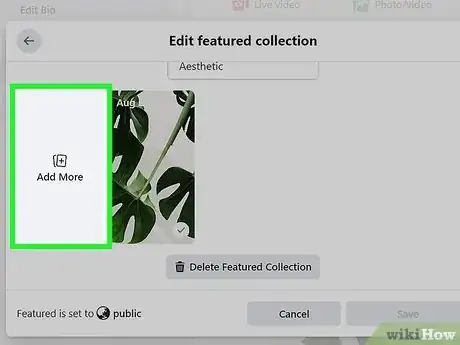
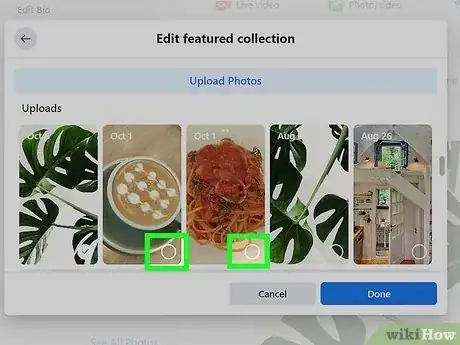
5Add photos. Tap on a blue photo icon in an empty square.
- Featured photos are supposed to help others get to know you a little better, so choose photos that tell something about yourself.
- You can add up to five featured photos.
- Featured photos are always public and can be seen by anyone.
-
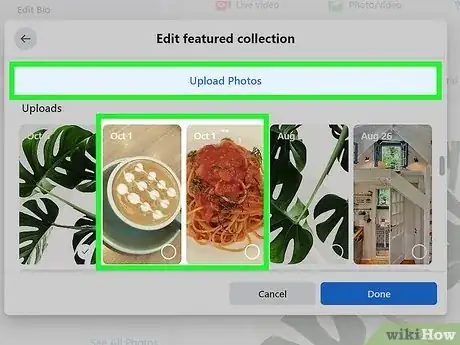
6Click on +Upload Photo. Do so if you want to add a photo from your computer.
-
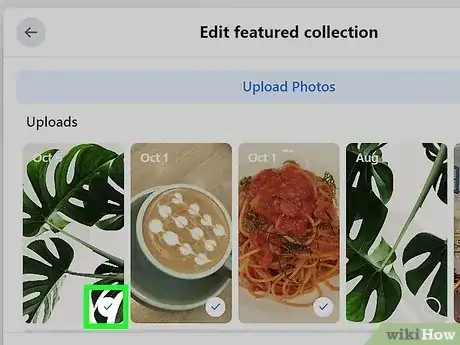
7Select one of "Your Photos" from Facebook. All your Facebook photos are displayed beneath +Upload Photo under the heading "Your Photos." Click on one to make it a featured photo.
-
8Delete photos. Tap the white X in the upper-right corner of any photo to delete it.
-
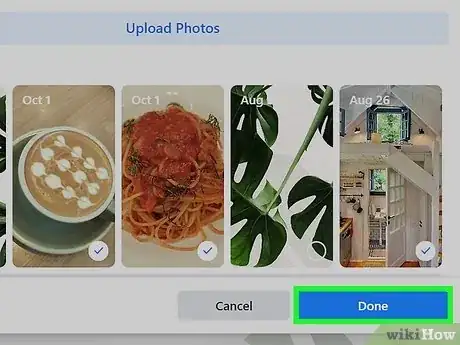
9Tap Save. It's in the lower-right corner of the dialog box. Your featured photos will appear in the "Intro" section on the left side of your Timeline.
Advertisement
Community Q&A
-
QuestionHow can I delete the Featured Photos album completely from my albums?
 Faizan AhmadCommunity AnswerIt isn't possible; however, you can delete your past featured photos by going to Featured Photos album. Then, click on the grey pencil on the top right of an individual photo and select Delete Photo. It'll delete that photo from your Featured Photos album.
Advertisement
References
About This Article
Advertisement
