This article was co-authored by wikiHow staff writer, Eric McClure. Eric McClure is an editing fellow at wikiHow where he has been editing, researching, and creating content since 2019. A former educator and poet, his work has appeared in Carcinogenic Poetry, Shot Glass Journal, Prairie Margins, and The Rusty Nail. His digital chapbook, The Internet, was also published in TL;DR Magazine. He was the winner of the Paul Carroll award for outstanding achievement in creative writing in 2014, and he was a featured reader at the Poetry Foundation’s Open Door Reading Series in 2015. Eric holds a BA in English from the University of Illinois at Chicago, and an MEd in secondary education from DePaul University.
This article has been viewed 14,562 times.
Learn more...
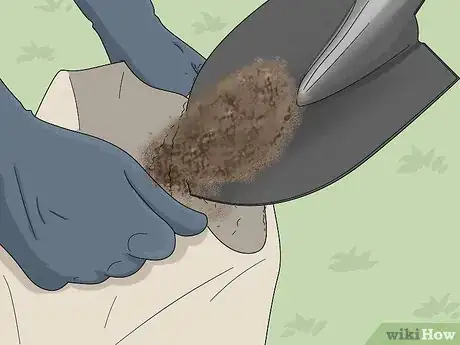
Sandbags are an excellent tool if you’re trying to brace a wall, reinforce a levee, or protect an area from flooding. Purchase bags that are specifically designed to function as sandbags, and get a heavy-bodied sand that won’t spill through the fibers in the bags. Then, fold the top of a sandbag down to create a collar and use a round shovel to pour your sand inside. Tie the bag with a drawstring or fold it over itself if you’re building a wall. Also, consider asking someone to help you, since it can be quite difficult to keep the bag open while you’re pouring the sand.
Steps
Selecting Materials and Getting Ready
-
1Purchase polypropylene bags specifically designed for sandbagging. Standard cloth or plastic bags cannot be used to create sandbags since they’ll tear or break apart when they get wet. Purchase some woven polypropylene sandbags that are specifically designed for stacking and keeping water out. You can purchase specialized sandbags online or at a construction supply store.[1]
- While sandbags come in different sizes, the optimal size is 14–18 in (36–46 cm) wide and 30–36 in (76–91 cm) deep.
- You can get sandbags with drawstrings built into them to make tying easier. If you’re buying bags to build a flood wall, you don’t actually have to tie them, though.
-
2Use a heavy sand or soil mixture to fill your bags. Purchase heavy-bodied sand from a construction supply or gardening store. You can also find it at distribution centers if you live in a state or country that is prone to flooding. Any type of heavy sand will work. [2]
- Soil will break apart in your bag and leak through the woven bag if it gets wet, but can work if you’re only trying to brace a surface. You can use a mixture of sand and soil if you don’t have enough sand to fill the bags you need.
- Gravel will work if you’re trying to weigh a surface down, but it is too permeable to keep water out.
- Clay materials are hard to shape and will make stacking difficult.
Tip: The sand that you find at the beach is usually too fine to fill a sandbag since It will leak through the weaving.
Advertisement -
3Enlist a friend or two to make sandbag filling easier. It can be difficult to keep a sandbag open if you’re filling it yourself. To make the filling process easier, enlist a friend to hold the bag open while you’re shoveling the sand into it. If you’re filling the bags at the site where you’re stacking them, make the process easier by enlisting a third friend to tie and move each bag.
- You’ll have to be extremely careful when you’re pouring your sand into the bag if you’re doing it yourself. You may become exhausted as well if you’re building a sandbag wall, since lifting and laying the bags requires heavy lifting.
- Rotate positions every 20 minutes to reduce muscle fatigue.
-
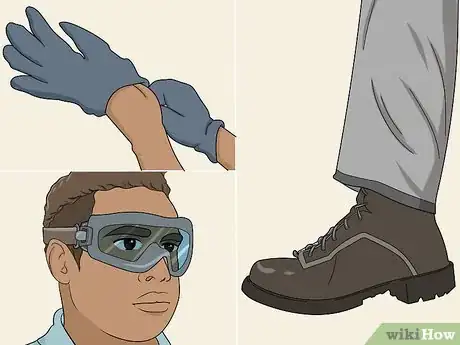
4Put on gloves, boots, and protective eyewear. Sandbags are chemically treated and may irritate your hands, so wear a thick pair of gloves to protect yourself. Put on a pair of protective goggles to keep sand from blowing into your eyes as you work. Wear a thick pair of rubber work boots to protect your feet and keep the sand out.
- Avoid touching your skin, eyes, or mouth while filling sandbags. Wash your hands and face when you’re done.
Filling a Bag
-
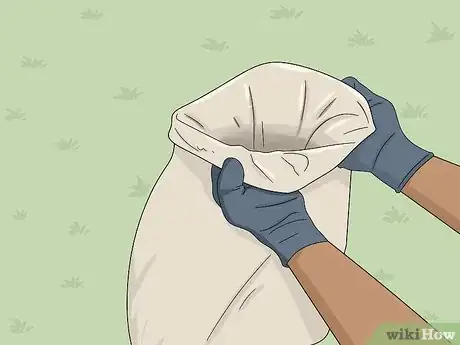
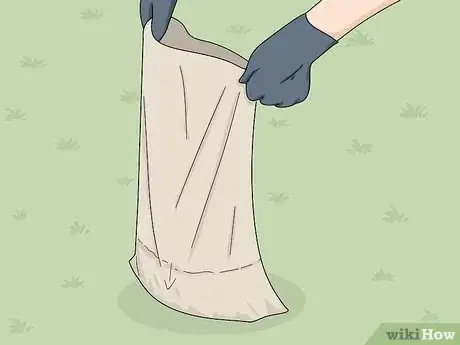
1Fold the top of the bag over 2-3 times to create a collar. Place your bag on a flat, stable portion of the ground. Grip the top 2–3 inches (5.1–7.6 cm) of the bag. Fold the top of the bag over 2-3 times to create a collar. This will make pouring easier, and will ensure that the top of the bag doesn’t fall in on itself if you accidentally pour a little sand on it.[3]
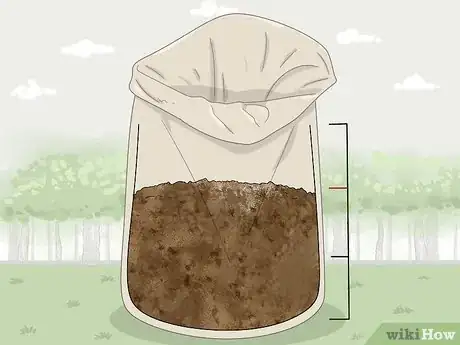
- Sandbags should only be filled 2/3 full. Folding the top of the bag over also makes it easier to see how much sand you’re adding.
Tip: If you’ve enlisted other people to help you, have one person hold the collar open in a circular shape so that it’s easier to shovel sand inside.
-
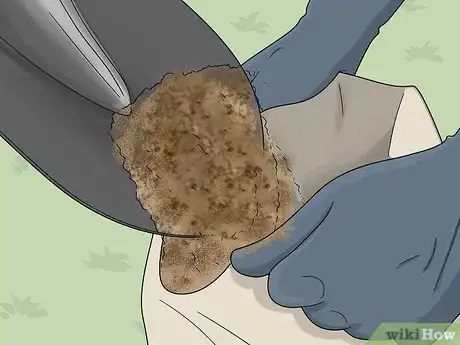
2Shovel the sand into the opening at the top of the bag. Use a rounded shovel with a good grip to scoop your sand up. Dig your shovel into the sand at a 45-degree angle and scoop it upwards to raise it up. Then, hold the point of your shovel over the collar of the bag and tilt the shovel downwards to empty the sand into the bag.
- Don’t work too quickly. If you wear yourself out, it’ll become difficult to shovel accurately.
- If it’s a little windy or you’re having trouble filling the bag, put a large funnel in the mouth of the bag. Pour the sand into the funnel to make the filling process easier.
-
3Stop adding sand once the bag is 2/3 full. If you overfill the bag, it will be difficult to tie or fold the bag at the top. If the bag isn’t filled with enough sand, your sandbags will shift around when they’re stacked. Continue shoveling your sand into the bag until roughly 2/3 of the bag is filled. [4]
- If you have bags with built-in ties at the top, they can be filled until they’re 4/5 full. Bags with built-in ties don’t require as much room to secure them.
- Repeat this process until you have the desired number of bags.
Tying the Bags
-
1Unfold the collar and pull the top of the bag up. Once your bag is filled to the proper level, undo the collar that you folded to make pouring easier. Then, roll the collar up until the fold is undone and pull the fabric at the top of the bag upwards to straighten it out.[5]
-
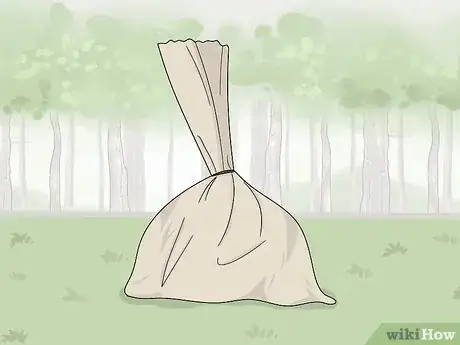
2Tighten the drawstring and tie the top of bags with built-in ties. If your bag has a built-in tie, pull the drawstring until the neck of the bag is tight. Then, fold the drawstring over itself and pull both ends to tighten it. Tie the bag by creating a knot the same way you tie your shoes. With the drawstrings folded over one another, create a loop in your nondominant hand. Run the other drawstring over and the under the loop. Pull it through the second loop you just made and pull both loops tight to secure it.[6]
Tip: There is no official or proper way to tie a sandbag with a drawstring. As long as you can secure the top with a knot, your sandbag will be fine.
-
3Tie the bag using the fabric if your bag is thinner. If your bag doesn’t have a drawstring and the fabric is thinner, you can tie the fabric of the bag to knot it at the top. With the fabric at top pulled up, squeeze the fabric together with both hands. Twist the top of the bag to keep the fabric tight. Then, hold the base of the top with your nondominant hand. Bring the top of the fabric down to make a loop and squeeze the top of the bag through the loop. Pull the top of the bag to tighten your knot and secure the bag.[7]
- You may have an easier time securing thinner bags if you only fill them so that they’re halfway filled.
-
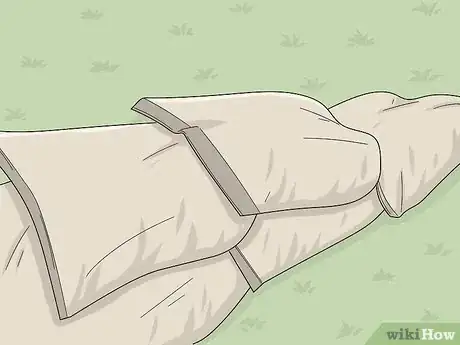
4Fold the top of the bag on top of itself if you’re building a wall. Sandbags don’t actually need to be tied if you’re creating a wall or laying them on top of one another. To lay a bag without folding it, hold the bag by the top of the fabric as you’re moving it and take it to the location where you’re creating a wall. Then, place the bag at the spot you want to lay it. Pull the top of the bag in opposite directions to turn the opening into a slit. To finish, fold the slit over itself and lay the bag down with fold on the bottom.[8]
- Bags that are folded on top of themselves will stay in place when they’re stacked in a wall.
Warnings
- When moving your bags, lift with your legs, not your back. If you keep bending over and using your back to lift, you may injure yourself.⧼thumbs_response⧽
Things You’ll Need
Selecting Materials and Getting Ready
- Sandbags
- Sand
- Gloves
- Protective eyewear
- Work boots
Filling a Bag
- Shovel
References
- ↑ http://www.cvifd.org/DocumentCenter/View/316/HowToFillSandbags?bidId=
- ↑ https://afterwildfirenm.org/additional-resources/site-pdfs/sandbagging-techniques
- ↑ http://www.cvifd.org/DocumentCenter/View/316/HowToFillSandbags?bidId=
- ↑ https://afterwildfirenm.org/additional-resources/site-pdfs/sandbagging-techniques
- ↑ http://www.cvifd.org/DocumentCenter/View/316/HowToFillSandbags?bidId=
- ↑ https://youtu.be/OKuLypxSKZE?t=101
- ↑ http://www.cvifd.org/DocumentCenter/View/316/HowToFillSandbags?bidId=
- ↑ http://www.cvifd.org/DocumentCenter/View/316/HowToFillSandbags?bidId=
- ↑ https://www.lrb.usace.army.mil/Portals/45/docs/EM/How%20to%20Fill%20a%20Sandbag.pdf?ver=2019-04-12-112958-787


