This article was co-authored by Lui Colmenares. Lui Colmenares is a handyman and licensed home improvement contractor for Mr. Handy NYC based in New York City, New York. Lui is trained and educated as an industrial engineer and specializes in carpentry, painting, and general handyman work such as mounting TVs, doorknob and deadbolt installation, furniture assembly, tile repair, and grouting. Mr. Handy NYC prides itself on quality work performed with speed, skill, and punctuality.
This article has been viewed 85,404 times.
A well-organized closet should, ideally, include a stout, straight rod that allows you to space your clothing evenly, keeping it tidy and not wrinkled, and allowing plenty of airflow. However, if you've overloaded your closet rod by squeezing too many clothes into too small a space, or if it's simply too thin for the job, it could sag in the middle. Aside from the common-sense solution of replacing it with a sturdier rod--as simple as lifting the old rod out of the hooks and dropping the new one into place--you have a few possible solutions for holding that sagging closet rod up.
Steps
Add Extra Brackets
-
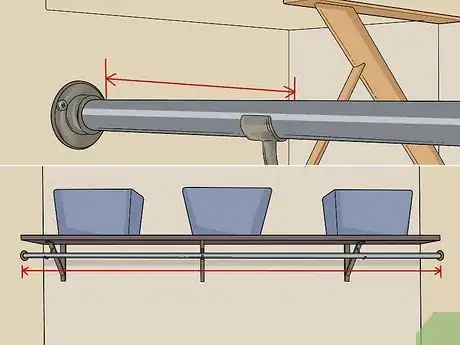
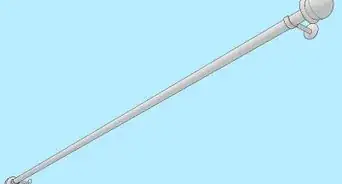
1Measure your current closet rod's diameter, and how far it hangs away from the wall.
- The easiest way to do the latter is to measure how long the current brackets are.
-
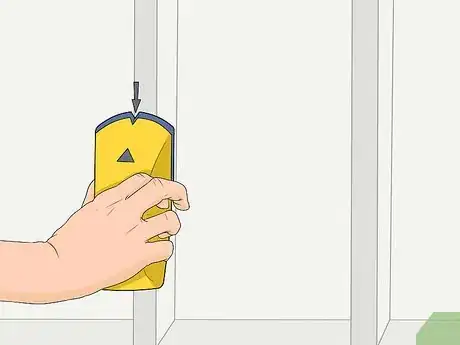
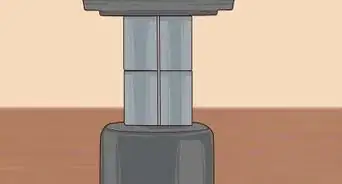
2Locate a stud near the center of the closet rod, or two studs equidistant to the center, with a stud finder.[1]
- If you don't have a stud finder, tap gently across the wall. The drywall will sound hollow between studs, and firmer as you're knocking over the stud itself.
-
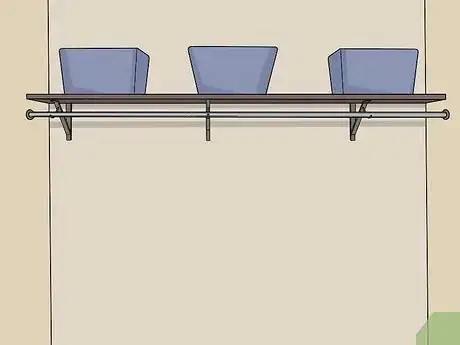
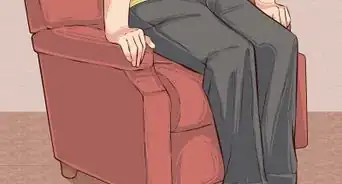
3Remove all the clothing from the rod. Hold the new brackets in place over the studs, supporting the rod so it lays flat, and mark the location of the mounting holes on the drywall with a pencil.
-
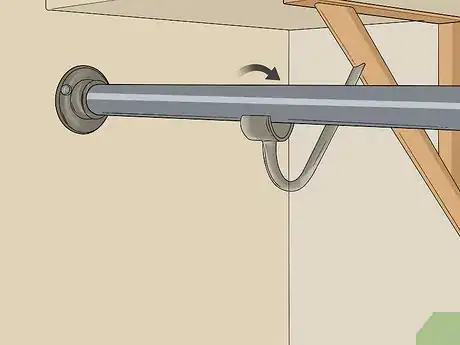
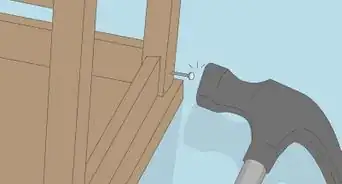
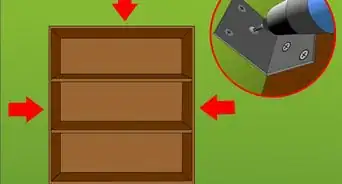
4Drill the appropriate starting holes for the mounting hardware that came with your new closet bracket or brackets. Remove the rod and screw-mount the new brackets in place.[2]
-
5Drop the closet rod back into place. The new brackets will help support it along its length, preventing or at least reducing sag.
Prop It Up
-
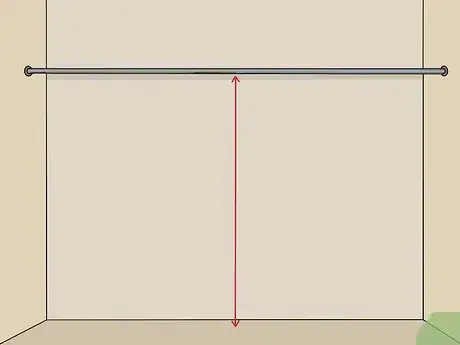
1Measure how high the bottom edge of the closet rod hangs from the floor at the end points, where it doesn't sag at all.[3]
-
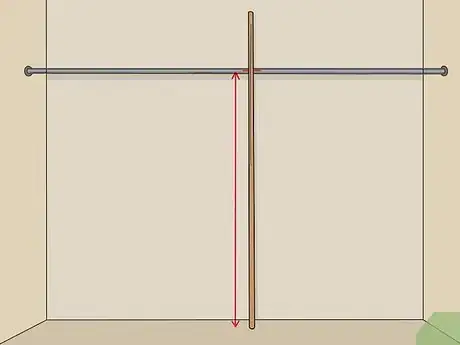
2Mark this distance on a wooden 1 3/8-inch (3.5 cm) or thicker dowel.
-
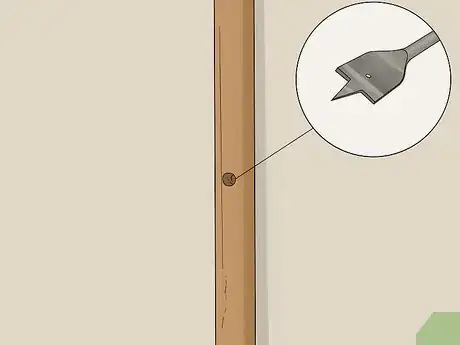
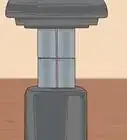
3Use the spade bit to bore a hole through the dowel. The bottom edge of the hole should intersect the mark you just made.[4]
-
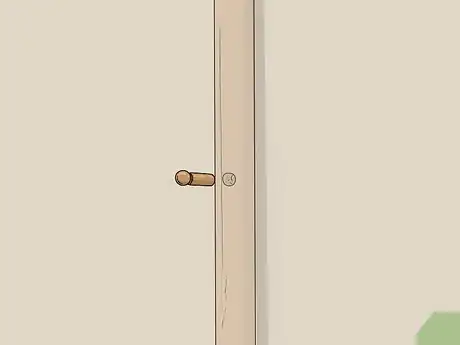
4Saw straight through the hole you just bored, one-quarter to one-half of the way up from the bottom. This leaves a cylinder-shaped socket in the top end of the dowel.
-
5Place the dowel beneath the center of the closet rod to prop up the sagging middle.
Expert Q&A
Did you know you can get expert answers for this article?
Unlock expert answers by supporting wikiHow
-
QuestionCan I install the brackets anywhere in the closet?
 Lui ColmenaresLui Colmenares is a handyman and licensed home improvement contractor for Mr. Handy NYC based in New York City, New York. Lui is trained and educated as an industrial engineer and specializes in carpentry, painting, and general handyman work such as mounting TVs, doorknob and deadbolt installation, furniture assembly, tile repair, and grouting. Mr. Handy NYC prides itself on quality work performed with speed, skill, and punctuality.
Handyman
Things You'll Need
- Measuring tape
- Extra bracket for closet rod
- Stud finder
- Pencil
- Power drill/screwdriver
- Wooden dowel
- Spade bit
- Saw
References
- ↑ Lui Colmenares. Handyman. Expert Interview. 18 August 2020.
- ↑ https://www.youtube.com/watch?v=7I3Lwb1BHYg
- ↑ https://www.bobvila.com/articles/closet-rod-height/
- ↑ https://www.bobvila.com/articles/how-to-fix-a-closet/

