wikiHow is a “wiki,” similar to Wikipedia, which means that many of our articles are co-written by multiple authors. To create this article, 22 people, some anonymous, worked to edit and improve it over time.
There are 7 references cited in this article, which can be found at the bottom of the page.
This article has been viewed 1,669,573 times.
Learn more...
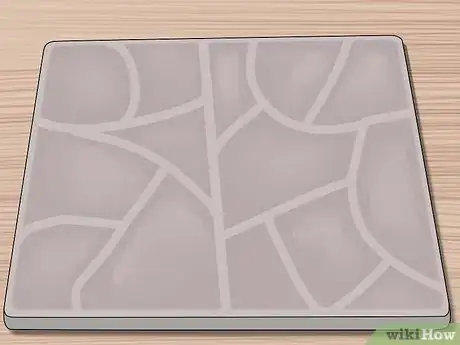
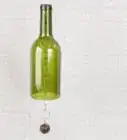
Flattened glass bottles can be an interesting piece of artwork, a thematic drinks tray, or a fancy cutting board. It is not possible to "slump" bottles with normal household appliances, but once you have a kiln the process is easy to learn and fun to experiment with. Remember, if you have an accident with glass, be sure to call the emergency services straight away.
Steps
Setting Up the Kiln
-
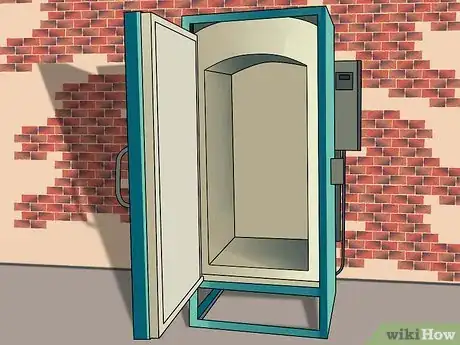
1Get access to a kiln. Glass must be heated to at about 1500ºF (815ºC) in order to lose its shape.[1] To achieve this temperature, you'll either need to find a local ceramics studio that rents out kiln space, or purchase an electric kiln yourself.
- An electric kiln often requires a new circuit, installed by an electrician. A kiln attached to the wrong voltage circuit may fail to reach the right temperatures.[2]
-
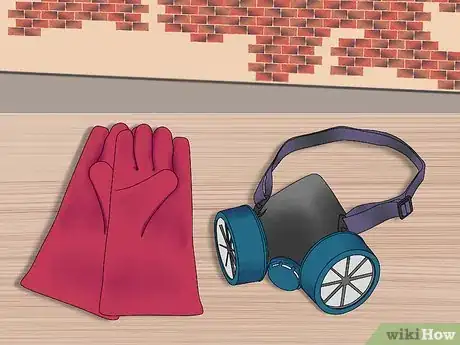
2Follow safety precautions. While working around a kiln, wear kiln gloves and goggles to protect yourself. Wear a respirator mask whenever you are handling or cleaning dust or sprays from the kiln, and always operate the kiln in a ventilated room. Keep in mind that kiln interiors become much, much hotter than an oven or fireplace. Before you begin, read the operating instructions for the kiln, or ask advice from an experienced ceramicist or fused glass artist.Advertisement
-
3Protect the kiln floor and shelves. If you skip this step, spilled glass fragments could damage your kiln floor or shelves during firing. There are three common materials used to prevent this, both of which should be handled while wearing a respirator mask. This protection should be reapplied whenever it starts to look uneven, peeling, or falling apart.[3]
- Glass separator (recommended) or kiln wash (adequate) can be purchased in powder form and mixed with a liquid. Brush it on in at least four coats, then wait for it to dry. Make the surface as even as possible, since tiny irregularities will show up in the glass.
- Alternatively, cut out kiln paper (fiber paper) to the shape of the shelf. Place it in the kiln and fire it at 1400ºF (760ºC) to blacken the paper, which can then be used as a protective surface between the glass and the shelf.
-
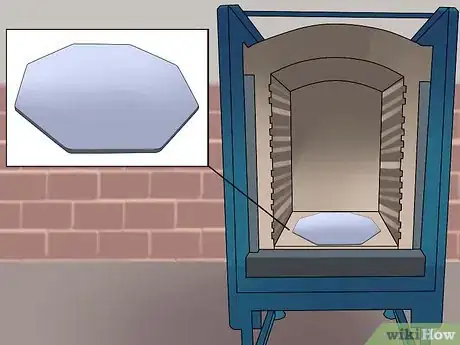
4Insert the shelf into the kiln. The kiln shelf should always be raised above the floor of the kiln, to allow air to circulate between them. Place ceramic kiln posts on the kiln floor, then place the shelf on top of them. When it comes time to fire your glass bottles, they'll go on top of the shelf.
Preparing the Bottles
-
1Create a ceramic mold (optional). If you prefer the bottle to form a curved taco shell shape instead of a flat tray, press the bottle into clay to form a mold.[4] All molds should be protected by kiln wash or glass separator, as described in the kiln setup section.
- Use clay intended to be fired around 1500ºF (815ºC), or it may melt during firing.
-
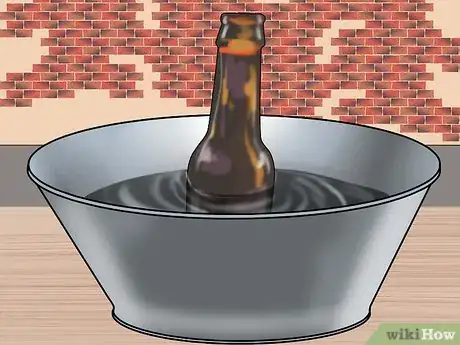
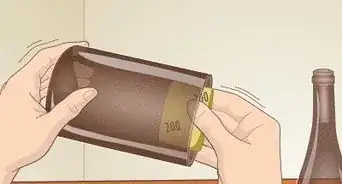
2Clean the bottle and remove the label. Scrub the bottles with hot, soapy water, or leave them in a bucket of hot water and household detergent for a few hours. Scrub off any paper labels and stickers, or scrape them off using a hard plastic object.[5] [6] Alternatively, if you want to save and reattach a paper label, melt the adhesive using a heat gun.
- Painted labels will survive the firing process, which makes a great design as long as the bottle remains still during firing.
- To avoid the chance of fingerprint impressions, wear gloves and clean afterward with isopropyl alcohol.
-
3Apply devitrification spray (optional). Also called "devit," this product actually prevents devitrification, or the crystallization of glass that causes a cloudy appearance. Not all types of glass are susceptible to devitrification, and cleaning the glass helps a great deal already. Use the spray when you want to be extra careful, especially for blue and amber bottles.[7]
-
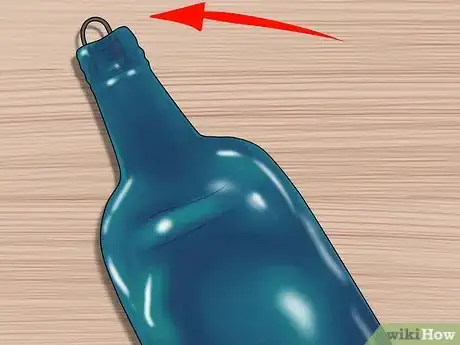
4Add a wire hanger (optional). If you'd like to hang the flattened bottle afterward, shape a length of wire into a hook and place one end into the neck of the bottle. The bottle will slump closed around the wire, so there's no need to attach it yourself.[8]
- High temperature wire is best. Most common wires will work, but aluminum will melt and copper and brass can leave flecks on the bottle.[9]
-
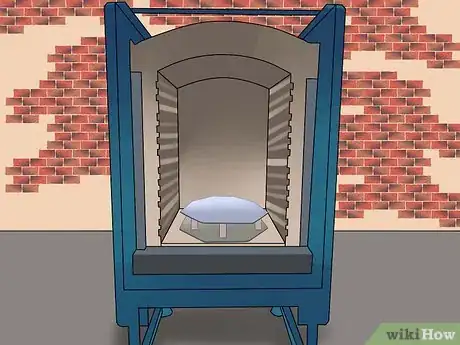
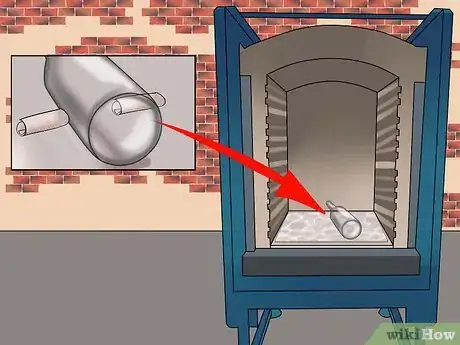
5Prevent the bottles from rolling. Place the bottles or the molds containing bottles onto your kiln shelf, lying on their side. If they are in danger of rolling, prop them up using crushed glass (frit) or small rolls of kiln paper. This will create an impression on the back of the bottle, but that's much better than having a bottle roll to the side and damage your kiln wall.
- Take extra care to keep bottles with painted labels still.
Flattening the Glass Bottles
-
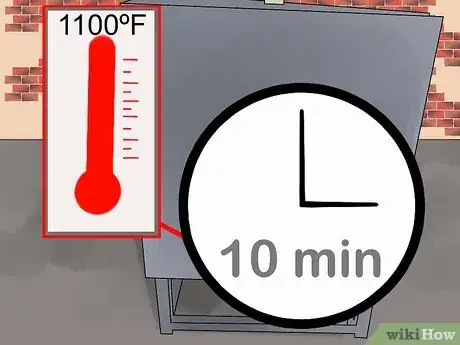
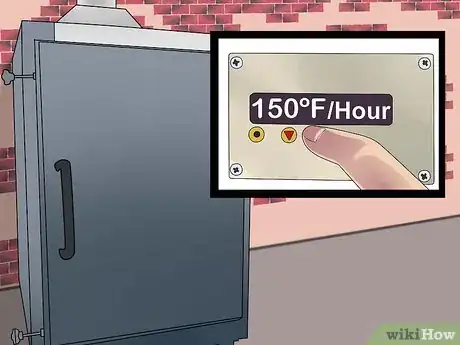
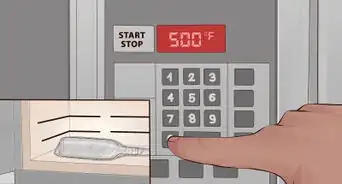
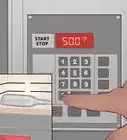
1Fire the kiln to 1100ºF (590ºC). Heat the kiln at a rate of +500ºF (+275ºC) per hour, until it reaches 1100ºF (590ºC). This will just start to heat the bottles.[10]
- If you are using ceramic molds, you may want to use a slower heating rate to reduce the risk of cracking the molds.
-
2Hold this temperature for ten minutes. "Soaking" the glass at this temperature ensures that every part of the glass reaches the correct temperature. Pay close attention to the steps below to find out how long to keep the kiln at each temperature.[11]
-
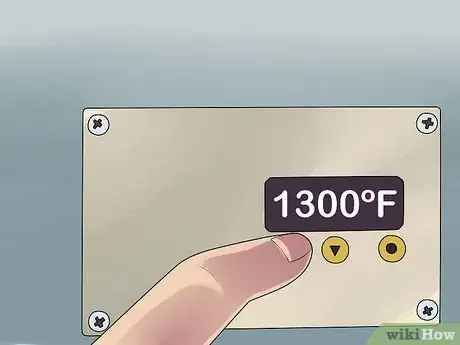
3Heat more slowly to 1300ºF (700ºC). This time, heat the kiln at a rate of no more than +250ºF (+140ºC) per hour, for a little more than an hour. At this point, the glass will just begin to lose its shape, especially in the middle. You can hold the temperature here for 20 minutes if you're aiming for a flatter, wider middle, or move on after a few minutes if you want the middle to keep more of its shape.
-
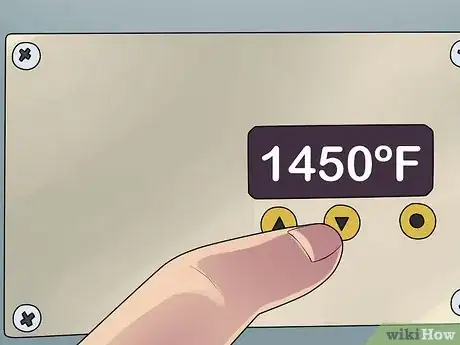
4Heat rapidly to about 1450ºF (790ºC). Heat at a rate of +300ºF (+165ºC) per hour if using ceramic molds, or faster if not. Stay at this temperature until the bottles have slumped to the desired appearance.
- This is the step that changes most, based on your bottles, kiln, and desired appearance. Consider these numbers a starting point for your first project.
- Always wear eye protection while looking through a peephole. If your kiln doesn't have a window or peephole, you won't be able to check on the bottles.[12]
-
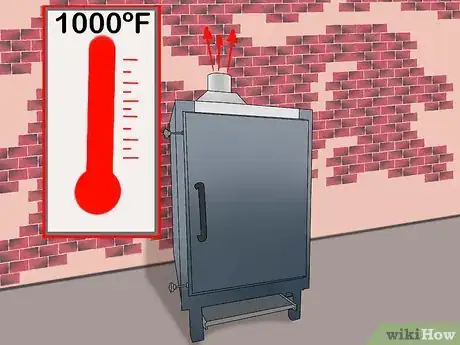
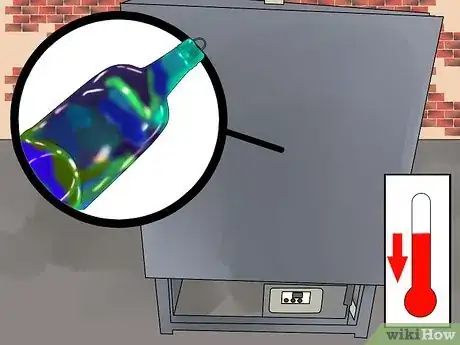
5Flash vent the kiln to about 1000ºF (540ºC). Lift the lid of the kiln — taking care to protect yourself from the heat — to cool the kiln rapidly until it reaches a temperature between 900 and 1100ºF (480 to 590ºC). The less time the bottle spends at high temperatures, the lower the chance of devitrification, or the forming of cloudy surface textures.
-
6Anneal the glass. Glass takes on significant stress when heated, and can crack or become brittle if it is not "annealed", a process in which the glass molecules are rearranged in a more stable pattern before they cool. There are two common ways to do this:
- The simplest method, which is usually sufficient for bottles, is to let the kiln cool gradually, never by more than -150ºF (-80ºC) per hour. If you kiln cools faster than this, you'll need to briefly fire it occasionally to counteract the cooling.
- For more effective annealing, leave the kiln at 900ºF (480ºC) for a full hour. Different types of glass have different optimal annealing temperatures, so to be extra-safe you could also leave it at 1000ºF (540ºC) and/or 800ºF (425ºC) for an hour each, starting with the highest temperature first.
-
7Let the kiln cool to room temperature. The bottles should have slumped flat. If you used kiln paper and the fibers stuck to the bottle, wear a respirator mask while cleaning them off the glass.
Community Q&A
-
QuestionWhy does the link pin show a toaster oven, a wine bottle, and a toaster oven tray?
 The One and Only Braden J.Community AnswerWikiHow link pins are one of the world's greatest mysteries. No one knows the answer to questions like these.
 -
QuestionHow do I do this without a kiln, in my own kitchen?
 Community AnswerThe tips do cover this––basically, see if you can access one at a high school, college or community center. It is not an "in your kitchen" project.
 -
QuestionShould I use a toaster oven to flatten the glass?
 Community AnswerYou need a kiln. It needs to be more than 1000 degrees Fahrenheit, so a toaster oven will not work.
Warnings
- Opening the kiln too early can permanently streak the glass. This is caused by the cool air touching the hot glass.[14]⧼thumbs_response⧽
References
- ↑ https://www.gofusing.com/blog/how-to-slump-recycled-glass-bottles/
- ↑ http://www.paragonweb.com/How_To_Choose_a_Kiln.cfm
- ↑ http://www.bigceramicstore.com/info/ceramics/tips/tip99_bottle_slumping_1.html
- ↑ https://www.youtube.com/watch?v=V7dyTJQMpC0
- ↑ https://www.gofusing.com/blog/how-to-slump-recycled-glass-bottles/
- ↑ http://www.bigceramicstore.com/info/ceramics/tips/tip92_bottle_slumping.html
- ↑ https://www.gofusing.com/blog/how-to-slump-recycled-glass-bottles/
- ↑ http://www.bigceramicstore.com/info/ceramics/tips/tip92_bottle_slumping.html
- ↑ http://www.bigceramicstore.com/info/ceramics/tips/tip92_bottle_slumping.html
- ↑ https://sportsclinictampico.com/self-organization/how-to-melt-glass-bottles/
- ↑ https://sportsclinictampico.com/self-organization/how-to-melt-glass-bottles/
- ↑ https://sportsclinictampico.com/self-organization/how-to-melt-glass-bottles/
- ↑ http://www.bigceramicstore.com/info/ceramics/tips/tip99_bottle_slumping_1.html
- ↑ https://www.youtube.com/watch?v=V7dyTJQMpC0
- http://www.bigceramicstore.com/info/ceramics/tips/tip100_bottle_slumping_2.html
About This Article
To flatten glass bottles, you'll need access to a kiln. Start by scrubbing the bottles with hot, soapy water, then peel or scrape off any paper labels and stickers. Next, place the bottles on their sides on the kiln's shelf to prevent them from rolling around. Then, fire up the kiln to 1100ºF and hold that temperature for 10 minutes. Slowly raise the temperature over the course of an hour, then flash vent the kiln to cool it down rapidly. Let the kiln cool to room temperature, then pull out your flattened bottles! If you want to learn more, like how to put a hanger in your bottle before you flatten it, keep reading the article!
