This article was co-authored by Steven Waldman. Steven Waldman is a Professional Hair Stylist and the Director of Technical Training at Hair Cuttery. Steven uses his creative insight and extensive experience to drive educational programming and motivates facilitators and learners to communicate effectively, create and execute strategies to maximize potential, and achieve success. He uses unexpected sources such as art genres, architecture, and cooking to inspire shape, color, and cuts.
There are 7 references cited in this article, which can be found at the bottom of the page.
This article has been viewed 93,085 times.
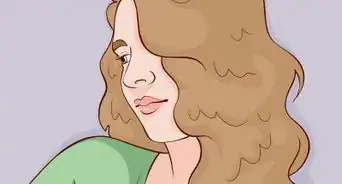
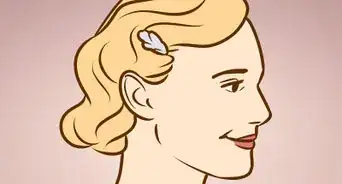
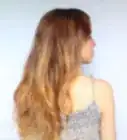
Curling and putting waves in hair may seem like something that can only be done if you have long hair, but it is possible to do these things even when you have short hair. Wavy hair can have volume, texture, and style, and can be a nice change if you normally have straight hair. There are actually several ways you can achieve wavy hair when your hair is short, and they include using a device, such as a flat iron, and styling wet hair in such a way that it develops waves, such as through braiding or twisting your hair. When you use a device, the trick is to curl your hair first and then comb out the curls to loosen them into waves.
Steps
Getting Ready
-
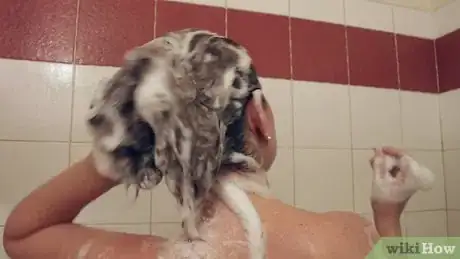
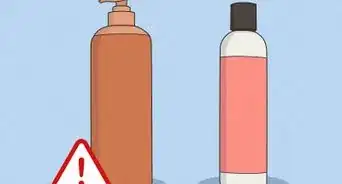
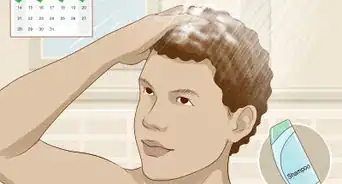
1Wash your hair. If your hair was washed in the last 24 hours, you don’t necessarily have to wash it again, but make sure it’s clean and free of oil, dirt, sweat, and styling products.[1]
- When you have short hair, be sure to use shampoo sparingly. Too much shampoo can weigh down and dry out your hair.
-
2Dry your hair. Any time you're going to be styling your hair with a heat tool like a flat iron, you want to start with completely dry hair. Otherwise, you will end up with lots of frizz and damaged hair. You can either allow your hair to air dry, or you can use a blow dryer.
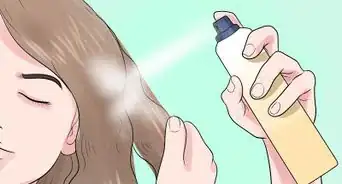
- Always apply a heat-protecting mousse, spray, or product to your hair any time you're going to use a heat tool like a blow dryer or flat iron.
- To gain more volume with your short hair, hang your head upside down and let your hair fall toward the ground as you blow dry it.
Advertisement -
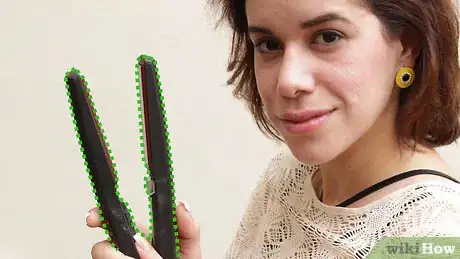
3Choose a flat iron. Flat irons, or hair straighteners, are actually excellent tools for creating waves in short hair, but it’s important to choose the right one, otherwise you risk damaging your hair.
- Pick an iron that has a fully ceramic or titanium plate, as these will create the most even heat.
- Make sure your iron also has a temperature gage, otherwise you risk burning and damaging your hair on the high setting (and the low settings are usually too cool to be effective).
- Look for a flat iron that also has beveled or curved edges rather than squared edges. The rounded edges will help create a smoother curl.
- You can also use a curling wand to give your hair waves, and the process will be quite similar.
-
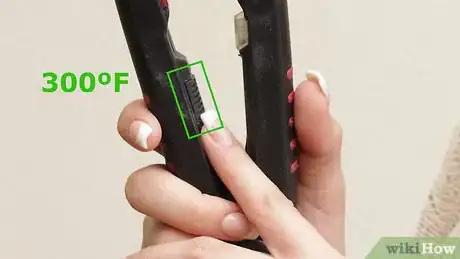
4Preheat the iron. Set your iron to 300 F (149 C) and allow it to heat up to that temperature. Never set your iron above 400 F (204 C).[2]
Creating Waves with a Flat Iron
-
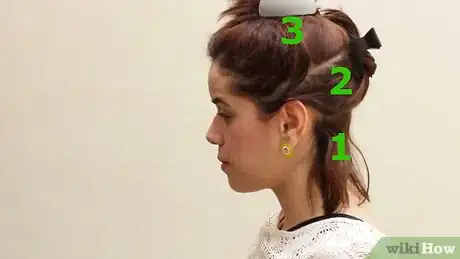
1Divide your hair into three sections. It will be easier to work with your hair if you divide it into a top, middle, and bottom section. If your hair is too short to clip or tie back, use a few bobby pins to keep it in place.
- To begin, comb through your hair with a wide-toothed comb. Tie back the top two thirds of your hair and begin working with the bottom section.
- If any hair is too short to curl with the iron (less than an inch (2.5 cm) long), simply tease it to give it volume and move on to a section that has hair long enough to work with.[3]
-
2Curl your hair with a small 0.5 inches (1.3 cm) flat iron. Beginning with the bottom section, divide your hair into one-inch (2.5 cm) strips to achieve curls in short hair. Using strips that are too large may result in waves that are undefined.
- Start with the one-inch strip of hair that frames your face. Hold the flat iron vertically and grab your hair with it close to the scalp.
- Twist the flat iron 180 degrees toward the back of your head, and then gently pull the flat iron down the shaft of your hair, keeping the plates closed the whole time. It may seem counter-intuitive to use a flat iron to create a curl, but it works similarly to when you use the blade of a scissor to curl a piece of ribbon.
- When you reach the end of that strip, take a moment to see if you’ve achieved a basic curl. If not, repeat this with the same strip until you achieve a curl.
- When you're satisfied with the curl, let it cool and move on to the next strip. Repeat the same process.
-
3Curl your hair with a smaller barrel wand, alternatively. A smaller curling wand will also work, or you can even use the end of a larger cone shaped curling wand. If you're working with a curling wand instead of a flat iron, hold the wand vertically with the tip pointing toward the ground.
- Starting about an inch from the scalp, wrap your hair around the wand as many times as you can. With short hair, you may only be able to wrap it around once or twice.
- Hold the tip of the hair as you hold the hair on the wand for two to five seconds.
- Release the tip of your hair and pull the wand out. Let the curl cool and move on to the next strip of hair.
- Make sure to alternate the direction that you wrap your hair around the wand. This will help to add volume and body.
-
4Repeat with all three sections. Once you’ve curled the entire bottom section of your hair, let the section down and repeat the curling process. Allow the curls to cool completely as you curl the second and third sections.
- When you get to the top section, part your hair as you normally would before curling your hair.
-
5Finger comb to turn the curls into waves. After you curl all the strips in every section and allowed them to cool and set, it’s time to finger comb through them all to loosen and separate the curls. This process will turn the tight curls into looser waves.[4]
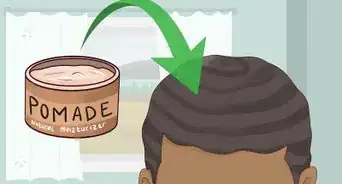
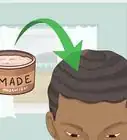
- As you comb through the curls with your fingers, apply a styling product that will help keep the waves in place, such as wax or pomade. Use these products sparingly, especially when your hair is short. Too much product will just weigh down your hair.
- You can also apply a texturizing product or hairspray near the root of the hair underneath the curls. This will give your short hair even more volume.[5]
Waving Your Hair Without Heat
-
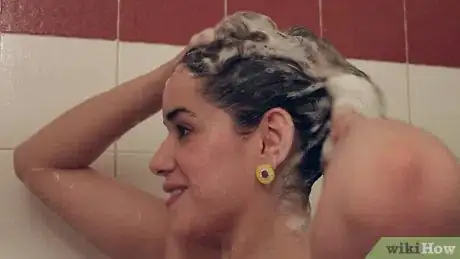
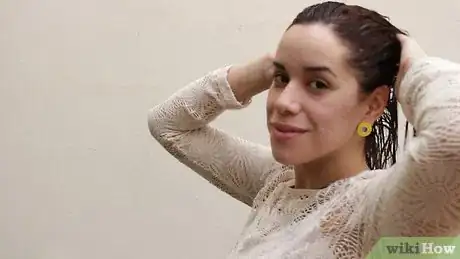
1Wash or wet your hair. If your hair is already clean, you don’t have to shampoo it. Instead, use a shower head or spray bottle of water to get your entire head damp. You don’t want it dripping wet, but you need it slightly damp so that it will hold some waves. [6]
- With a soft, absorbent towel, dry your hair to remove any excess moisture, then let your hair air dry until it’s just a bit damp.
-
2Choose a heatless wave style. There are three methods you can use to create waves in your hair without using heat: buns, braids, or twist braids. However, your hair cannot be too short to use these methods. For braids your hair should be at least 3 inches (7.6 cm) long, and probably a few inches longer than that for buns. With all three methods, you will style your hair, wrap it with a scarf, and let it dry overnight so that the waves set. You can still do this with short hair, but your hair will have to be long enough to twist or braid a couple times.
- Braids can give you the tightest waves, twist braids will give you looser curls, and buns will give you the loosest, most relaxed waves.
-
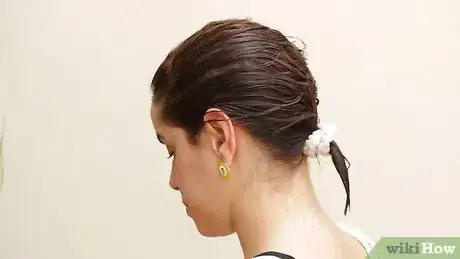
3Style your hair to create the wave. Once you’ve selected your heatless wave style, you can go ahead and braid or twist your hair, or wrap it into a bun. Make sure your hair is still somewhat damp when you do this.
- Braid your hair: For tight waves, braid your entire head with small or medium braids. For looser and more relaxed waves, divide your hair into four or six sections and braid each section into a large braid.
- Make two twist braids: part your hair down the middle. On the left side, grab two medium sections of hair from the top front of your head. Twist them, and as you twist them again, incorporate a bit of extra hair into the front section. Twist again, and again incorporate more hair into the front section. Repeat until you have fully twisted all the hair on the left side and tie the twist at the end with an elastic. Repeat on the right side.[7] Depending on how short your hair is, you may not be able to make more than a few twists.
- Make two buns: part your hair in the middle. Gather all the hair on the left side of your head into a ponytail at the bottom left side of your head. Twist all the hair together and then wrap it around the ponytail to form a bun. Tie it off or secure it with bobby pins. Repeat on the right side. If your hair is too short for a bun in the back, make the bun on the side of your head.
-
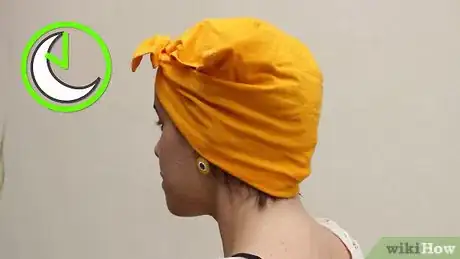
4Wrap your hair. With a soft head wrap scarf, wrap all the hair up so that it doesn’t rub against the pillow and sheets while you sleep. The scarf will keep your hair from coming out of its style and prevent it from becoming frizzy.
- When you’ve wrapped your hair, you can either tie the scarf to secure it or tie it with an elastic.
-
5Allow your hair to dry overnight. As your hair dries in one of these styles, the waves created by the twists or weaves will set in your hair, giving your hair heatless waves.
- You don’t have to do this overnight, but you will have to wait several hours for your hair to dry if you're doing this during the day.
-
6Let your hair out. In the morning when your hair is fully dry, remove the scarf, untie any elastics, and let your hair down. Gently comb through it with your fingers to remove the weaves and twists. Continue combing with your fingers as you style your hair the way you like it.
- At this point, you can add any styling products you like.
Community Q&A
-
QuestionWhat about a shower? I feel dirty if I don't take a shower in the morning and my mom won't let me use a flat iron or curling iron.
 Community AnswerIf you want waves, double braids are the way to go.
 -
QuestionI've got curls only on the lining of my scalp. I think this may be due to its thinness compared to the rest of my hair. If I have it thinned and cut it short would it be wavy like my curly ones?
 Community AnswerIf your hair is very fine, cutting it short may restore a natural curl, as length can pull it straight. Thinning shouldn't affect curl.
References
- ↑ http://www.totalbeauty.com/content/gallery/curling-iron-tips
- ↑ http://www.totalbeauty.com/content/gallery/curling-iron-tips
- ↑ https://www.youtube.com/watch?v=lsKKdiqkbP4
- ↑ https://www.youtube.com/watch?v=m9mGm-MJSmI
- ↑ https://www.youtube.com/watch?v=Z5n0MyZ98kw
- ↑ http://stylecaster.com/beauty/how-to-get-beach-waves/
- ↑ https://www.youtube.com/watch?v=bsGuWokn47A
- Videos provided by Joanna Spicer
About This Article
To get waves in short hair, start by using hair clips or bobby pins to divide your hair into a top, middle, and bottom section so that it's easier to work with. Next, curl your hair with a 0.5 inch flat iron by twisting the iron 180 degrees toward the back of your head, then gently pulling it down the shaft of your hair. Alternatively, use a curling wand with a smaller barrel if you want to create more volume. Repeat the process with all 3 sections of your hair, then run your fingers through the curls to turn them into loose waves. For more advice from our Beauty reviewer, including how to wave your hair without using heat, keep reading.
