This article was co-authored by Lauren Kurtz. Lauren Kurtz is a Naturalist and Horticultural Specialist. Lauren has worked for Aurora, Colorado managing the Water-Wise Garden at Aurora Municipal Center for the Water Conservation Department. She earned a BA in Environmental and Sustainability Studies from Western Michigan University in 2014.
wikiHow marks an article as reader-approved once it receives enough positive feedback. In this case, 93% of readers who voted found the article helpful, earning it our reader-approved status.
This article has been viewed 90,479 times.
Olives are delicious fruit that can be collected from trees or bushes. Typically harvested in the late summer, freshly picked olives have a bitter taste at first. Traditionally, olives are cured in a brine, or a solution of salt and water, to remove their bitterness. Once the olives are cured, you can eat them as a snack or use them as an ingredient in a dish!
Things You Should Know
- During late summer or early fall, harvest olives by laying down a tarp and shaking the tree or simply pick them by hand.
- After rinsing the olives under cold water, use a cherry pitter or a knife to remove the pits.
- Cure the olives by storing them in an airtight container filled with brine (high concentration salt water) for a week.
Ingredients
- Olives
- 1.5 tablespoons (22 ml) Salt
- 1 cup (240 ml) Water
Steps
Picking Olives
-
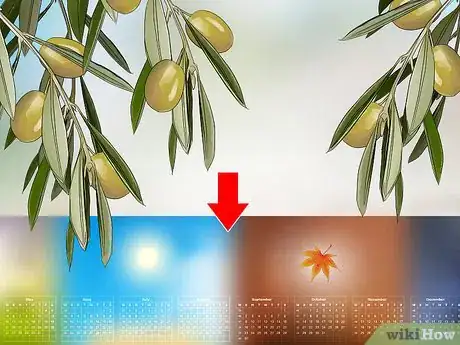
1Pick olives in the late summer or early fall. Olives are typically ripe in the late summer or early fall. Ripe olives are black or dark purple, shaped like an oval, and should have a spongy exterior. Olives typically start as green olives and get darker as they become riper.[1]
- Ripe purplish colored olives are less bitter and pungent than green olives. Green olives are also firmer than ripe olives.
- Ripe olives have a shorter shelf life than underripe varieties.
- Your olives may ripen at different times depending on the variety, temperature, amount of sunlight, and irrigation.
- Overripe olives are mushy and shriveled. Discard any olives that appear overripe.
-
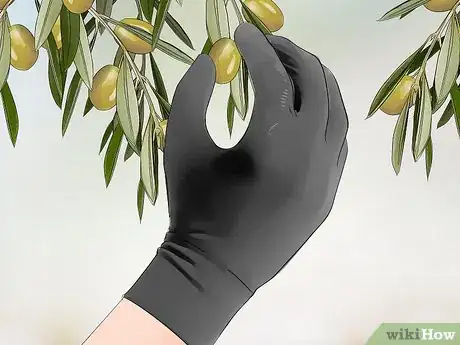
2Pluck the olives that you want from the olive bush or tree by hand. Look for lower hanging branches with olives on them. Wear a pair of gardening gloves and pluck the olives that you want from the tree. Place the olives in a bucket or bag to transport them.[2]
- You can also collect olives that fall to the ground under the tree.
Advertisement -
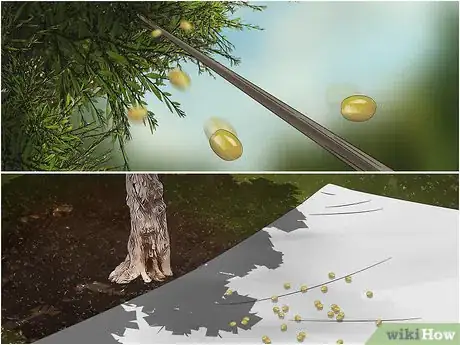
3Hit the tree with a rod to harvest a lot of olives at once. Lay down a plastic tarp under the branches of the olive tree. Then, lightly hit olive-bearing branches with a rod or long stick. Olives will be detached from the branches and fall to the tarp below. Gather up all the loose olives that you knocked off the tree once you're done.[3]
- Don't whack the branches too hard or you'll break them.
- You should only use this method in the late summer or early fall when the vast majority of olives are ripe.
Pitting Olives
-
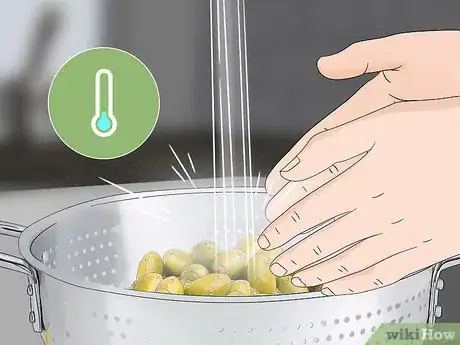
1Rinse the olives under cold water to remove dirt. Pour the olives that you picked into a colander and rinse them with water. Continue rinsing them for 30 seconds to 1 minute to remove any dirt, dust, or pesticides that may be on the olives.[4]
- Once you're done, set the olives aside to let them dry.
-
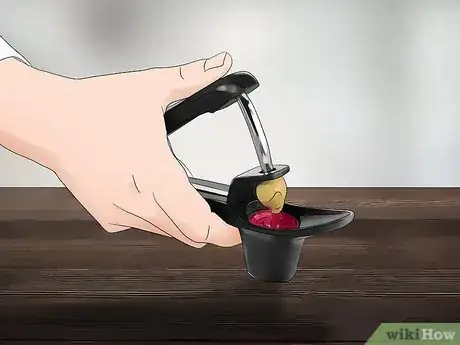
2Use a cherry or olive pitter to remove the pits from the olives. Place the olive in the pitter and press down on the handle to push the pits out of the olives. You can purchase an olive or cherry pitter online or at certain grocery or department stores.[5]
- The pit is one of the main sources for the olive's bitterness.
- Keep in mind that pitting your olives is optional. It will just take longer to cure them if you do not remove the pits.
- You can't grow an olive bush or tree from olive pits, so it's best to discard them once you're done.
-
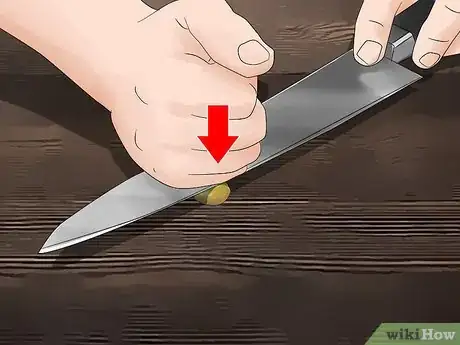
3Press down on the olives with a kitchen knife if you don't have a pitter. If you don't have a pitter, you can use a kitchen knife to remove the pit from the olives. Place the flat side of a kitchen knife over the olives and press down with your palm to remove the pits.[6]
- Using the kitchen knife method may crush your olives, which isn't as visually appealing as using a pitter.
Curing Olives in Brine
-
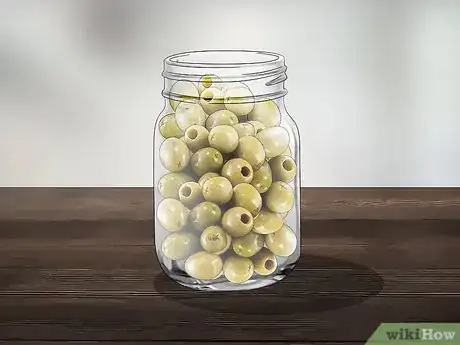
1Place the olives in an airtight container. Place the olives in a container like a mason jar with a lid. Leave at least 1 inch (2.5 cm) of space between the olives and the lid.[7]
- The container must be airtight for the curing process to work correctly.
-
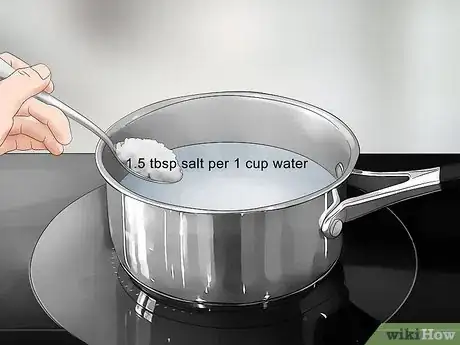
2Boil 1 cup (240 ml) of water per 1.5 tablespoons (22 ml) of salt. Purchase and use pickling, canning, or another coarse variety of salt. Boil enough solution so that you can fill the entire mason jar to the top. Fill a pot with the water and salt and bring the solution to a boil. Let the solution boil for 1-2 minutes, then remove it from the heat.[8]
- This solution will act as the brine for your olives and help remove the bitter taste.
- The component that makes olives bitter is called oleuropein. The salt and water brine will help remove the chemical, thus making the olives less bitter and more edible.
-
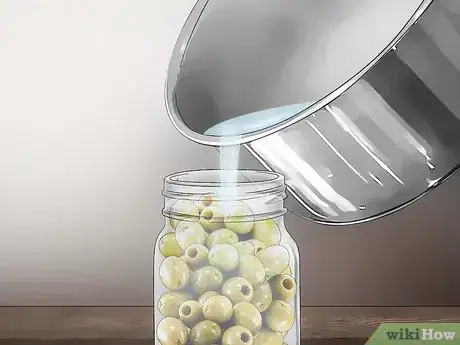
3Fill the container to the top with the brine. Pour the solution into the container while the brine is still hot, making sure that all of the olives are submerged in the brine. The hot brine will help create an airtight seal and will prevent microbial growth in your olive container.[9]
- If you don't have enough brine to cover all of the olives, make more.
- You don't have to fill the jar all the way to the top, just high enough to cover the olives.
-
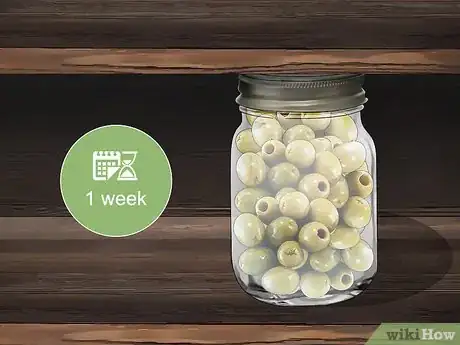
4Seal the container and place it in a dark place for one week. You can store the olives in a dark and shady place like a garage or cellar. This process will remove a lot of the bitterness from the olives.[10]
- Make sure the lid is on tight and that the container is airtight.
-
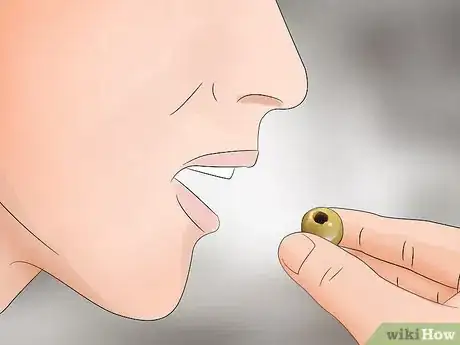
5Wait a week and taste an olive. After the olives have been sitting in the brine for a week, taste it for bitterness. If you prefer your olives to be bitter, you may be done here. If you'd rather your olives taste less bitter, add more brine to them, and then reseal them and wait for another week to reduce the bitter taste.[11]
- Repeat the brining process until the olives are as bitter as you want them to be. This process may take 3 to 5 weeks.
-
6Eat the olives or store them in the refrigerator for 3 to 4 months. You can now eat the olives, add them as a component to a dish, or store them and eat them over time. Keep the olives in the brine solution to help preserve them.[12]
Things You'll Need
- Gardening gloves
- Bucket or bag
- Olive or cherry pitter
- Mason jar or airtight container
- Pot
References
- ↑ http://www.onegreenplanet.org/vegan-food/how-to-pick-and-prep-your-own-olives/
- ↑ https://www.oliveoilsource.com/page/harvest-timing
- ↑ https://youtu.be/4I_w5IcoTqk?t=2m18s
- ↑ https://www.motherearthnews.com/real-food/curing/how-to-cure-olives-zmaz76zhar
- ↑ http://www.onegreenplanet.org/vegan-food/how-to-pick-and-prep-your-own-olives/
- ↑ http://www.onegreenplanet.org/vegan-food/how-to-pick-and-prep-your-own-olives/
- ↑ http://www.onegreenplanet.org/vegan-food/how-to-pick-and-prep-your-own-olives/
- ↑ http://www.onegreenplanet.org/vegan-food/how-to-pick-and-prep-your-own-olives/
- ↑ http://www.onegreenplanet.org/vegan-food/how-to-pick-and-prep-your-own-olives/
