This article was co-authored by Peter Fryer. Peter Fryer is a tennis writer and coach based in Derry Northern Ireland. He completed his professional teaching tennis qualification shortly after finishing university and has been teaching tennis for over 13 years. Peter began Love Tennis Blog in 2010 and contributes to the BBC and national media outlets.
There are 7 references cited in this article, which can be found at the bottom of the page.
This article has been viewed 73,146 times.
Are you having trouble hitting a backhand? The backhand is a shot from your non-dominant side and can be very intimidating for those working on their tennis play. By using proper technique you can be on your way to perfecting your backhand!
Steps
Hitting a Two-Handed Backhand
-
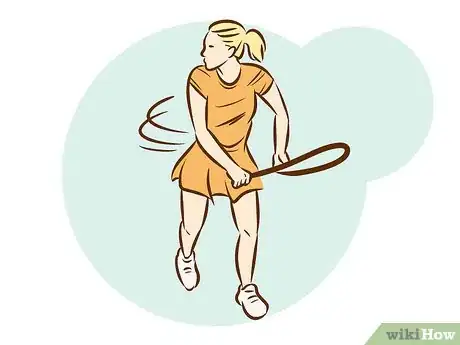
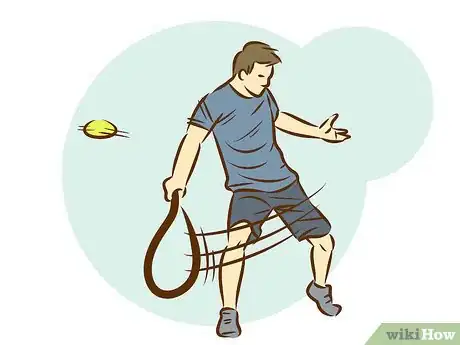
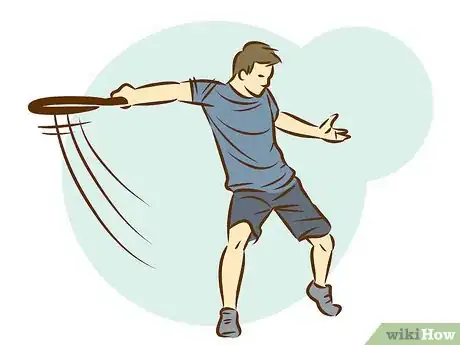
1Work on your two-handed backhand if it feels more comfortable. Most players choose to use either a one-handed or two-handed backhand very early in their training. Some find that using two hands on their backhand leads to a more accurate and powerful shot.
-
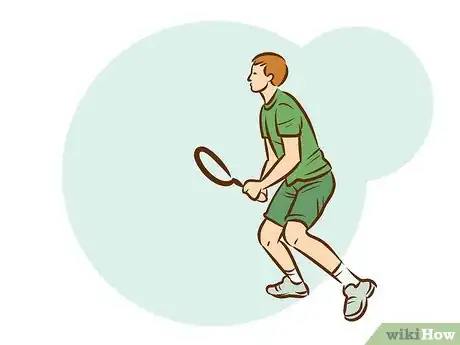
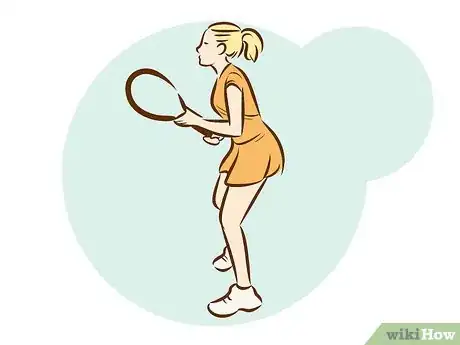
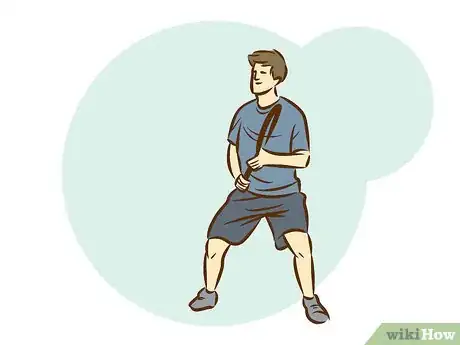
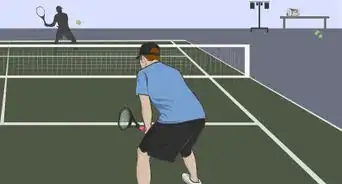
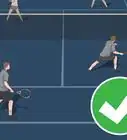
2Start from the ready position. Start from the ready position with your feet pointing towards the net and your knees bent. You should be holding the racket with both hands at hip height while facing the net.Advertisement
-
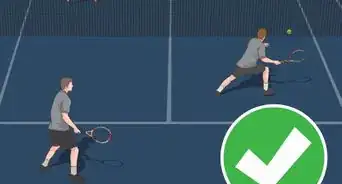
3Make a split step. Make a split step from the ready position to help you to get into position for the two-handed backhand. The split step is a small hop about an inch (2.5 cm) off the tennis court to load up in your legs. Your weight should be evenly divided over both your legs and they should feel like springs so that you can push off explosively to whichever direction you need.[1]
- Your split step should occur right before your opponent makes contact with the ball. This enables you to be ready to chase down the ball as soon as you know where it is going to hit.
-
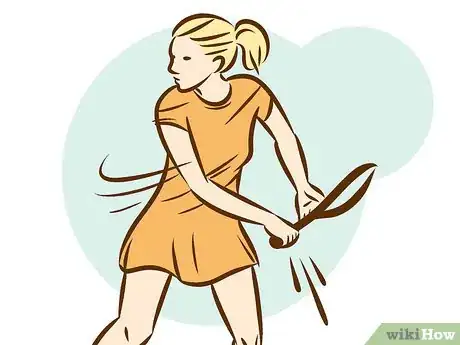
4Make your pivot and shoulder turn. This is the first step of the two-handed backhand and is essential for perfecting your shot. From the split step take one step forward with your right foot, pivoting on your left foot and putting all your weight on your left. As you step forward your body and shoulders will begin turning sideways.[2]
- All your weight should now be on your back foot. This will help generate power and pace when you take the shot.
- By turning your body sideways you can move in a sideways and upward direction with your legs while taking your shot.
- Your arms should not be turning back during this step. They should stay directly in front of your chest. It is very important that your arms are not used during this step.
-
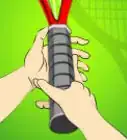
5Adjust to the proper grip. The two-handed backhand grip uses a Continental grip for your dominant (right for right-handers) hand and a Semi-Western forehand grip with your non-dominant (left for left-handers) hand. The non-dominant hand will be just above your dominant hand. Ideally this should happen at the same time as you pivot and turn your shoulders.[3]
- To achieve the Continental grip use your left hand to hold your racket in front of you. Point the grip to the right and orient the string area perpendicular to the ground, facing you. Hold your right hand out as if you are shaking hands with the racket. Place the base knuckle of your index finger on the small, sloped side of the grip to the right of the flat side top, and close your hand around it squarely. The sloped side should go diagonally across your palm to point toward the heel of your palm below your pinkie.
- To achieve the Semi-Western forehand grip you will place the bottom knuckle of your non-dominant hand on the bottom left slanted facet of the grip and close your hand around the grip. The same slanted face should point diagonally across your palm to point toward the heel of your palm beneath your pinkie.
-
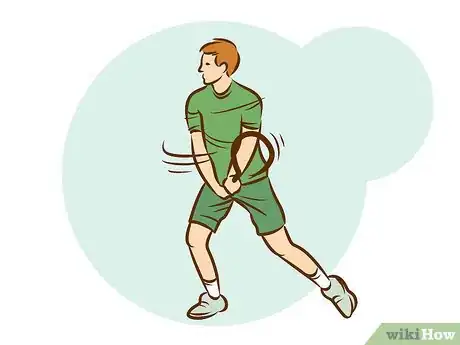
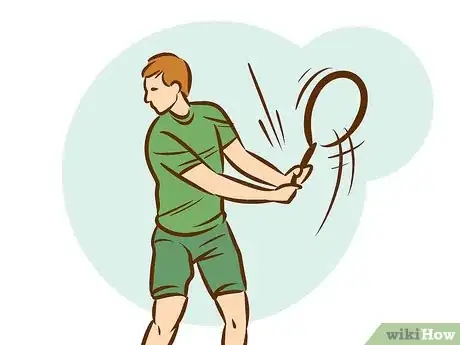
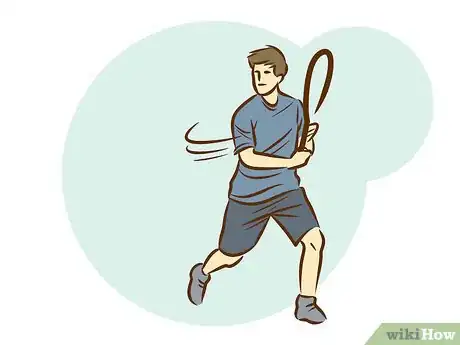
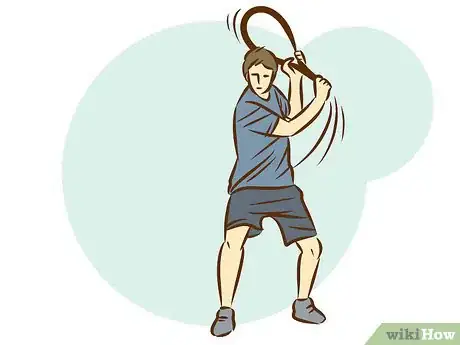
6Complete your back-swing. The pivot and shoulder turn begins to take the racket back but you must continue to rotate your shoulders and move your arms until the tennis racket is all the way back and your shoulders are all the way sideways.
- You should be looking over your shoulders at the ball at this point.
-
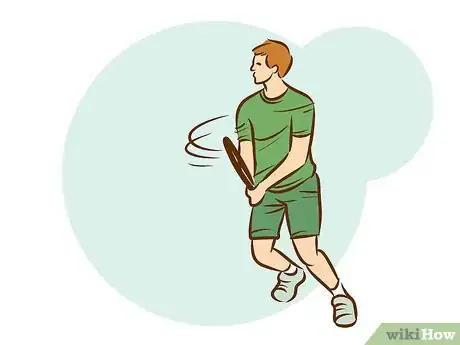
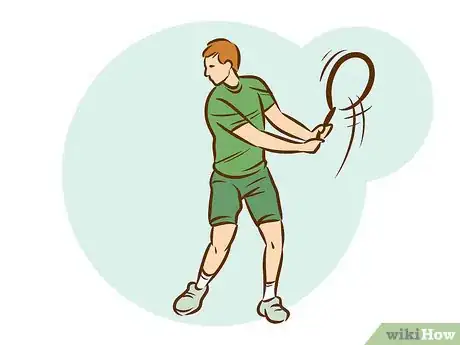
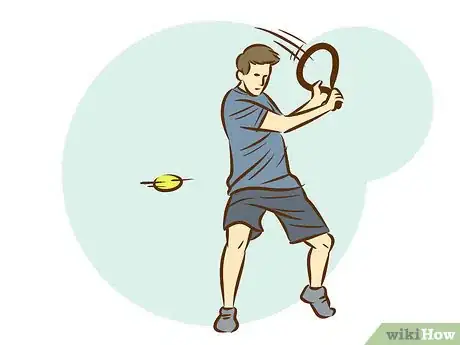
7Drop your racket as you push off with your back foot and rotate your upper body towards the net. These three things should all occur at once. Let your racket drop down as you push off with your back foot, lifting your heel off the ground. At the same time your upper body should rotate towards the net; lifting your heel will help you to rotate your upper body.
- This step is the transition from the preparation to the swing.
- You have the option of taking a small step forward with your front foot at the same time but this is optional. For beginners it is a good idea to take this small step forward at the same time.
- Make sure your eyes stay on the ball so that you can anticipate the ball’s location and height.
-
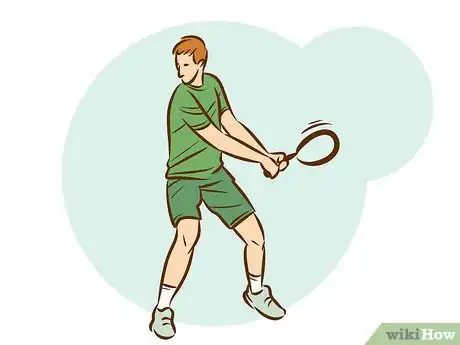
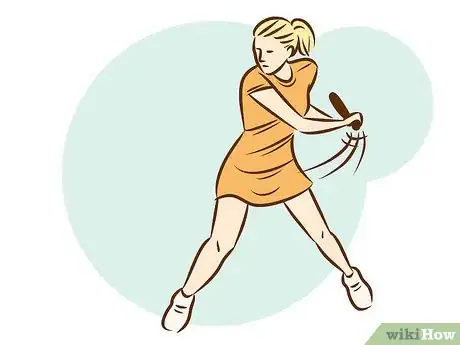
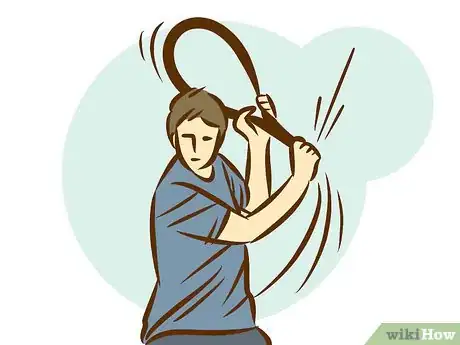
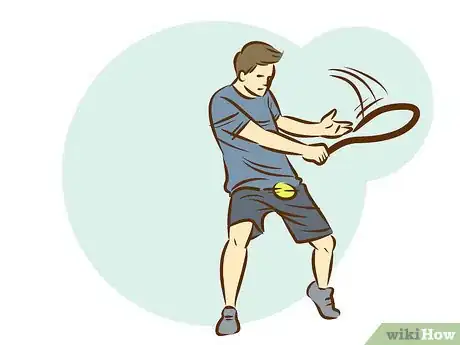
8Swing the racket forward to contact. Swing your arm and the racket to the contact point with the tennis ball. Your racket will follow a C shaped path as it travels towards the point of contact. You should make contact in front of your body.[4]
- Your upper body will rotate back towards the net as you make your swing.
-
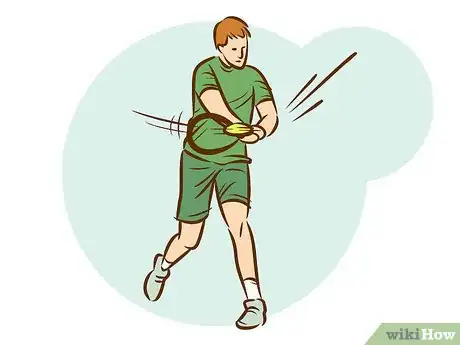
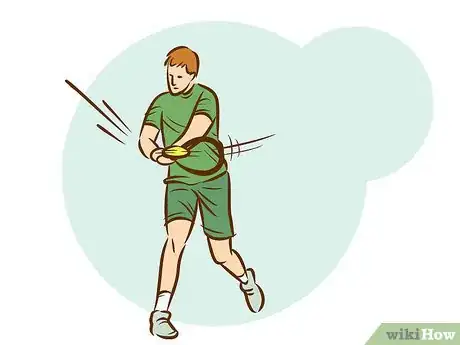
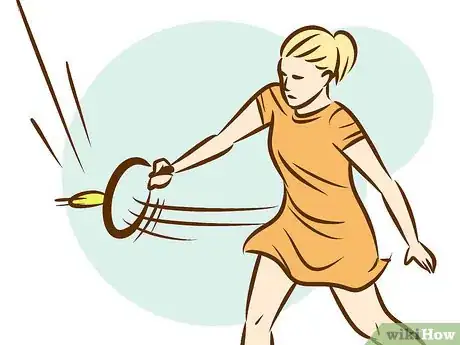
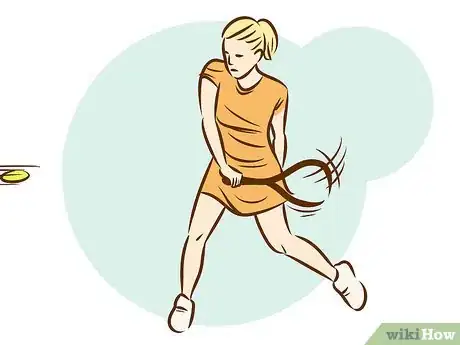
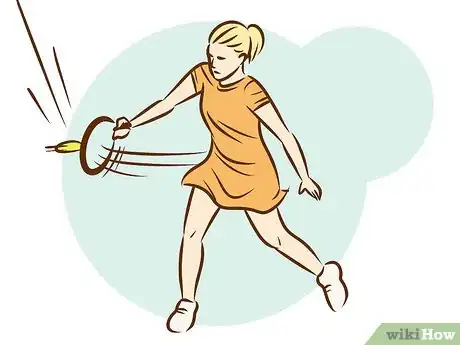
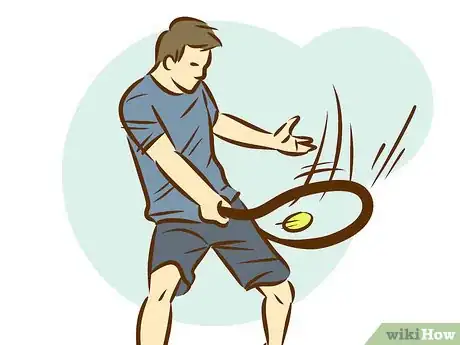
9Make contact with the ball. Your eyes should be totally focused on the ball as you make contact. Make sure contact is made in front of your body and at waist height to enable you to maximize power and topspin. Your strings should be flat on the back of the ball and so directly facing the net.
-
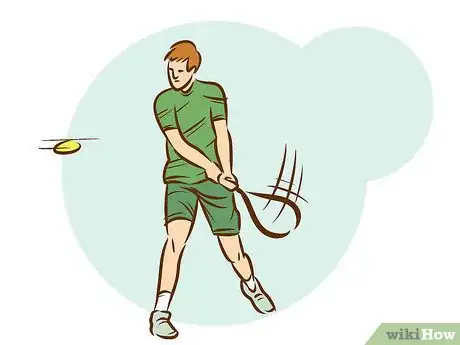
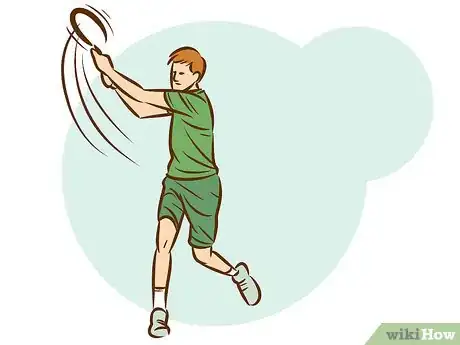
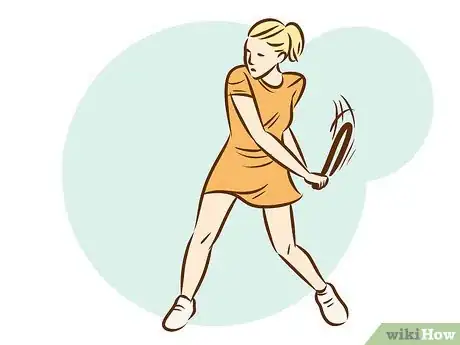
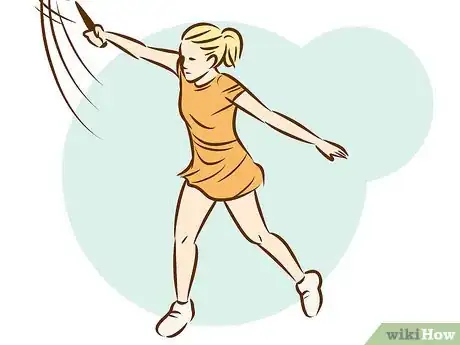
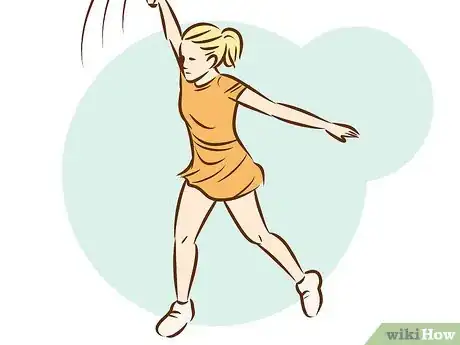
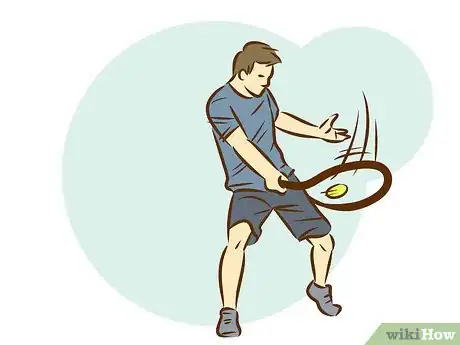
10Follow through your shot. After the contact point you should extend the racket in the direction you are hitting and then rotate your upper body. Continue rotating your shoulders all the way through the shot, until you bend your elbows and bring the racket up over your shoulder.
- You want your follow through to be one easy motion so that the deceleration of the racket is smooth.
- Your shoulders should be facing the net by the end of your follow through.
- Your racket should end up over your right shoulder when you are finished following through.
Hitting a One-Handed Backhand
-
1Work on your one-handed backhand if it feels more comfortable. The one-handed backhand is a beautiful shot but has become less popular in recent years. However, it is still used by many players such as Roger Federer as a powerful weapon in matches.
-
2Start from the ready position. Start from the ready position with your feet pointing towards the net and your knees bent. You should be holding the racket with both hands at hip height while facing the net.
-
3Perfect your pivot and shoulder turn. This is the first step of the one-handed backhand and is essential for perfecting your shot. Start from the ready position and take one step forward with your right foot, pivoting on your left foot. As you step forward turn your body and shoulders sideways so that they are now perpendicular to the net.[5]
- All your weight should now be on your back foot. This will help generate power and pace when you take the shot.
- By turning your body sideways you can move in a sideways and upward direction with your legs while taking your shot.
-
4Adjust to the proper grip. Choose your grip based on the execution you want to achieve. The one-handed backhand will usually use an Eastern backhand grip to create topspin on the ball. Relax your dominant hand and use your non-hitting hand to rotate the racket to the appropriate grip. Grip the racket with your dominant hand once more. Ideally this should happen at the same time as you pivot and turn your shoulders.
- To achieve the Eastern backhand grip use your left hand to hold your racket in front of you. Point the grip to the right and orient the string area perpendicular to the ground, facing you. Hold your right hand straight out directly above the grip. Bring it directly down so your base index knuckle rests completely on the top facet of the grip, and close your hand around it squarely.
- An alternative grip includes the Extreme Eastern or Semi-Western Backhand grip. This grip is for use by stronger, more advanced players and is good for hitting high balls but not good for hitting low balls.
- Another alternative grip is the Continental grip, which holds the racket at a 45 degree angle and is good for hitting slices.
- The Semi-Western backhand grip is a rare backhand grip that is good for hitting heavy topspin but bad for hitting flat shots and slices.
-
5Complete your back-swing. The pivot and shoulder turn begins to take the racket back but you must continue to rotate your shoulders and move your arms until the tennis racket is all the way back and your shoulders are all the way sideways.
-
6Drop your racket and straighten your hitting arm as you step with your front foot. Let your racket drop down as you straighten your hitting arm. At the same time step into the shot with your front foot. The drop of your racket creates the topspin on the tennis ball and is very important to your one-handed backhand.
- This step is the transition from the preparation to the swing.
- Keep your non-hitting hand on the racket as you complete this step.
- Make sure your eyes stay on the ball so that you can anticipate the ball’s location and height.
-
7Swing the racket forward to contact. Let go of the racket with your non-hitting hand after your racket is down and your hitting arm is completely straight. Swing your arm and the racket to the contact point with the tennis ball. You should make contact in front of your body.
- Make sure your arm and the racket swing from the shoulder as a unit. This way your arm position relative to the racket does not change as you swing.
- The racket should come as low as your knee right before you make contact with the tennis ball. This will produce the topspin that you want on your backhand.
- Your upper body will rotate slightly back towards the net as you make your swing.
-
8Make contact with the ball. Your eyes should be totally focused on the ball as you make contact with the ball. Make sure contact is made in front of your body to enable you to maximize power and topspin.[6]
-
9Follow through your shot. Keep the relationship between your arm and the tennis racket the same as you follow through. Continue lifting your arm and rotating your shoulders all the way through the shot, keeping your arm position the same.
- The relationship between your arm and racket should not change until your hand is at the same level as your head.
-
10Allow your non-hitting arm to straighten behind as you follow through. Your non-hitting arm should extend all the way back and behind you. This arm controls how much your shoulders and upper body rotate as you follow through.[7]
- Letting your non-hitting arm extend behind you limits the rotation of your upper body, helping you recover faster and stay balanced during your shot.
Hitting a Slice Backhand
-
1Try the slice backhand when the ball is too low or high for the one or two-handed backhand. It is very difficult to get a proper topspin on very high or low backhanded shots so it is useful to learn the backhand slice for these occasions.
-
2Start from the ready position. Start from the ready position with your feet pointing towards the net and your knees bent. You should be holding the racket with both hands while facing the net.[8]
-
3Perfect your pivot and shoulder turn. This is the first step of the one-handed backhand and is essential for perfecting your shot. Start from the ready position and take one step forward with your right foot, pivoting on your left foot. As you step forward turn your body and shoulders sideways so that they are now perpendicular to the net.[9]
- All your weight should now be on your back foot. This will help generate power and pace when you take the shot.
- By turning your body sideways you can move in a sideways and upward direction with your legs while taking your shot.
-
4Adjust to the proper grip. The one-handed backhand will usually use a Continental backhand grip to slice the ball. Relax your dominant hand and use your non-hitting hand to rotate the racket to the appropriate grip. Grip the racket with your dominant hand once more. Ideally this should happen at the same time as you pivot and turn your shoulders.[10]
- To achieve the Continental grip use your left hand to hold your racket in front of you. Point the grip to the right and orient the string area perpendicular to the ground, facing you. Hold your right hand out as if you are shaking hands with the racket. Place the base knuckle of your index finger on the small, sloped side of the grip to the right of the flat side top, and close your hand around it squarely. The sloped side should go diagonally across your palm to point toward the heel of your palm below your pinkie.
-
5Complete your back-swing. The pivot and shoulder turn begins to take the racket back but you must continue to rotate your shoulders and move your arms until the tennis racket is all the way back behind your head and your shoulders are all the way sideways. This back-swing is different from other backhands because you bring the racket over your back shoulder behind your head and you want the racket and your forearm to for an L shape.
- This 90 degree angle or L shape between your arm and racket is very important for hitting the ball at the correct angle for the slice.
-
6Step with your front foot and transfer your weight to your front foot. This step is the transition from the preparation to the swing. You want to step with your front foot and transfer your weight from your back foot to your front foot. Keep your non-hitting hand on the racket and your arm in the same position in an L behind your head as you complete this step.
- Make sure your eyes stay on the ball so that you can anticipate the ball’s location and height.
-
7Swing the racket forward to contact. Swing your arm and the racket to the contact point with the tennis ball. Your arm will straighten as you swing the racket down on the tennis ball. You need to swing down on the ball to create backspin. You should make contact at waist-height slightly in front of your body.
- In your back-swing your arm and racket formed an L shape. As you swing forward your elbow will straighten completely until your arm forms a V with the racket.
-
8Make contact with the ball. Your eyes should be totally focused on the ball as you make contact. As you swing towards contact your elbow will straighten out from the L shape of your arm and racket into a V shape between your arm and racket. As you make contact your strings should either be facing the net or at a slightly open angle.
- Make sure contact is made at waist height slightly in front of your body to enable you to maximize power and backspin.
- The combination of the downward swing and slightly open angle of the racket will create backspin on the ball.
-
9Follow through your shot. Allow your arm and racket to extend in the direction you are hitting after the point of contact. After extending forward allow your arm to come up, allowing it to slow down and stop. Your arm and racket should stay in the same position as you follow through.[11]
- This may feel strange because you had been bringing the racket down to meet the ball for the shot before bringing it up after the point of contact but it will actually occur naturally to slow down the racket.
- The strings of your racket should end up facing the sky when you finish your follow through.
- Look at your contact point during contact and as you complete your follow through your eyes should stay at that same point.
-
10Allow your non-hitting arm to straighten behind as you follow through. Your non-hitting arm should extend all the way back and behind you. This arm controls how much your shoulders and upper body rotate as you follow through. You want your body to stay sideways during the follow through.
- Letting your non-hitting arm extend behind you limits the rotation of your upper body, helping you recover faster and stay balanced during your shot.
Warnings
- Always stretch before playing tennis to avoid injuries.⧼thumbs_response⧽
- Be careful not to hit yourself in the head while doing this.⧼thumbs_response⧽
References
- ↑ https://www.tennis.com/your-game/2014/01/six-steps-perfect-two-handed-backhand/46483/
- ↑ https://www.tennis.com/your-game/2014/01/six-steps-perfect-two-handed-backhand/46483/
- ↑ https://www.youtube.com/watch?v=D_cNHW2e7tc
- ↑ https://www.youtube.com/watch?v=D_cNHW2e7tc
- ↑ https://www.youtube.com/watch?v=hKSr14cUn9Q
- ↑ https://www.youtube.com/watch?v=2_2X6Ga_M4Y
- ↑ https://www.youtube.com/watch?v=r_H-xQOy9YU&feature=emb_logo
- ↑ https://www.youtube.com/watch?v=eb2mpB8te7k
- ↑ http://www.tennisviewmag.com/tennis-view-magazine/article/hit-killer-slice-backhand
About This Article
To hit a backhand, start by working on your two-handed backhand for a more accurate and powerful shot. Begin with your feet pointing toward the net and your knees bent. Next, take 1 step forward with your right foot, pivot on your left foot, and put all your weight into your left leg. As you step forward, turn your body and shoulders sideways to bring the racket behind you. Then, push off with your back foot, rotate your upper body toward the net, and swing your racket forward to make contact with the ball. To learn how to properly grip your racket with 2 hands, keep reading!
