This article was co-authored by Homer Flores. Homer Flores is an Appliance Repair Specialist and Training Manager at PreFix, a home maintenance company out of Austin, Texas. With over 15 years of experience, Homer specializes in home improvement, remodeling, and construction. Homer’s dedication to the PreFix mission of providing hassle-free one-stop-shop service for home care, in addition to their completion of the Capital Factory and Techstars Accelerators, has contributed to their growth of service to over 50 zip codes throughout the greater Austin area.
There are 9 references cited in this article, which can be found at the bottom of the page.
This article has been viewed 428,425 times.
Hooking up a washing machine and dryer is a straightforward task, and doing it yourself can save you time and money! Different models of washers and dryers do vary somewhat, but most models, including both side-by-side and top-and-bottom ones, follow a general set of guidelines when they're manufactured, so you can apply the instructions listed below to your specific washer and dryer models.
Steps
Preparing for Installation
-
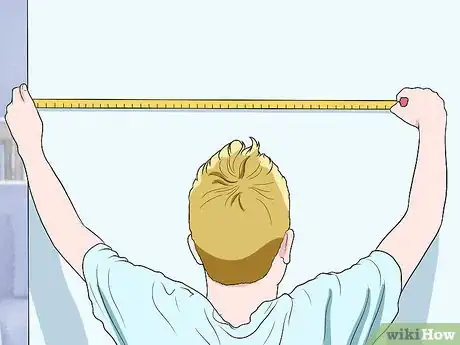
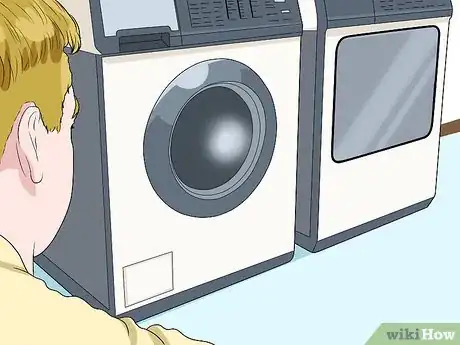
1Measure the space. Before you try to install your washer and dryer, measure the area where you intend to put them to ensure they will fit. Keep in mind that your dryer will need about four inches of additional space in the back for venting.[1]
-
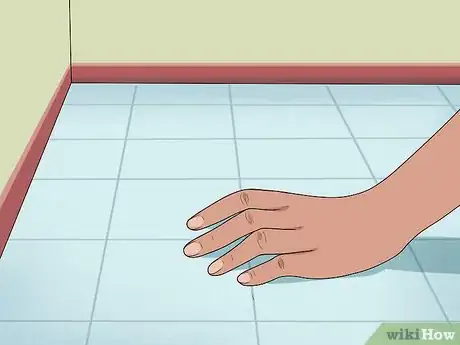
2Make sure the floor is stable. Installing the machines on carpet, soft tile, or any weakly supported structure is inadvisable, as the machines may be unstable or damage the floor.[2]Advertisement
-
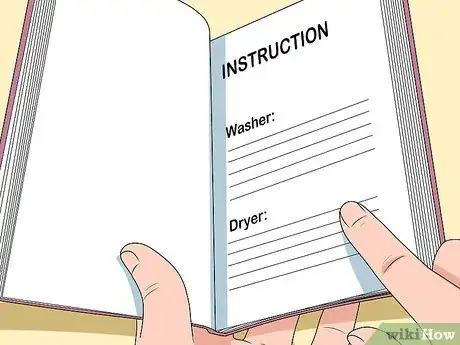
3Read the instructions for your washer and dryer. The instructions provided here will apply to most washers and dryers, but you should read the instructions that came with your machines in case they include any special features that might require additional steps.
Installing the Dryer
-
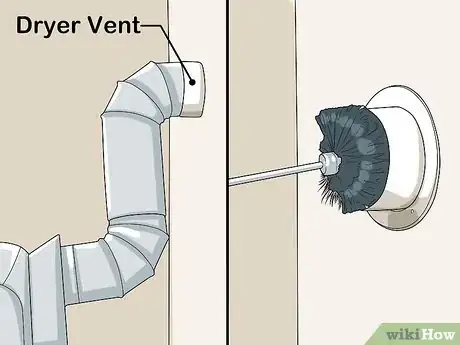
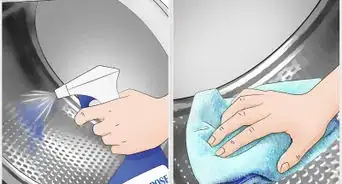
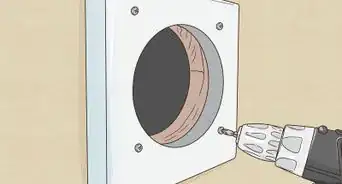
1Check and clean your dryer vent. Unless your house has never been lived in, it is important to make sure your dryer vent is free and clear of all debris, as a blocked vent may be a fire hazard.[3]
- Most home improvement stores can sell you an inexpensive vent brush. Starting from indoors, insert the brush a few inches and spin, then remove the brush and clean off the bristles. Repeat until the bristles come out clean.
- After cleaning the indoor side of the vent, go outside and remove the vent hood to ensure it is clear of all lint and debris.
- It's a good idea to clean your vent every two years. In addition to the safety issues that a blocked vent can cause, drying clothes with a blocked vent can damage your dryer and void your warranty.[4]
-
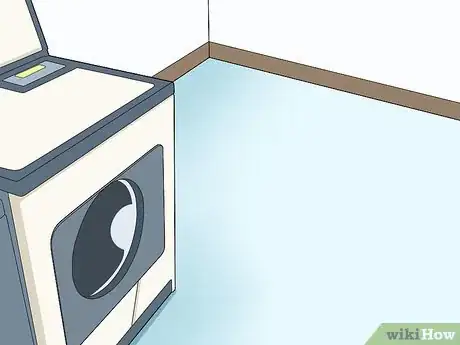
2Move the dryer into place. Leave yourself a couple of feet of space behind the dryer so you can stand comfortably while hooking up the vent hose.
- If using metal ducting instead of a flexible hose, you'll need to move the dryer all the way into place and attach the ducting while standing alongside the machine.
-
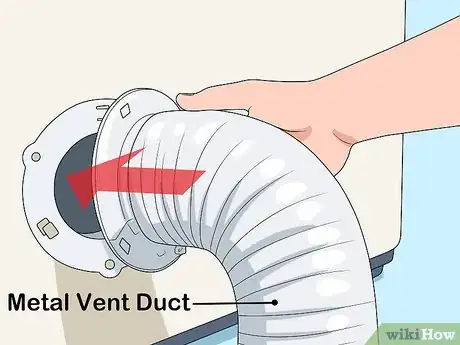
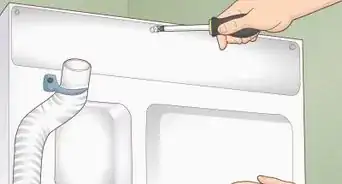
3Attach the vent hose or duct to your machine. Place one end of the vent hose over the vent hole in the back of the dryer.
- If space permits, it is a good idea to use a metal vent duct, as ribbed plastic and aluminum hoses can catch lint and clog more easily. Joints in the metal duct should be sealed with duct tape, as screws may also catch lint. The end should fit snugly into the machine, so no clamps or tape should be needed.[5]
- The straighter the vent, the better it will function, as lint can gather in areas where the hose bends. This is another good reason to use metal ducting rather than a plastic or flexible aluminum hose.[6]
- If using a plastic vent hose, slip a circular dryer clamp over the hose to hold it securely in place.
- Make sure your clamps are the right size and fit tightly. Many hoses come with clamps that are made to fit.
-
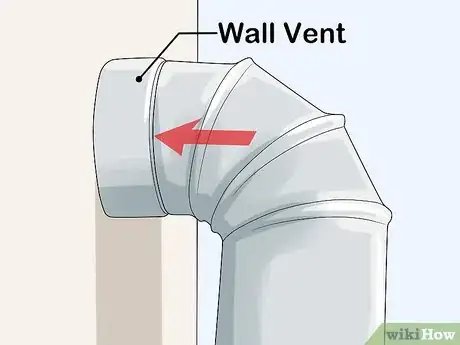
4Attach the hose or duct to the wall vent. If using a flexible hose, clamp it into place, as in step 3. A metal duct will not require clamps but should just slide into place.
-
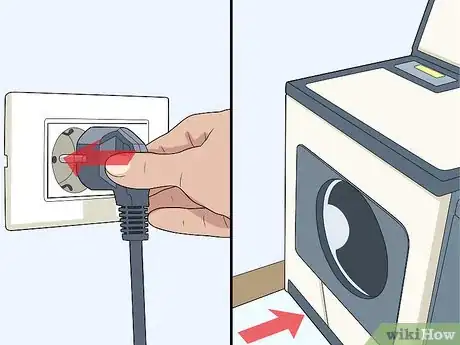
5Plug in the dryer and move it into its final position.
Installing the Washer
-
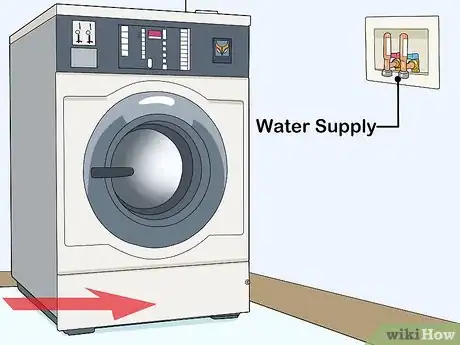
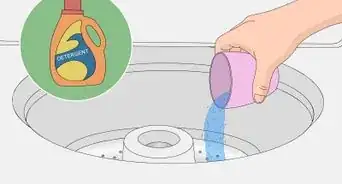
1Run some water through the faucets. Place a bucket or tub underneath the hot and cold water outlets you'll be hooking up to and run some water through each. This will clear any debris that might clog your valve screens. [7]
- Afterwards, make sure the faucets are turned completely off.
-
2Move the washing machine into place. Make sure you have enough room to navigate either to the side of the washing machine or behind it to hook up the water supplies.
- Most hoses only have a reach of a few inches; you may need to leave yourself room on the side to hook it up.
-
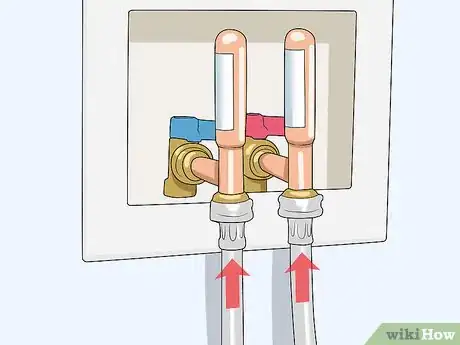
3Attach each of the water supply hoses to the faucets. Make sure the hot water hose is connected to the hot water faucet and the cold water hose is connected to the cold.
- Many hoses are color coded, with red for hot and blue for cold. Others are not marked, so it will be up to you to remember which is which when it comes time to connect to the washer.
- The end of the hose that has a filter screen in the coupling attaches to your faucet. If the filter screen is not yet in the hose, insert one into the coupling before attaching the hose to the wall. The screens should be included with your hoses.[8]
- Turn the coupling clockwise by hand until tight. Then, with a pair of pliers, tighten the coupling by rotating it another quarter to half a turn. Do not over-tighten, as this may cause leaks.[9]
-
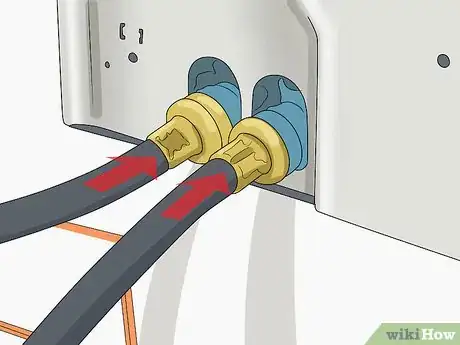
4Attach the water hoses to the hot and cold water inlets on the back of the washing machine. Make certain the correct hose is attached to the correct inlet.
- The ends of the hoses with plain rubber washers attach to the washing machine. If the couplings do not have washers in them, insert the washers first, otherwise your hose will leak.
- As with the screens,washers should be included with the hoses if not already inserted.
- Tighten the couplings as in step 3.
-
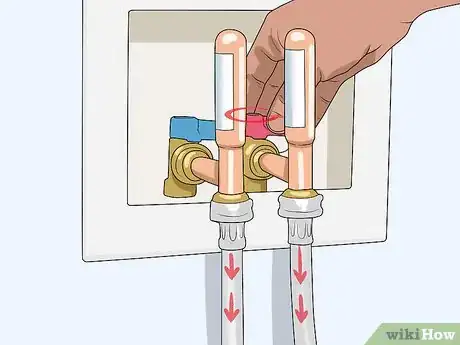
5Turn on the water and check for leaks. If hoses are leaking, turn off the water and double check that your couplings are tight and correctly threaded.
-
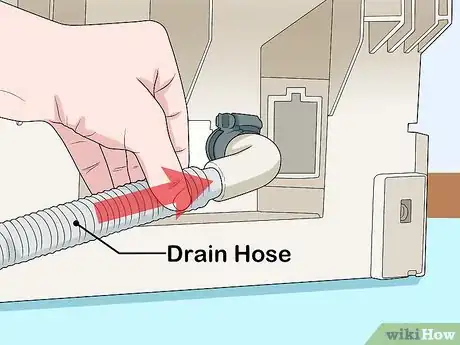
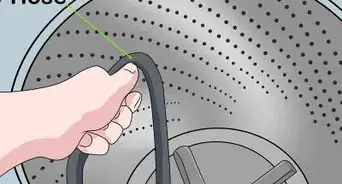
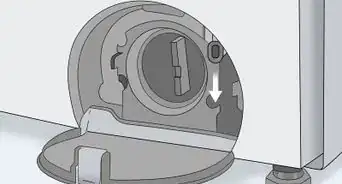
6Connect the drain hose to the washing machine. The drain hose should screw onto the water outlet similarly to the water hoses. With some washing machine models, you may find it is already connected, so you can skip this step.
-
7Run the drain hose to the drain receptacle. Depending on your plumbing, you'll need to feed the hose into a drain on the floor, the wall, or into a laundry sink, or there may be a rigid pipe that extends down to a floor drain.
- Your washer should come with accessories such as straps and/or a hook to help you secure the drain pipe. Consult the manual for your machine to learn how to use these parts correctly in conjunction with your plumbing.
- Make sure to leave a space of several inches between the end of the hose and the bottom of the drain or sink, otherwise your machine may siphon drained water back up the drain pipe.
-
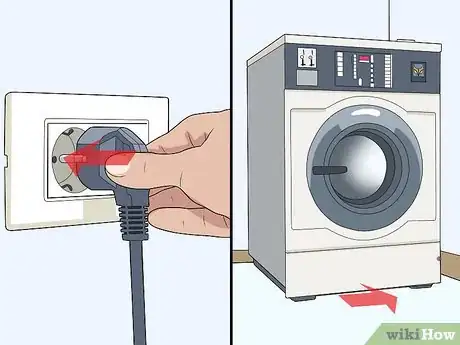
8Plug in the washing machine and push it into place against the wall.
Finishing Up
-
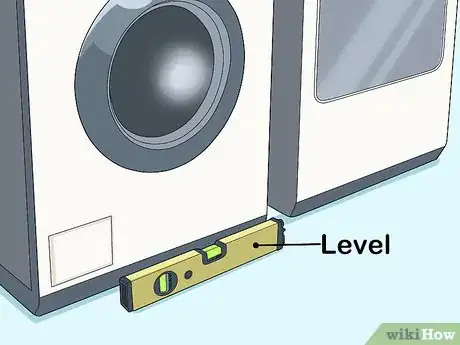
1Check to make sure both machines are level. Uneven floor or incorrectly adjusted legs may prevent the machines from sitting flat. A level, available at any hardware store, will make it easy to tell if this is the case.
- Failure to level your machines may result in damage to your machines or floor.
-
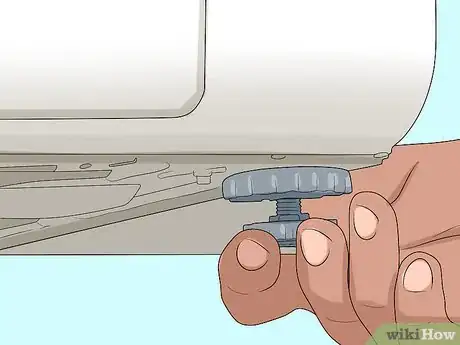
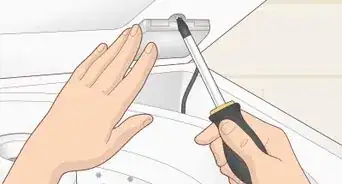
2Adjust the feet at the bottom of each machine as needed. Lift or tip the machines slightly off the ground to adjust the feet. Some feet will self-level and will fall down to the floor as you lift. Others will need to be twisted counterclockwise to loosen and level the machines' feet.[10]
- Consult the instructions that came with your machines for information on how to level them. Some machines require you to install feet or pads before you begin installing the machine.[11]
-
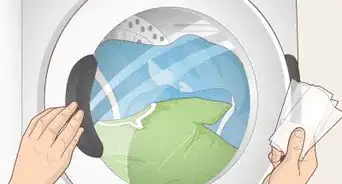
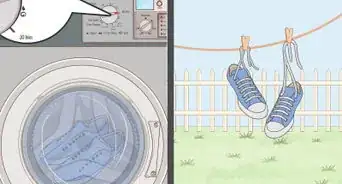
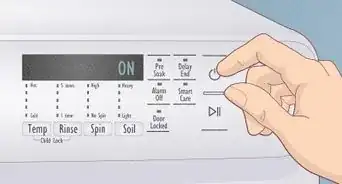
3Run both machines to ensure that they are working. The washing machine should fill and drain completely, while the dryer should heat up quickly.
Expert Q&A
-
QuestionWhat supplies do I need to install a washer?
 Homer FloresHomer Flores is an Appliance Repair Specialist and Training Manager at PreFix, a home maintenance company out of Austin, Texas. With over 15 years of experience, Homer specializes in home improvement, remodeling, and construction. Homer’s dedication to the PreFix mission of providing hassle-free one-stop-shop service for home care, in addition to their completion of the Capital Factory and Techstars Accelerators, has contributed to their growth of service to over 50 zip codes throughout the greater Austin area.
Appliance Repair Specialist Washer installs will require a set of supply lines, channel lock pliers, and a zip tie to fasten the drain line to the supply lines.
 -
QuestionHow can I stop my washer from bouncing around on the spin cycle?
 Community AnswerEnsure the washer is level and that all four feet are *completely* on the floor. If only three feet are firmly on the floor (with the fourth nearly down but not bearing weight) it can wobble and walk. Also verify the machine is level using a bubble level, any imbalance can cause strong forces during spinning. These are shown in steps 4-1 and 4-2 above.
 -
QuestionWhy are the new connecting hoses to the water taps each over four feet long even though the washer is one foot from the taps? Also, why wouldn't I get warm water unless I cut back on the cold water hose?
 Community AnswerThe extra length is there in case you need to move the washer further away from the wall than just one foot (to clean behind it, etc.). As to your second question, you may use up the water if you don't cut back.
Warnings
- Make sure that your water faucets are off before you begin, and that you turn them on before you push the machines back against the wall.⧼thumbs_response⧽
- Some dryers use gas heat rather than electricity and need to be hooked up to a gas line. If you are installing one of these machines, make sure gas is not flowing through the line before you begin installation. There should be a shut-off valve within six feet of the dryer that allows you turn the gas off. If there is no shut-off valve or you are uncertain how to turn the gas off, do not attempt installation yourself, as gas leaks are both toxic and a severe fire danger.[12]⧼thumbs_response⧽
References
- ↑ http://www.homedoctor.net/basements-garages/laundry/washer-dryer-installation
- ↑ http://docs.alliancelaundry.com/tech_pdf/Production/802715.pdf
- ↑ http://www.thisoldhouse.com/toh/how-to/intro/0,,20052014,00.html
- ↑ https://content.abt.com/documents/3732/3406880.pdf
- ↑ http://www.thisoldhouse.com/toh/how-to/step/0,,20052014_684014,00.html
- ↑ http://www.homedoctor.net/basements-garages/laundry/washer-dryer-installation
- ↑ http://manuals.electroluxusa.com/prodinfo_pdf/Webster/137064300.pdf
- ↑ http://docs.alliancelaundry.com/tech_pdf/Production/802715.pdf
- ↑ http://docs.alliancelaundry.com/tech_pdf/Production/802715.pdf
About This Article
Before you hook up your washer and dryer, clean your air vent to guard against fire hazards. To install the dryer, attach the vent hose to the vent on the back of the machine, then push the dryer into its final position. For the washer, connect the hot water hose to the hot water faucet and the cold water hose to the cold water faucet. Finish by attaching these hoses to the corresponding inlets on the machine before turning on the water to test for leaks. For tips on installing the drain hose on the washer and how to test your machines are working, read on!
