This article was co-authored by wikiHow staff writer, Rain Kengly. Rain Kengly is a wikiHow Technology Writer. As a storytelling enthusiast with a penchant for technology, they hope to create long-lasting connections with readers from all around the globe. Rain graduated from San Francisco State University with a BA in Cinema.
This article has been viewed 1,041 times.
Learn more...
Do you want to know if there's a time limit on how long you can screen record on your iPhone? This depends greatly on your device model and available capacity. As long as you have space available on your iPhone, you will be able to record. Screen Recordings will stop automatically once your capacity is full. This wikiHow will explain how long Screen Recordings can be on iPhone and how to enable it on your device.
Things You Should Know
- You can Screen Record until your iPhone runs out of space. This depends on your iPhone model and capacity.
- To check your capacity, go to "Settings" → "General" → "About" → check "Available".
- To enable Screen Recording, go to "Settings" → "Control Center" → "+ Screen Recording".
Steps
Checking iPhone Capacity
-
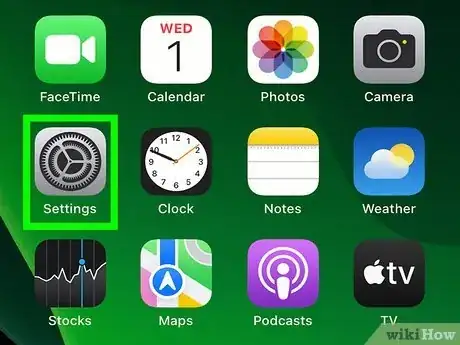
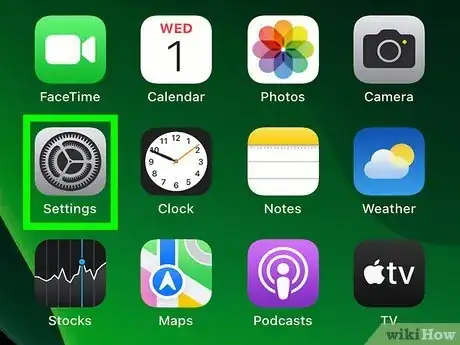
1Open the Settings app. This is the grey cog icon.
-
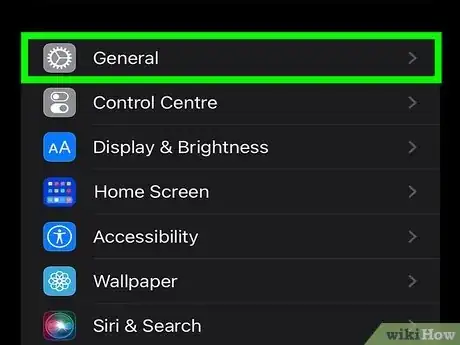
2Tap General. You can find this in the middle of the page, above Control Center.
-
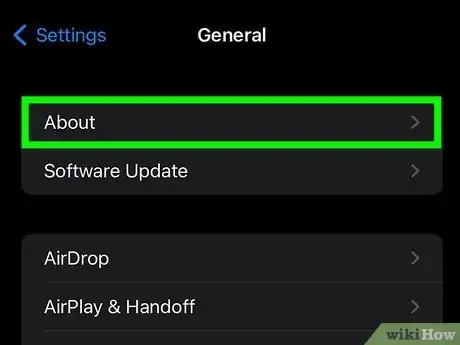
3Tap About. This will be at the very top.
-
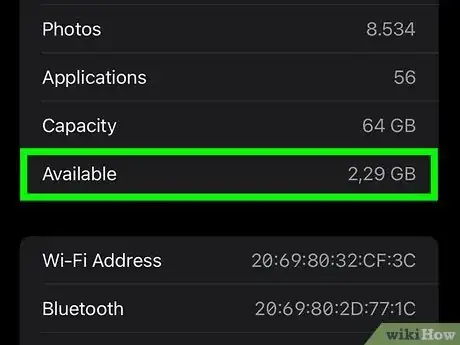
4Search for Available. This will be towards the middle of the page, underneath Capacity.
- You'll see your available space in GB to the right of Available.
Enabling Screen Recording
-
1Open the Settings app. This is the grey cog icon.
- Use this method to add Screen Recording to the Command Center if you don't have it already. You must do this to record your iPhone screen.
-
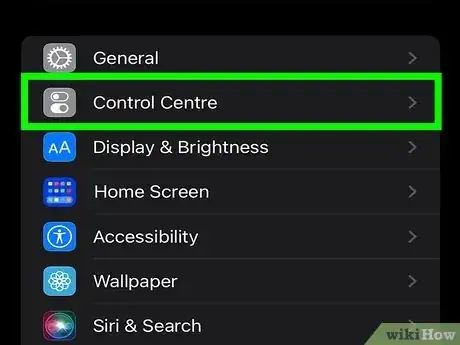
2Tap Control Center. You can find this in the middle of the page, below General.
- You'll see a list of apps currently added to your Control Center and a list of available apps to add.
-
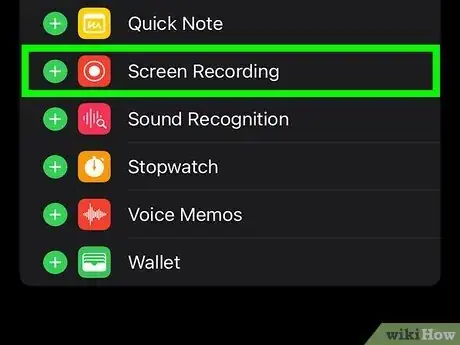
3Tap + next to "Screen Recording". This will add Screen Recording to your Control Center.
- If you want to move its position, tap and drag the three lines icon.
Starting a Screen Recording
-
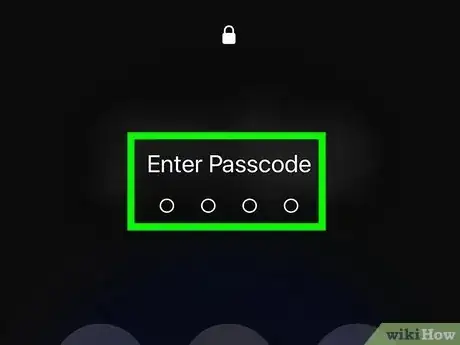
1Unlock your phone. Use your passcode or Face ID to open your iPhone.[1]
- Make sure to update your iPhone.
-
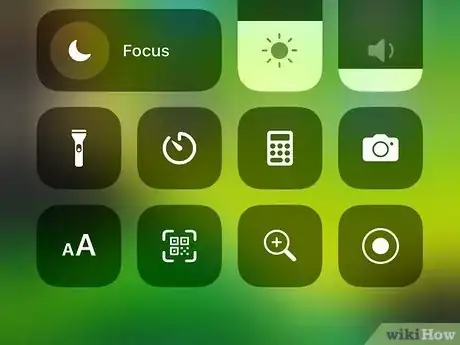
2Open the Control Center. This will vary depending on your device.[2]
- On iPhone X and later: swipe down on the top-right corner of the screen.
- On iPhone SE, iPhone 8, and earlier: swipe up from the bottom edge of the screen.
-
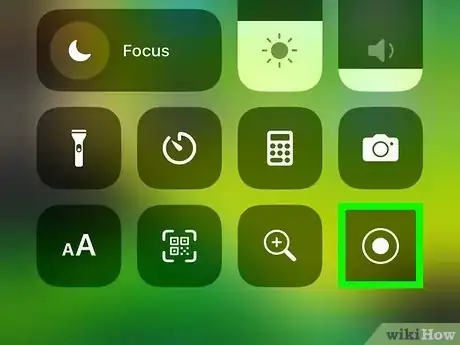
3Tap the Screen Recording icon. This looks like a filled circle inside of a circle outline.
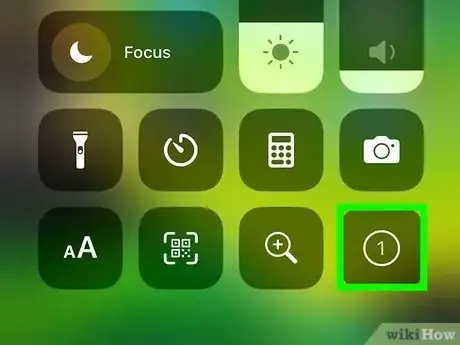
- You'll see a 3-second countdown on the Screen Recording icon. You can use this time to navigate to a different screen, homepage, or app.
-
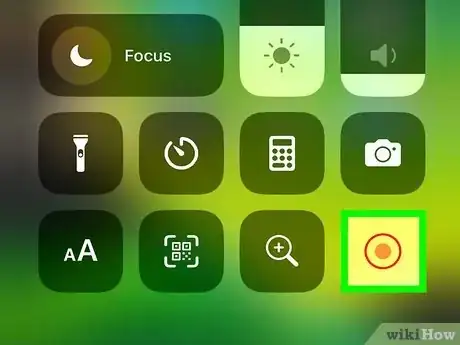
4Begin Screen Recording. You'll see a red circle over the current time in the top-left corner of the screen. This shows you that there is an active Screen Recording.
-
5Stop Screen Recording. Tap the red circle in the top-left corner, then tap Stop.
- Alternatively, open the Control Center again and tap the Screen Recording icon.
- Screen Recordings will automatically be saved to your Photos.
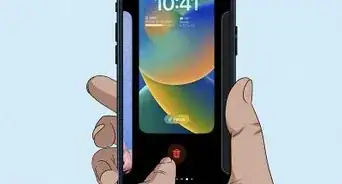
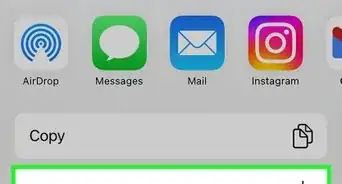
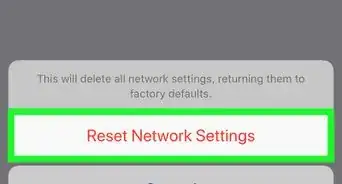
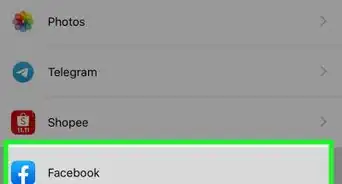
- To free up more space for more Screen Recordings, you can upload new videos to iCloud and delete them on your iPhone.
