This article was co-authored by wikiHow staff writer, Rain Kengly. Rain Kengly is a wikiHow Technology Writer. As a storytelling enthusiast with a penchant for technology, they hope to create long-lasting connections with readers from all around the globe. Rain graduated from San Francisco State University with a BA in Cinema.
This article has been viewed 2,603 times.
Learn more...
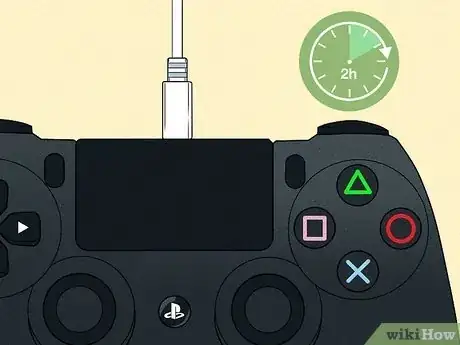
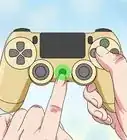
Do you want to know how long to charge your PS4 controller? If the controller is completely drained, it'll take about 2 hours to fully charge. You can use your PlayStation 4 console to charge your controller, or use a 5V charging block and wall outlet. If your controller isn't charging, there could be a problem with your cables or micro-USB port. This wikiHow article will teach you everything you need to know about PS4 controller charging times. We'll also teach show you how to properly charge your PlayStation 4 controller with or without the console.
Things You Should Know
- A PS4 controllers takes about 2 to 2.5 hours to fully charge if it's completely dead.
- After about 1 to 1.5 hours of charging, your PS4 controller will be about halfway charged.
- The controller will charge more slowly if you're using it while charging.
Steps
Charging with Console
-
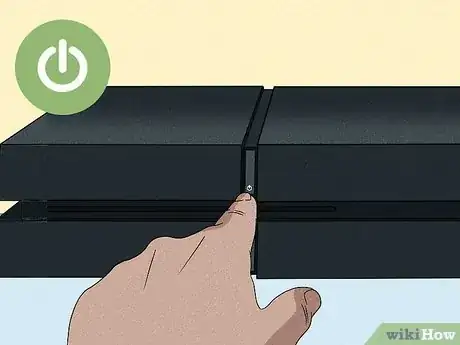
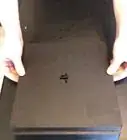
1Turn on your PlayStation 4. Your PlayStation 4 must be on or in rest mode to charge your controller.[1]
- Click the power button on the front of the console. The PS4 should beep and the light strip should turn blue.
-
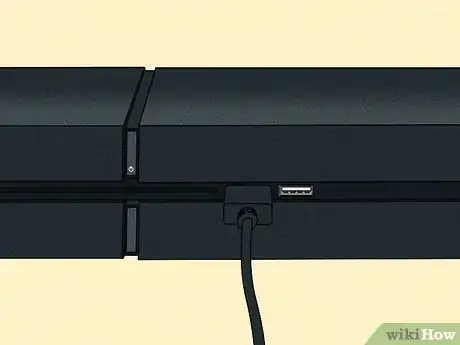
2Plug the USB end of the charging cable into your PlayStation. You can use either USB slot on the front of your controller.
-
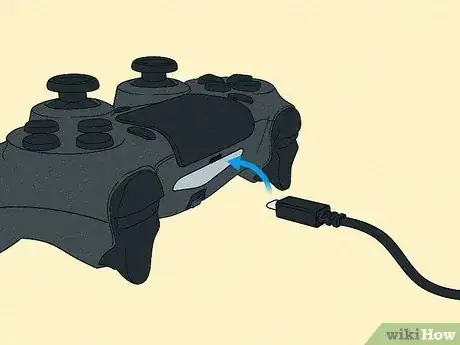
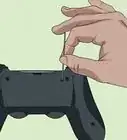
3Plug the micro-USB end of the charging cable into your controller. The port will be on the back of the controller, underneath the light bar.
-
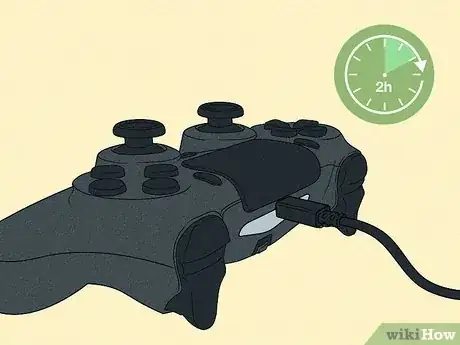
4Wait for your controller to charge. This will take approximately 2 hours when it's not in use. Your light bar should be slowly flashing orange. It may take a few seconds for the color to change.
- If your light bar isn't on, make sure the USB and micro-USB are inserted properly. If the problem persists, try a different charging cable.
- If your controller isn't connecting, this could indicate a problem with the micro-USB port. You may need to clean your controller or repair the loose port.
Charging with Wall Outlet
-
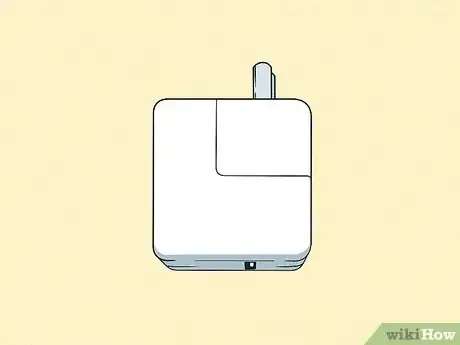
1Locate a 5 volt charging block. This can be the Apple iPhone charging block or an Android phone charging block. Make sure to double-check the charging block is 5V.
- If you use a charger higher than 5V, you might burn out your controller. Search the back or side of your charger to confirm it is 5V.
-
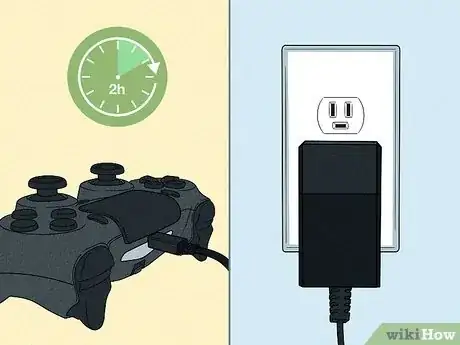
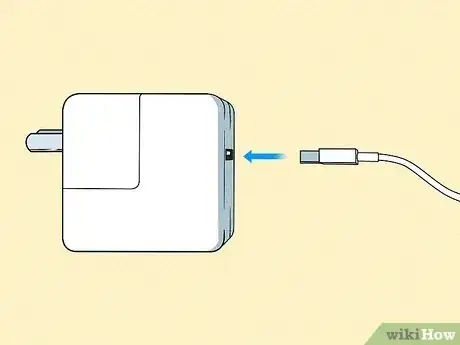
2Plug the USB end of the charging cable into the charging block. Make sure to insert the USB correctly.
-
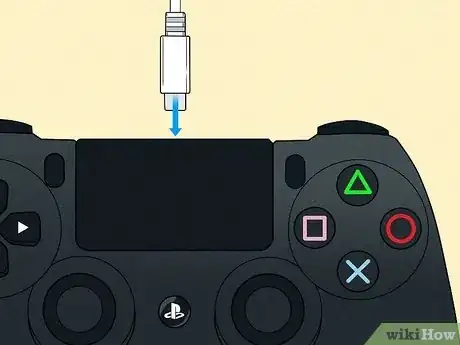
3Plug the micro-USB end of the charging cable into your controller. The port will be on the back of the controller, underneath the light bar.
-
4Wait for your controller to charge. This will take approximately 2 hours when it's not in use. Your light bar should be slowly flashing orange. It may take a few seconds for the color to change.
- When it's finished charging, you can connect the controller to your PS4.
- If the light bar isn't on, make sure you're using a functional wall outlet. If the problem persists, try a different charging block and/or charging cable.
- You can also test your PS4 controller.
