This article was co-authored by wikiHow Staff. Our trained team of editors and researchers validate articles for accuracy and comprehensiveness. wikiHow's Content Management Team carefully monitors the work from our editorial staff to ensure that each article is backed by trusted research and meets our high quality standards.
There are 8 references cited in this article, which can be found at the bottom of the page.
This article has been viewed 106,929 times.
Learn more...
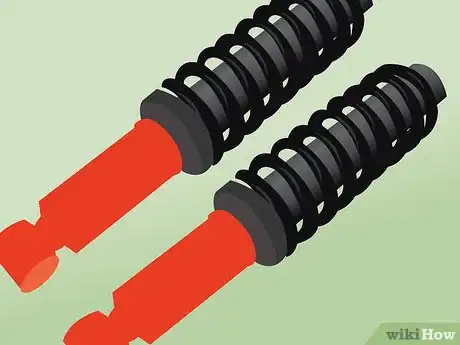
Installing lowering springs refers to the process of customizing your car's suspension, enabling it to ride closer to the ground. The process is not difficult, so anyone with garage access and a little know-how can accomplish this modification. Since lowering springs are designed to work with your existing factory suspension, they can simply replace your coil springs.
Steps
Preparing to Change Springs
-
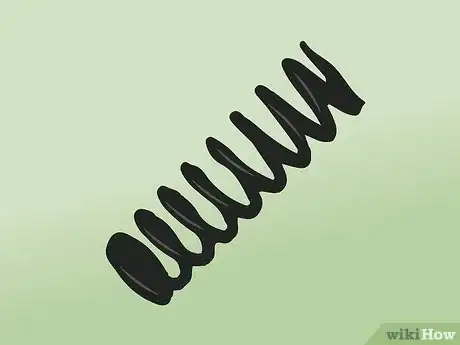
1Choose the right spring for your car. There are two factors to consider when buying your springs. The first is how much you are willing to spend. Better (lower) springs can be more expensive. Second, decide how much you want to lower your car. Some springs can lower a vehicle as much as 1.5 inches (3.8 cm).[1] This might not sound like much, but it is a considerable amount for a single small modification such as springs.
- Lowering springs are made to replace coil springs and are not the same as a coilover design.[2]
-
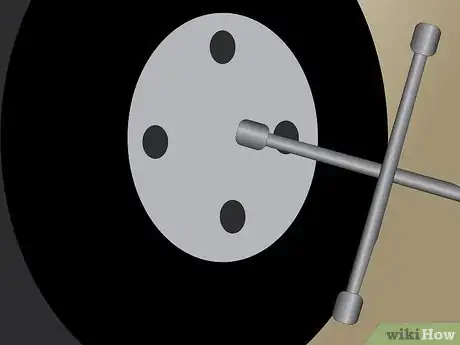
2Loosen the lug nuts with a lug wrench (tire iron) or impact wrench. It is important to remember to loosen, or break, the lug nuts before you jack up the vehicle. This way the weight of the vehicle is still on the wheels and it prevents them from spinning dangerously while you turn the lugs.Advertisement
-
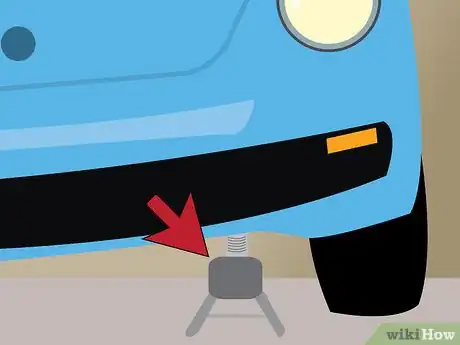
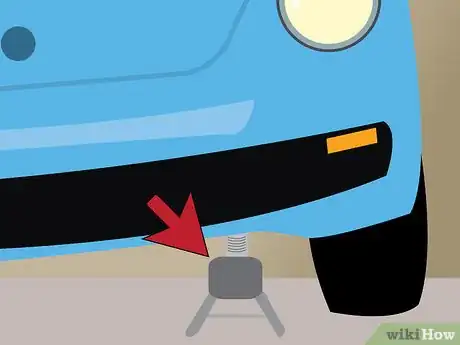
3Jack up the car. Once the lugs have been loosened, it will be necessary to jack the care up so that the wheels can be removed. As mentioned above, this should be done on level concrete or some other hard, level surface. Some important things to remember when jacking up the care are:
- Your service manual will recommend jacking points
- The most common way to elevate the car is a floor jack, or trolley jack. If you are unsure how to use one visit Lift a Car Using a Trolley Jack.
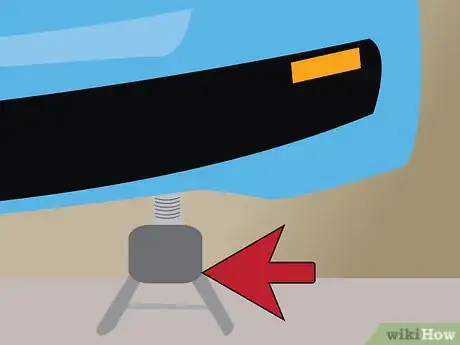
- You should use jack stands to stabilize the car. A good tutorial on jack stands can be found at Use Jack Stands.
- If you have access to a hydraulic lift it will save you time.
-
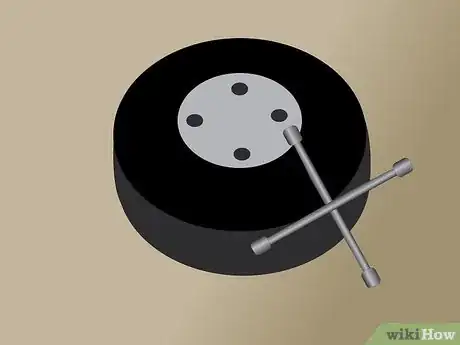
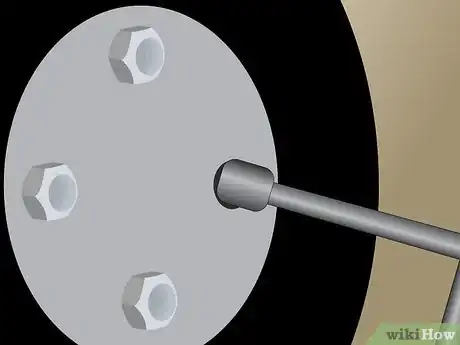
4Remove the lug nuts and pull the wheel off of the hub. At this point, the lugs may be loose enough to remove by hand. If not, finish removing the lugs with the lug wrench or impact wrench. Once the lugs are removed, pull the wheel off of the wheelbase. If you are uncomfortable removing a wheel, read about how to Remove Lug Nuts and Tires.
Removing the Coil Springs
-
1Place the jack underneath the lower control arm. You will need to support this part during the disassembly. Otherwise it may fall abruptly during disassembly and cause harm to yourself and/or the vehicle.[3]
-
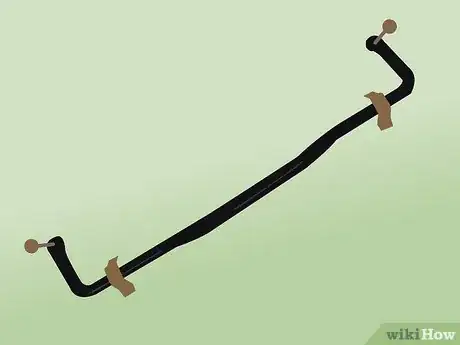
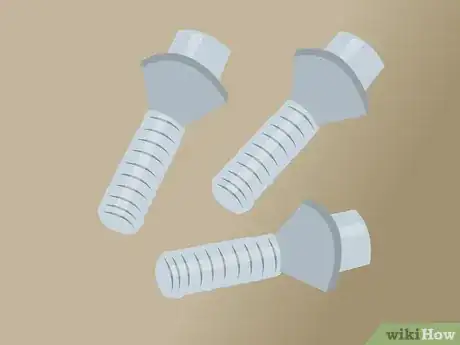
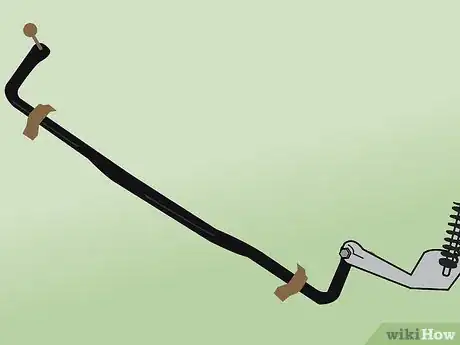
2Disconnect the sway bar. The sway bar serves to keep the weight of the vehicle from shifting too much during cornering. It is attached to the lower control arm with bolts that will need to be removed. If the bolts are stuck, try using WD-40 and letting it set before trying to turn them.[4] Once you have removed the bolts, move the sway bar away from the lower control arm. There is no need to take it all the way off of the vehicle.
-
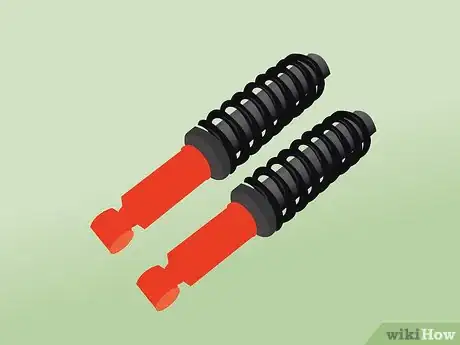
3Remove the shock absorber. Shock absorbers are often run through the center of the spring and will need to be removed to remove the spring. Remove the upper and lower mountings that connect the shock absorber to the A-arms. Pull it out through the lower A-arm.[5]
-
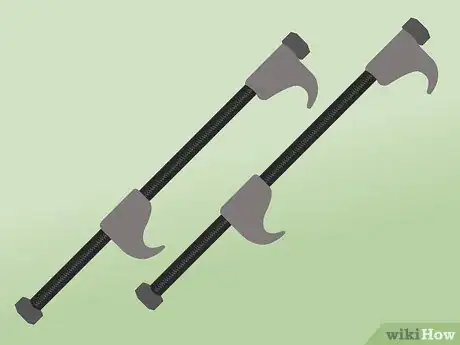
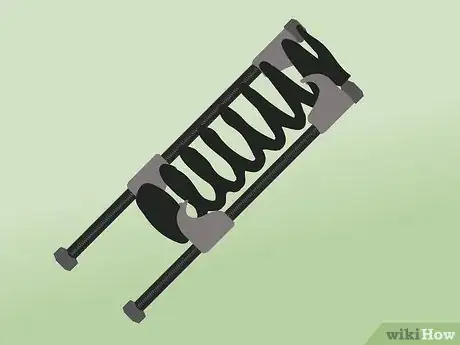
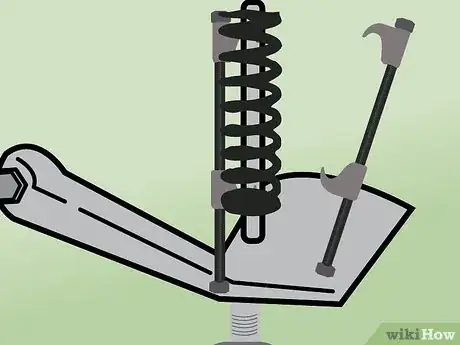
4Use the spring compressor to compress the spring. It is made to go inside the coils and hook onto the spring. Once it is hooked, you tighten the bolt on the spring compressor and it slowly compresses the spring and holds it.[6]
-
5Unbolt the coil spring. Once you have compressed the spring, you will need to check the top and bottom A-arms for any connecting bolts. If any are found, remove them.[7]
-
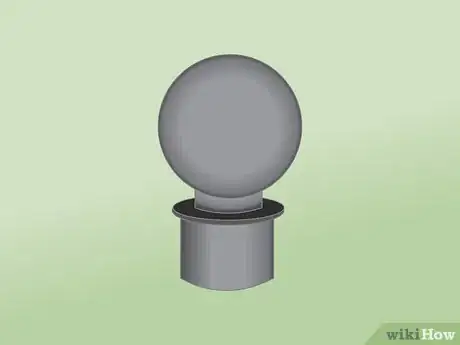
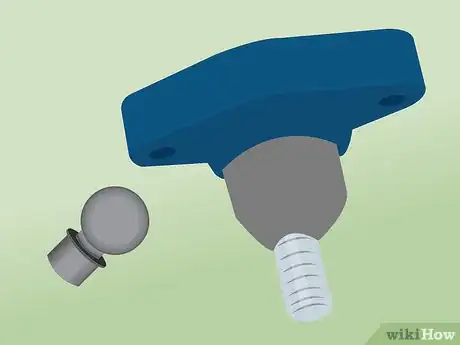
6Separate the ball joint from the lower A-arm. Use a ball joint separator to break the connection.[8]
-
7Take out the spring. Now that the components are all loose, slowly release the spring. Loosen the bolt on the spring compressor slowly. This will allow the spring to expand to its normal size and you can remove it from the vehicle. Take it out through the bottom instead of trying to pull it out through the top.[9]
-
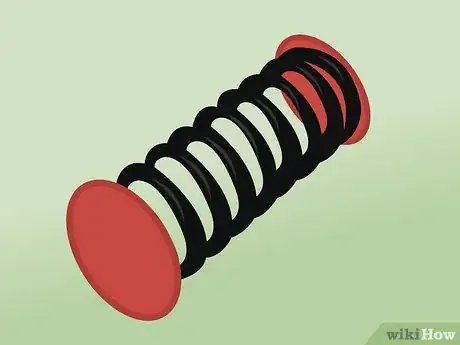
8Take everything off of the spring. Remove any accessories such as insulators that are attached to the spring.[10]
Installing the Lowering Springs
-
1Compress the new spring. Compress the new spring with the spring compressor. Just as with the old spring, latch the hooks of the spring compressor onto the spring and turn the bolt. This will apply the needed pressure to compress the spring.
-
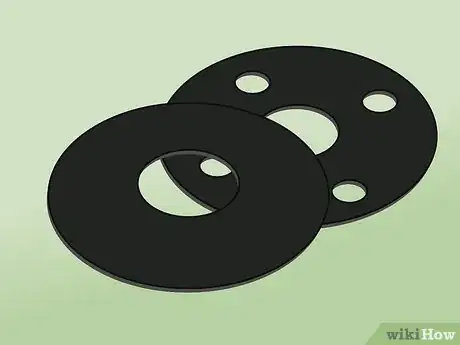
2Install spring hardware. Install any accessories that were removed from the old spring onto the new one before installing the spring. This might include boots or gaskets.
-
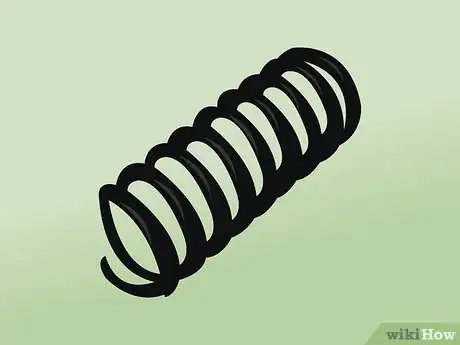
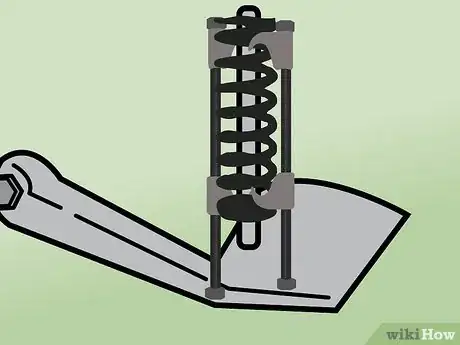
3Install the spring. Since lowering springs are made to work with your factory suspension, you will just put the new lowering spring in the same place as the old coil spring. Fasten it in the same way as the old coil spring before reattaching other hardware.
-
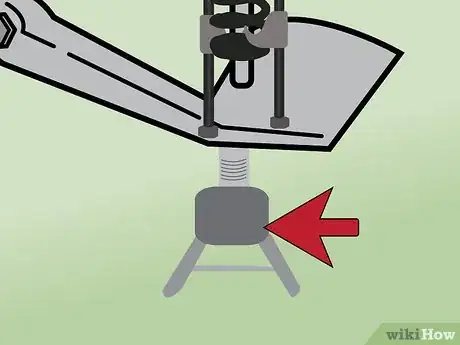
4Use the jack to raise the lower control arm. With the control arm held in place, you will be able to properly align the suspension components that you unhooked during disassembly.[11]
-
5Reattach the ball joints to the control arm. This needs to be done before decompressing the spring. Once the spring is decompressed, it will be its full length and will be in your way for this step.
-
6Release the spring compressor. Unscrew the bolt slowly to release the tension held on the spring.[12] This allows the spring to expand to its full decompressed size. It also slowly dissipates the potential energy contained in the compressed spring (which can be dangerous if released all at once).
-
7Reinstall the shock absorber. Put it back into place by going up through the lower A-arm. In many cases the shock absorber will fit through the center of the spring as well. Tighten the upper and lower mountings to the specified torque.[13]
-
8Reattach the sway bar to the lower A-arm. Make sure to tighten the bolts to the specified torque. This will ensure that weight is distributed correctly during driving.[14]
Finishing Up the Job
-
1Re-install wheel. You should slide the wheel back onto the wheelbase and thread the lug nuts on tight enough to hold wheel in place while the car is still on the jackstands.
-
2Lower the vehicle to the ground. Use the floor jack to lift the vehicle off of the jackstands. Remove the jackstands and lower the vehicle with the floor jack.
-
3Tighten the lugs to the specified torque. Once the weight is back on the wheels, use a lug wrench or impact wrench to tighten the lugs to the proper torque specifications in your service manual. Be sure to tighten lugs in a star pattern.
-
4Drive the vehicle to seat the springs. This applies pressure to your newly installed springs and allows them to better fit into the other suspension components.[15] You do not need to drive fast or far. The weight of the car will seat the springs quickly and you may not even notice.
- If you notice your car’s handling is compromised, you should stop driving. If this happens, have your car checked by a professional to be sure that your installation was done correctly.
Community Q&A
-
QuestionI have cut the 4 springs to give my car a Sporting look. Unfortunately it jumps too much. How can I repair this?
 Matthi2003Community AnswerYou can get new springs, lowered or standard. Cutting springs is mostly not the best alternative.
Warnings
- A compressed spring has a lot of potential energy. If the spring releases quickly it can be very dangerous.⧼thumbs_response⧽
- Place any tires you remove underneath the car as a backup for the jack stands.⧼thumbs_response⧽
References
- ↑ http://www.tirerack.com/suspension/tech/techpage.jsp?techid=113&
- ↑ https://blog.ecstuning.com/lowering-springs-coilovers-and-air-ride-suspension-which-is-best-for-my-car/
- ↑ https://www.automd.com/55/how-to-replace-coil-springs/
- ↑ http://www.testingautos.com/replace-sway-bar-links
- ↑ http://www.howacarworks.com/suspension/coil-springs-replacement
- ↑ https://www.automd.com/55/how-to-replace-coil-springs/
- ↑ http://shop.advanceautoparts.com/o/
- ↑ http://www.ebay.com/gds/How-to-Remove-Front-Coil-Springs-/10000000207062041/g.html
- ↑ howacarworks.com/suspension/coil-springs-replacement
- ↑ howacarworks.com/suspension/coil-springs-replacement
- ↑ https://www.automd.com/55/how-to-replace-coil-springs/
- ↑ http://www.howacarworks.com/suspension/coil-springs-replacement
- ↑ http://www.howacarworks.com/suspension/coil-springs-replacement
- ↑ https://www.automd.com/55/how-to-replace-coil-springs/
- ↑ https://www.automd.com/55/how-to-replace-coil-springs/
