X
wikiHow is a “wiki,” similar to Wikipedia, which means that many of our articles are co-written by multiple authors. To create this article, volunteer authors worked to edit and improve it over time.
This article has been viewed 57,488 times.
Learn more...
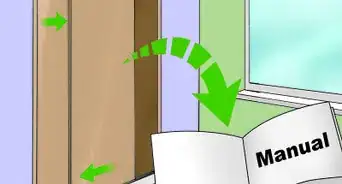
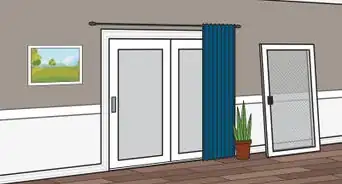
Sliding barn doors are often preferred by farmers as they allow easy access to barns in any weather and can be left as open or closed as needs require. Likewise, sliding barn doors are often used in interior spaces as an alternative to traditional doors or separators. When you buy your barn doors, be sure to follow any instructions given with the kit. The steps below will provide you with a simple outline for outfitting a barn or interior space with a sliding door.
Steps
-
1Measure and cut two lengths of mounting board for each barn door.
- The boards should be as long as the doors and about 1 inch (or 4 cm) wider than the track.
-
2Attach the mounting boards to the top and bottom of the doorway using drywall anchors and ensure that the mounting boards run straight along the doorway.[1]Advertisement
-
3Measure and cut two lengths of track for each barn door.
-
4Use joint brackets to attach sections of track as needed. The tracks should be exactly as long as the section along which you wish the door to slide.[2]
- If installing two sliding doors, remember that the tracks should be twice as wide as each door so that you can slide two doors together on one track. If only installing one door, the track need only be as wide as the door, but keep in mind that you will want the track to be about twice the length of the door so that you can open it completely.
- They should occur every 6 inches (or 15 cm) or so, and should be located in the middle of the track. If you are attaching the track to softer or weaker material, measure more holes.
-
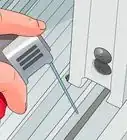
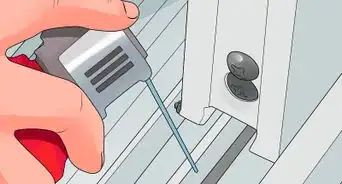
5Measure and mark with a pencil drill holes along the tracks.[3]
-
6Drill the holes into the tracks, wearing goggles.
-
7Install the tracks on the mounting boards.[4]
-
8Drill through the holes on the tracks into the mounting boards so that there is a clean hole from the track into the board. Then use spacers and bolts to attach the tracks to the mounting boards through these holes.
-
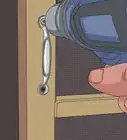
9Secure the hanging rollers following the instructions accompanying the doors.
-
10Attach any washers and bolts included with the doors. Make sure they are very tight.
-
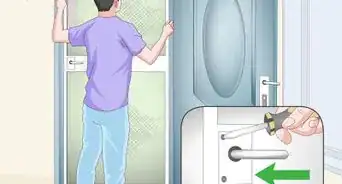
11Mount the doors following the instructions accompanying them.[5]
-
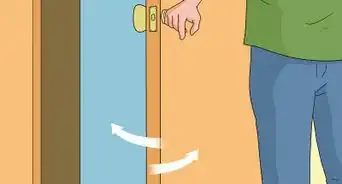
12Test the doors by sliding them back and forth several times, watching to see whether the mounting boards and tracks are secure and if the doors wobble on their path.[6]


Advertisement
Warnings
- The metal will get hot when you drill into it at Step 6, so be sure to wear goggles. If drilling many holes, it's a good idea to use drill lubricant to make the process easier.⧼thumbs_response⧽
Advertisement
Things You'll Need
- Barn doors
- Washers and bolts (come with barn doors)
- Mounting boards
- Dry wall fasteners
- Joint brackets
- Drill
- Spacers
- Bolts
- Goggles
- Hanger roller


References
- ↑ https://www.bhg.com/home-improvement/door/door-repair/how-to-make-a-sliding-barn-door/
- ↑ https://www.thisoldhouse.com/how-to/how-to-build-sliding-barn-door
- ↑ https://www.youtube.com/watch?v=lyAjTTnPXzo
- ↑ https://www.youtube.com/watch?v=MJrUpVcJvdY
- ↑ https://www.youtube.com/watch?v=bDxSLT64kWY
- ↑ https://www.youtube.com/watch?v=bDxSLT64kWY
- http://www.pole-barn.info/sliding-barn-doors.html
About This Article
Advertisement