This article was co-authored by wikiHow Staff. Our trained team of editors and researchers validate articles for accuracy and comprehensiveness. wikiHow's Content Management Team carefully monitors the work from our editorial staff to ensure that each article is backed by trusted research and meets our high quality standards.
This article has been viewed 36,349 times.
Learn more...
A track lighting system is a great way to brighten any room, be it your kitchen or garage. But the prospect of installing a track lighting system on your own can be intimidating. With thorough planning and a little care, however, you can install track lighting in just one afternoon. You just need to figure out the length of track you need, where you want it, how to fasten it to the ceiling, and how to connect it to a power source.
Steps
Dealing with the Track
-
1Figure out the length of track you will need. Before going to your local home improvement store, measure the length of ceiling where you plan on installing your track lighting. Have someone help you hold a tape measure up to the ceiling to get an accurate measurement.[1]
- Write down the measurements so you can remember them.
-
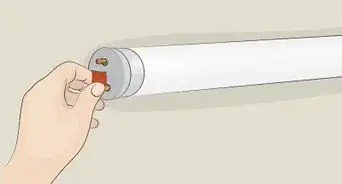
2Buy track and connectors at your local home improvement store. Lighting track usually comes in sections that are either 4 feet (1.2 m) long or 8 feet (2.4 m) long. If you can’t find a track that is the exact length you need, buy one that is longer because you can cut it to length later. If you want your track to make any turns on your ceiling, you should also buy connectors.[2]
- Connectors slide into the ends of 2 pieces of track, connecting 1 piece of track to the power source of the other. They come in the shape of an “L” and the shape of a “T.”
Advertisement -
3Cut track to desired length with a hacksaw if necessary. If you bought a length of track longer than what you need, you can saw it to length with a hacksaw. Measure the length you need and make a mark on the track where you want to cut it. Then place the track on a sawhorse or other solid surface and, keeping the piece of track steady with one hand, begin to saw.[3]
- Remember to wear safety glasses when sawing.
-
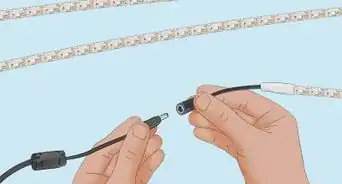
4Insert connectors if you’ll be using them. If you’ll be using connectors to connect multiple tracks together, it is easiest to put them on before you fasten the track system to the ceiling. You don’t need any special equipment to do this step. Just slide the connectors into the end of the track.[4]


Working with the Power Supply
-
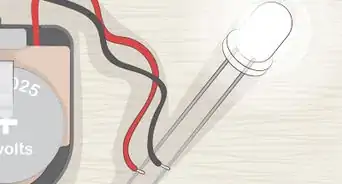
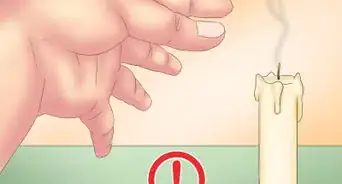
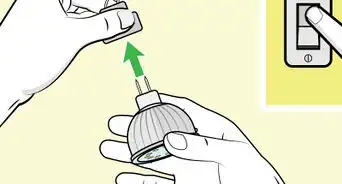
1Turn off power to the area where you’ll be working for safety. Before starting to install your track lighting, find your circuit breaker box. Your breaker box may be in your garage, basement, a storage room, or a hallway. It is a metal box, usually flush with the wall. Flip off the power to the light fixture on your ceiling where you want to install your track lighting.[5]
- After you shut off power, try turning on the light where you’ll be working just to be sure that you flipped off the right switch.
- If you don’t know which breaker controls the light fixture you’ll be working with, find someone to help you. Turn off breakers one at a time while your helper watches the light to see if it goes off. If the breaker is far away from the light, use cell phones to communicate.
-
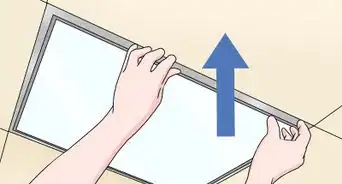
2Take off the old fixture and expose the electrical box. Be careful when you unscrew the old fixture. It may be heavy or unwieldy. After you remove the fixture, you will see a box set into the ceiling that contains a bunch of wires. This is the electrical box.[6]
- After removing the old fixture, put it away in a safe location where it won’t be underfoot.
-
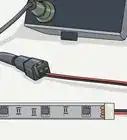
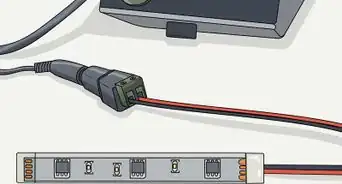
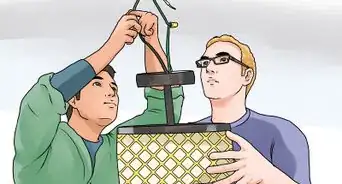
3Wire the power end adapter and floating feed into the electrical box. Once you expose the inside of the light fixture, you will see several wires in the electrical box. The end power adapter that comes with your track will have wires that are the same colors. Marry the same-colored wires together, using wire nuts to make the connection. Then, put the wires back into the electrical box. Use screws to mount the metal piece to the ceiling. The floating feed should remain outside the electrical box.[7]
- The floating feed is the piece that will supply power to your track lights. It looks like a small, white box, and will fit right into the lighting track.


Fastening the Track to the Ceiling
-
1Mark the spacing of the track’s mounting-holes on the ceiling. Use a tape measure to measure the distance between the holes in your track system. Then transfer those dimensions to the ceiling, using a pencil to mark where you want the center of each hole to be.[8]
- When measuring, measure the distance from the center of one hole to the center of the next.
- It is best to do this step with help from at least 1 other person.
-
2Drill 3⁄8 inch (9.5 mm) holes in the ceiling where you made your marks. Next, use an electric drill to drill holes into your ceiling. The holes you drill will need to be wide enough for toggle bolts.[9]
- Always use caution when operating an electric drill or other power tool.
- The track should be close enough to the light fixture to insert the floating feed into the track. This is important because the floating feed will be the track’s source of power.
-
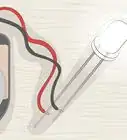
3Insert toggle bolts into the track’s holes. After threading the toggle bolts through the lighting track’s holes, screw on the toggle bolt nut. The spring-loaded nut should be positioned so that it looks like an upside-down “V” when you squeeze it.[10]
-
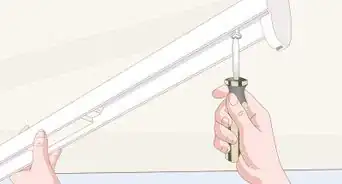
4Screw the lighting track into the ceiling. Once you’ve threaded the toggle bolts through the holes in the lighting track, raise the track to the ceiling. Squeeze the toggle bolt nut that is located on the end of one side and push it through the hole you drilled. Once it’s through, use a screwdriver to tighten the track to the ceiling. Repeat this step for each toggle bolt.[11]
- You’ll need at least 1 other person to help keep the track in position as you screw in the toggle bolts.
-
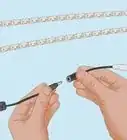
5Insert the floating feed into the track. Now that the lighting track is screwed into the ceiling, you can slide the floating feed into the track. Put it in and rotate it 90 degrees. Closely follow the manufacturer’s directions included with the specific track lighting system you purchased.[12]
-
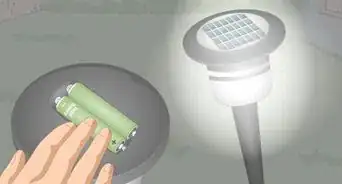
6Put the track lighting fixtures in the track. You can find a wide variety of track lighting fixtures at most home improve stores. You should be able to find one that is a size and style that fits your needs.[13]
-
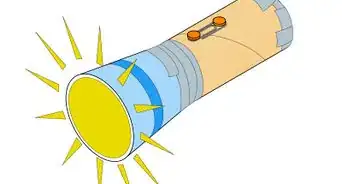
7Turn the power back on and flip on the light switch. Now that you have your track lights in, return to the breaker box and switch on power to the light fixture your track lighting system is connected to. If everything went according to plan, your new lights should turn on.[14]


References
- ↑ https://www.thisoldhouse.com/how-to/how-to-install-track-lighting-0
- ↑ https://www.thisoldhouse.com/how-to/how-to-install-track-lighting-0
- ↑ https://www.thisoldhouse.com/how-to/how-to-install-track-lighting-0
- ↑ https://www.thisoldhouse.com/how-to/how-to-install-track-lighting-0
- ↑ https://www.youtube.com/watch?v=9kR7bbgK2iw
- ↑ https://www.thisoldhouse.com/how-to/how-to-hang-heavy-mirror
- ↑ https://www.youtube.com/watch?v=9kR7bbgK2iw
- ↑ https://www.thisoldhouse.com/how-to/how-to-install-track-lighting-0
- ↑ https://www.thisoldhouse.com/how-to/how-to-install-track-lighting-0
- ↑ https://www.thisoldhouse.com/how-to/how-to-install-track-lighting-0
- ↑ https://www.thisoldhouse.com/how-to/how-to-install-track-lighting-0
- ↑ https://www.thisoldhouse.com/how-to/how-to-install-track-lighting-0
- ↑ https://www.thisoldhouse.com/how-to/how-to-install-track-lighting-0
- ↑ https://www.thisoldhouse.com/how-to/how-to-install-track-lighting-0
About This Article