X
wikiHow is a “wiki,” similar to Wikipedia, which means that many of our articles are co-written by multiple authors. To create this article, 9 people, some anonymous, worked to edit and improve it over time.
This article has been viewed 131,633 times.
Learn more...
To install a staircase that will be functional, decorative, and safe, certain guidelines must be observed. The type of material to choose is a primary consideration. While stairs have been constructed using a variety of materials over the years, wood stairs remain the most common. Here's some suggestions on how to install wood stairs.
Steps
-
1Establish the perimeters of the space. Measuring the area where the stairs will be constructed is the best way to determine the kind of wood staircase you need. If there is plenty of space, you can choose a traditional split level with a landing, or a straight set of stairs.[1]
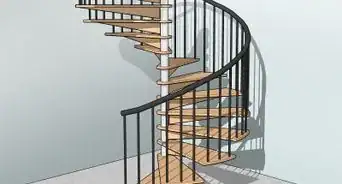
- For a small, or more crowded area, you may need to install a spiral staircase. For the purpose of this article, we will choose the simplest, a diagonal up and down wood staircase.
-
2Determine the starting point. If possible, keep the lowest step away from doors or other obstacles such as vents, or busy passageways. The staircase can add beauty to a home as long as it isn't located in an inconvenient part of the room. Ideally, the staircase should be placed against a wall, which will give it more stability.Advertisement
-
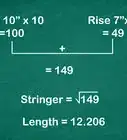
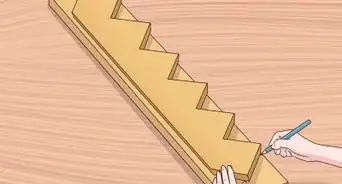
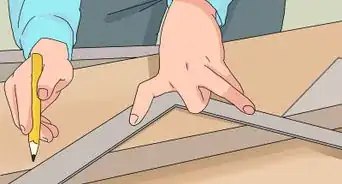
3Mark a line from bottom to top. With 1 person on the floor, and another on a ladder, use a pencil with a straight edge or chalk line to mark a diagonal line for the stringer. The stringer is the part of the stairs that the steps, or threads, and risers will be attached. The risers are the vertical pieces perpendicular to the threads.[2]
-
4Purchase and transport the materials. You will need 2 stringers and boards for the threads, as well as the risers, which can be purchased precut at a lumberyard. Ensure that you measure for the correct length and width. Avoid stringers and lumber for the threads and risers that is warped or splitting.
-
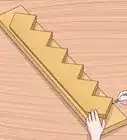
5Install the stair stringers. With the help of at least 1 other person, place the stringer against the line on the wall. Place a level on the stringer where the thread will be attached. Locate the horizontal studs in the frame inside the wall.[3]
- Using a framing hammer, nail the stringer to the wall studs, making sure each nail is securely in the stud. Further secure the stringer with braces all the way to the floor.
- Align the second stringer for the correct width and height. The second stringer should be supported by a standard frame wall. Brace the wall under the stringer and secure with framing nails.
-
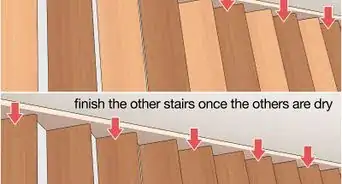
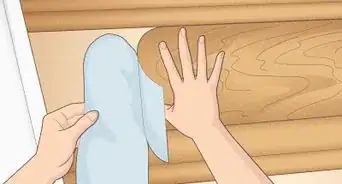
6Situate the threads and risers, and handrail. Place the precut threads across the stringers and fasten with nails. Nail the precut risers vertically, between the threads to the stringers.[4]
-
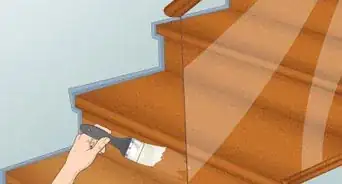
7Install a standard handrail parallel with the stringer using vertical spindles. Fasten entire assembly to the stringers and to the wall at the top of the stairs.[5]
-
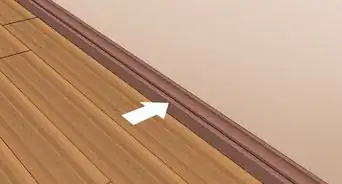
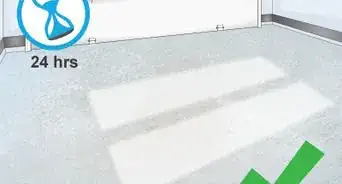
8Finish out with carpet or hardwood.[6]


Advertisement
Community Q&A
-
QuestionWhat is the angle or pitch of the stair stringers?
 Community AnswerStore-bought is 45-degrees. Legally the pitch needs to be 39-45 degrees.
 -
QuestionWhen would I need to get the building inspector look over the new set of stairs?
 Community AnswerAs soon as they're done temporarily or as soon as the stringers are installed. This provides the inspectors everything they need to know.
 -
QuestionWhat is the normal measurement for how much the stair nose should stick out?Community Answer1.75 cm is the ideal, 3.8 cm is the max, and they should be rounded. Outside of this range, the stair is more dangerous and uncomfortable. The "bullnose" as it is called allows for the placement of the heel or toes slightly below the next/previous stair edge, which is more natural due to the way we walk on steps.
Advertisement
Warnings
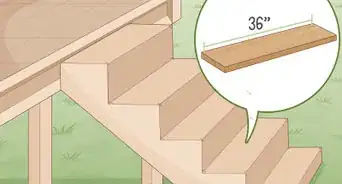
- To install a staircase wider than 36 inches (91.4 cm), use a third stringer in the middle for extra support.⧼thumbs_response⧽
Advertisement
Things You'll Need
- Ladder
- Pencil or chalk line
- Level
- Framing hammer and nails
You Might Also Like
Video Player is loading.
This is a modal window.
The media could not be loaded, either because the server or network failed or because the format is not supported.


Video Player is loading.
This is a modal window.
The media could not be loaded, either because the server or network failed or because the format is not supported.

Advertisement
References
- ↑ https://www.popularmechanics.com/home/how-to-plans/how-to/a2145/4224738/
- ↑ https://www.carpentry-pro-framer.com/stairs.html
- ↑ https://www.youtube.com/watch?v=IcDHt-8DAjc
- ↑ https://www.youtube.com/watch?v=iALK0-n-81c
- ↑ https://www.constructionprotips.com/tools-materials/hands-on/how-to-install-a-hand-rail/
- ↑ https://www.bobvila.com/articles/how-to-install-carpet-on-stairs/
About This Article
Advertisement