X
wikiHow is a “wiki,” similar to Wikipedia, which means that many of our articles are co-written by multiple authors. To create this article, volunteer authors worked to edit and improve it over time.
This article has been viewed 82,517 times.
Learn more...
If the factory radio in your 1996-1998 Jeep Grand Cherokee is old, out-of-date, or just not working correctly, you can replace it with a brand-new aftermarket radio yourself.
Steps
-
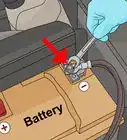
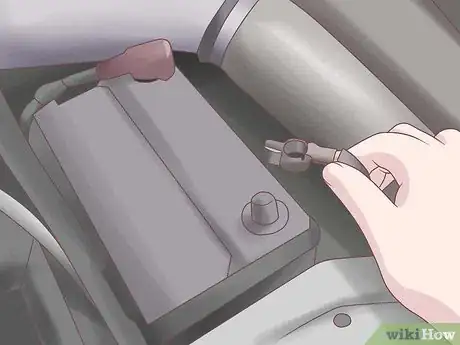
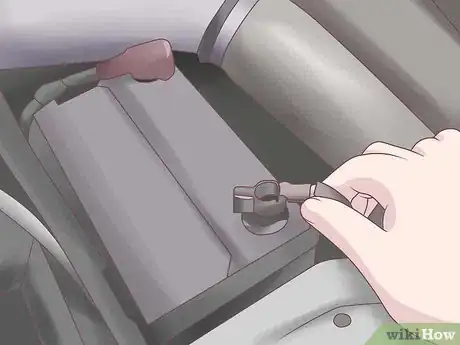
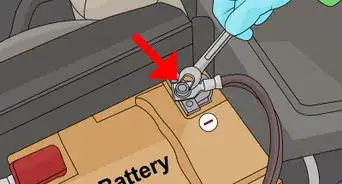
1Open your Jeep's hood and disconnect the negative (-) battery terminal off of your Jeep's battery. Doing this will ensure you do not do damage to yourself, the new radio, or your vehicle. This will also ensure that you do not blow any fuses in the vehicle in the process of installing your new radio into your Jeep.
-
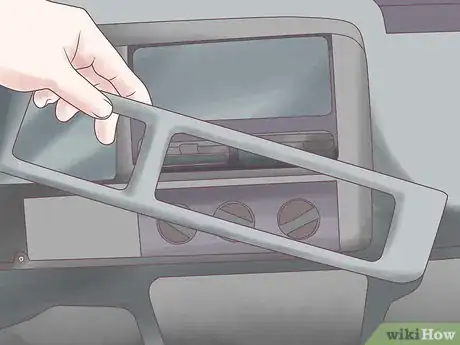
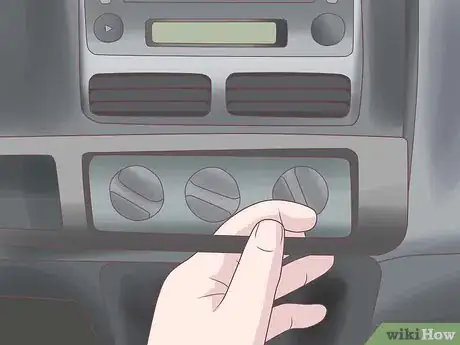
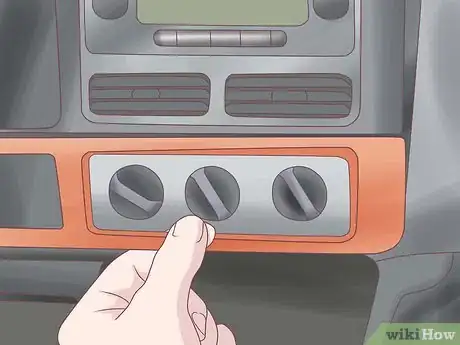
2With your hands, gently pull off the wooden bezel surrounding the HVAC system controls and vehicle wiper and heated seat control panel. Set it aside.Advertisement
-
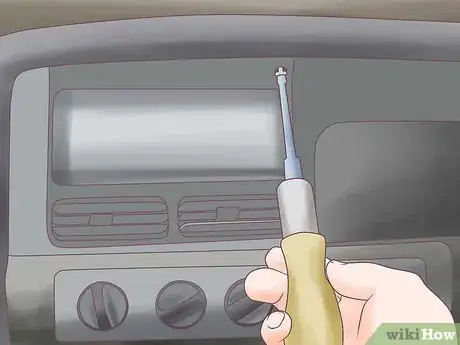
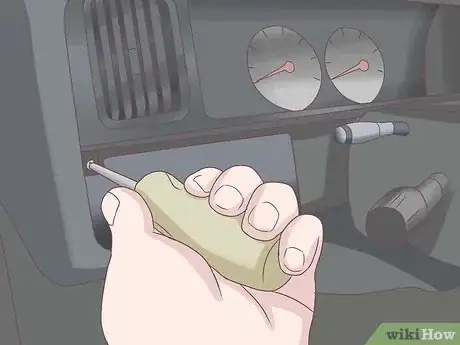
3Remove three (3) Philips-head screws. A Philips-head screw holds in one side of the HVAC system controls and one side of the vehicle wiper and heated seat control panel, a Philips-head screw holds the vehicle wiper and heated seat control panel in place, and the other Philips-head screw holds the HVAC controls in place. Set these screws aside, as you'll need them later.
-
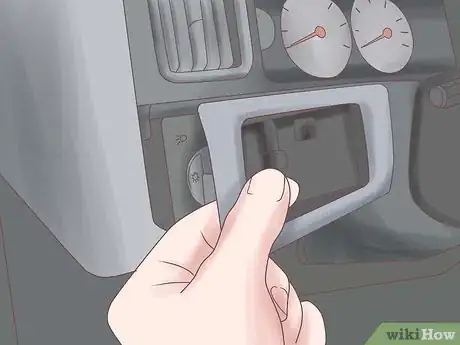
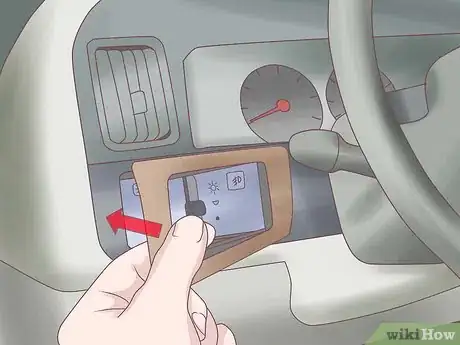
4With your hands, gently pry off the wooden bezel surrounding the vehicle lighting control panel. Set it aside.
-
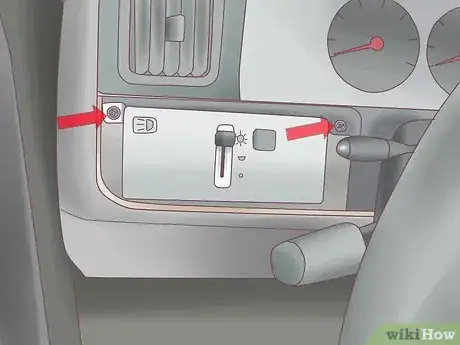
5Remove the two (2) Philips-head screws holding the vehicle lighting control panel in place. Set them aside, as you'll need them later.
-
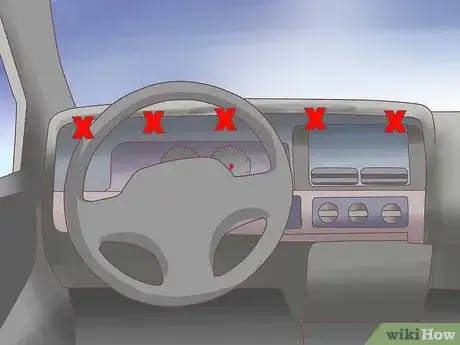
6Remove five (5) Philips-head screws holding the instrument cluster and center stack surround bezel in place. Set them aside, as you'll need them later.
-
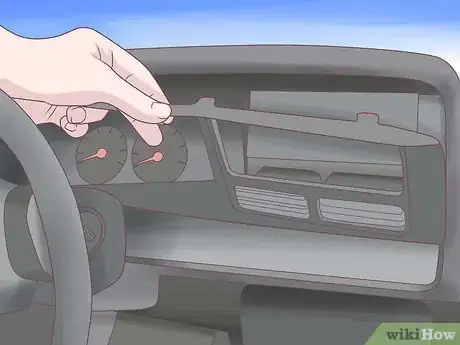
7Pull gently on the instrument cluster and center stack surround to remove it. Set it aside.
-
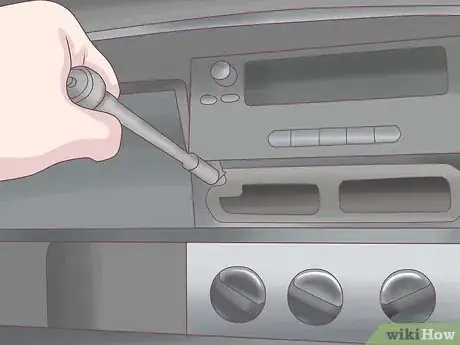
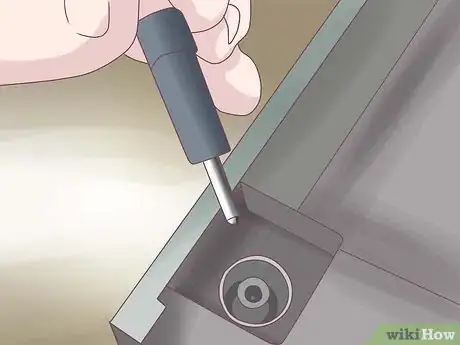
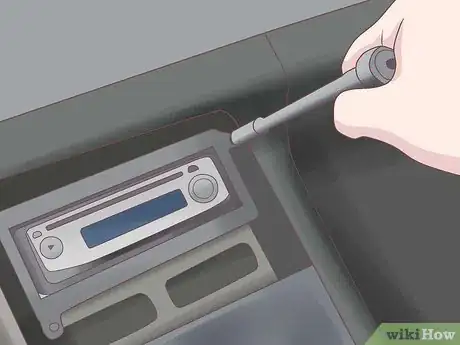
8Remove two (2) bolts securing the factory radio in place. A bolt is located in the upper right-hand corner of the factory radio, and another bolt is located in the lower left-hand corner of the factory radio. Set these aside, as you'll need them later.
-
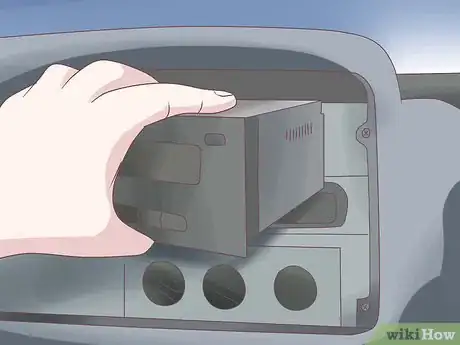
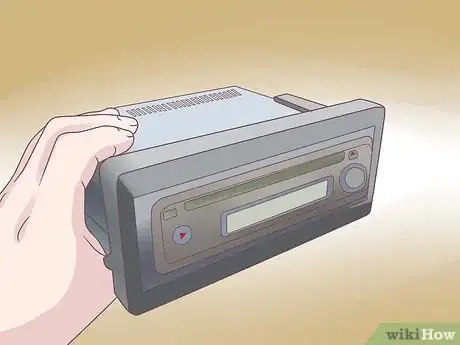
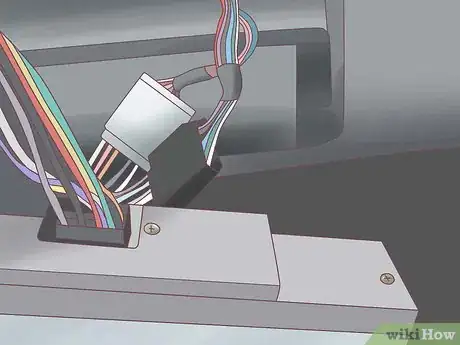
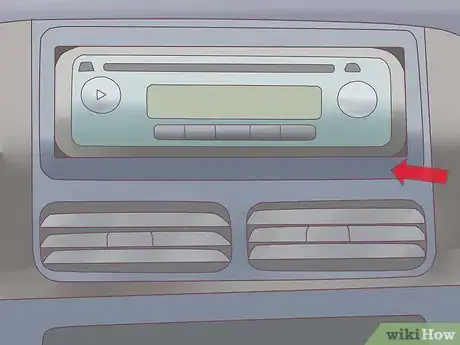
9Pull the factory radio out of your Jeep's dashboard, and disconnect the black and gray wiring harnesses, radio ground wire, and AM/FM radio antenna from the back of the factory radio. Set the factory radio aside.
-
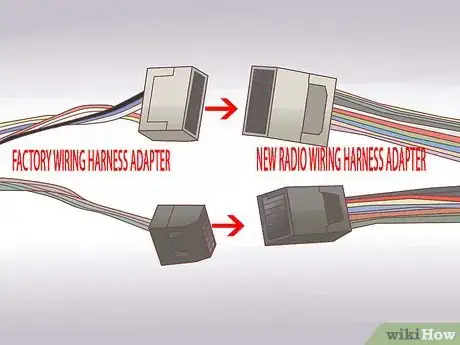
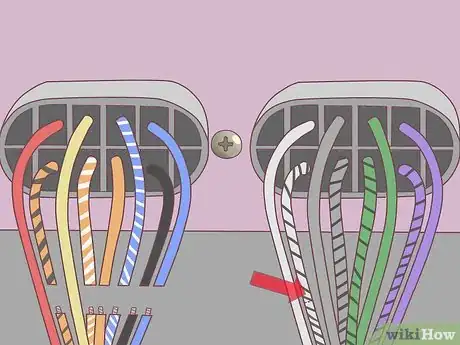
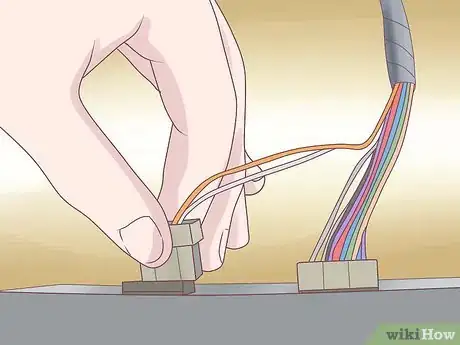
10Connect the factory wiring harness adapter's wires to the wires on the wiring harness that came with your new radio in the following order, using electrical tape each time to secure each set of wires together:
-
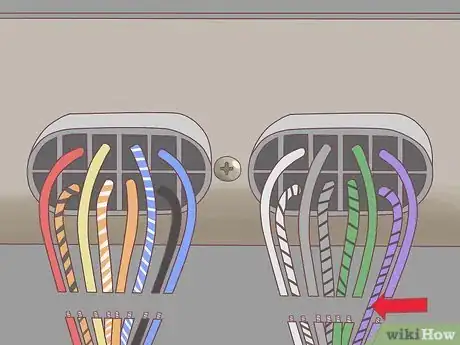
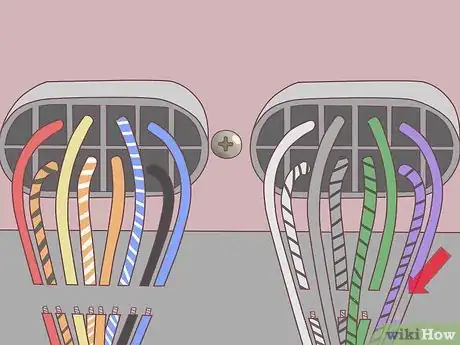
11Connect the negative (-) right rear speaker wires together (purple w/ black stripe).
-
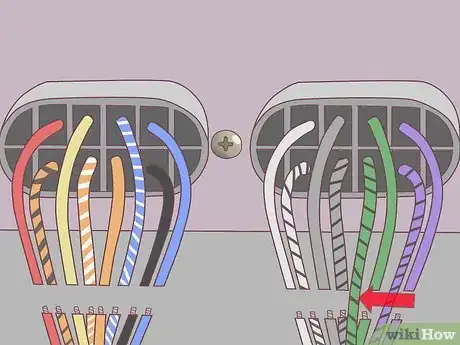
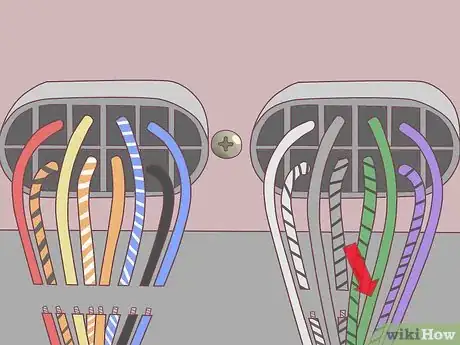
12Connect the negative (-) left rear speaker wires together (green w/ black stripe).
-
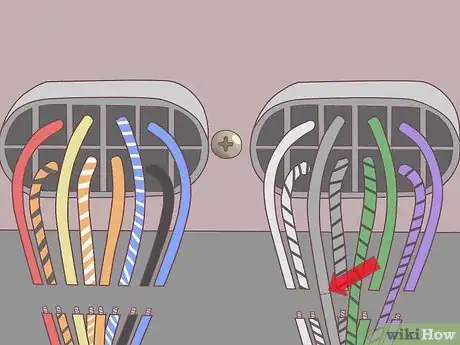
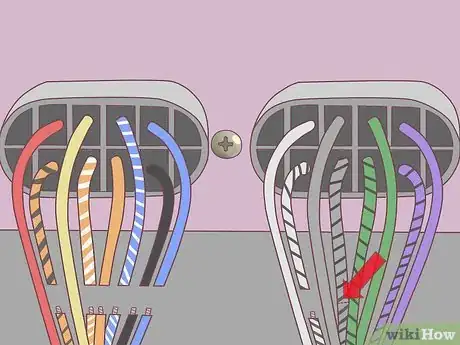
13Connect the positive (+) right front speaker wires together (gray).
-
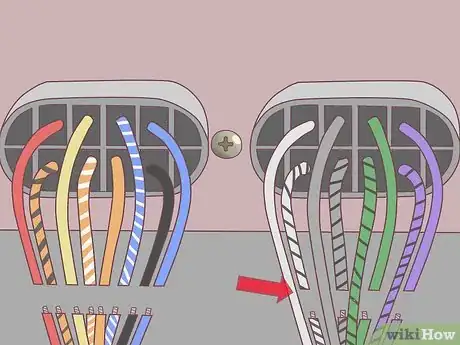
14Connect the positive (+) left front speaker wires together (white).
-
15Connect the positive (+) right rear speaker wires together (purple).
-
16Connect the positive (+) left rear speaker wires together (green).
-
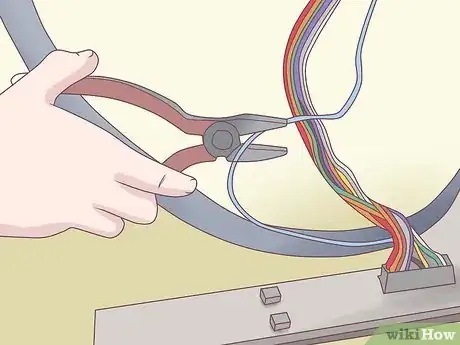
17If your Jeep has the factory Infinity Gold premium sound system (Infinity Gold logo on both front door speaker grilles), connect the blue wires together for the remote amplifier turn-on wire. If your Jeep does not have the factory Infinity Gold premium sound system, then cut off the bare end of the blue remote amplifier turn-on wires.
-
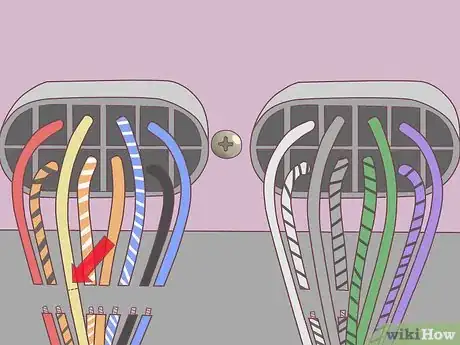
18Connect the positive (+) 12-volt battery power wires together (yellow).
-
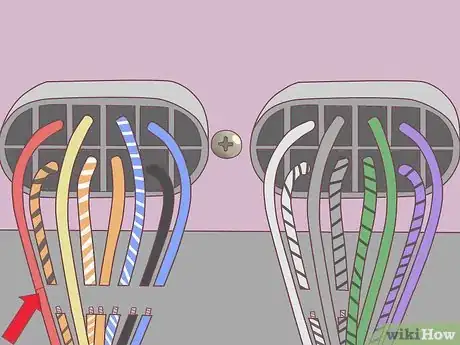
19Connect the positive (+) ignition power wires together (red).
-
20Connect the negative (-) right front speaker wires together (gray w/ black stripe).
-
21Connect the negative (-) left front speaker wires together (white w/ black stripe).
-
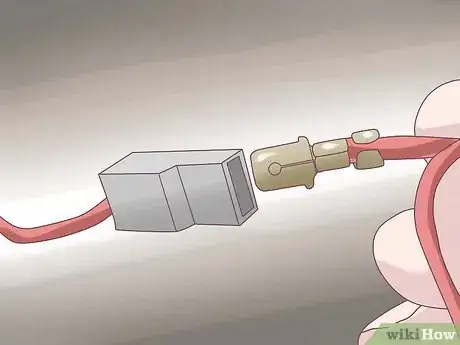
22For the ground connection, crimp a metal spade to the ground connection on the factory wiring harness adapter and connect that wire to the factory ground wire so it makes a secure connection. If you do not have a metal spade, cut off the metal spade on the factory ground wire and connect that wire directly to the ground connection on the factory wiring harness adapter and hold it in place with electrical tape. This is a very important step, as not doing so may cause damage to yourself, your vehicle, or the new radio, and may cause fuses to blow in the process.
-
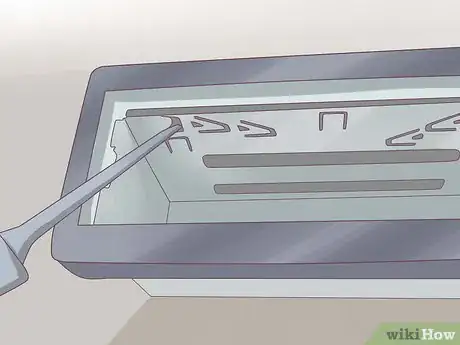
23Use the removal keys that came with your new radio to remove your new radio from its metal mounting sleeve. Save the removal keys in case you decide to remove your radio later and reinstall the factory radio.
-
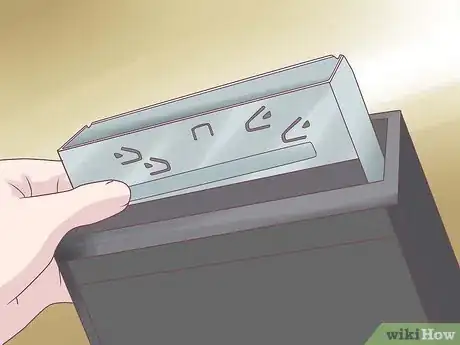
24Place the mounting sleeve that came with your new radio into the plastic mounting adapter kit until the metal meets the plastic.
-
25Place your new radio into the metal mounting sleeve and plastic mounting adapter.
-
26Connect the gray and black wiring harnesses on the factory wiring harness adapter to the gray and black wiring harnesses from your Jeep's dashboard until they secure into place.
-
27Connect the factory AM/FM radio antenna to the AM/FM radio antenna port on your new radio until it is securely in place.
-
28Connect the wiring harness that came with your new radio to the connection on the back of your new radio until it is securely in place.
-
29Secure the plastic mounting adapter kit to your Jeep's dashboard with the two (2) bolts you removed earlier.
-
30Reinstall the instrument cluster and center stack surround bezel and hold it in place with the Philips-head screws you removed earlier.
-
31Reinstall the vehicle lighting control panel Philips-head screw.
-
32Place the wooden bezel around the vehicle lighting control panel and push gently to secure it in place.
-
33Secure the HVAC control and vehicle wiper and heated seat control panel Philips-head screws.
-
34Place the wooden bezel around the HVAC controls and vehicle wiper and heated seat control and push gently to secure it in place.
-
35Reconnect the negative (-) battery wire to your Jeep's battery and shut your Jeep's hood.
-
36Install the new radio's faceplate onto your new radio. Turn on your Jeep's ignition, and enjoy the tunes! (:
Advertisement
Things You'll Need
- 1 Aftermarket Radio Mounting Kit for 1974-2002 Chrysler and Ford Vehicles
- 1 Factory Radio Wiring Harness Adapter for 1974-2002 Chrysler Vehicles
- 1 Philips-Head Screwdriver
- 1 Socket Wrench w/ Differently-Sized Sockets
- 1 Pair of Wire Crimpers
- 1 Roll of Electrical Tape, Flame-Retardant
- 1 Wrench
About This Article
Advertisement



-Car-Alarm-Step-12.webp)
