This article was co-authored by wikiHow Staff. Our trained team of editors and researchers validate articles for accuracy and comprehensiveness. wikiHow's Content Management Team carefully monitors the work from our editorial staff to ensure that each article is backed by trusted research and meets our high quality standards.
This article has been viewed 27,427 times.
Learn more...
Golf club covers are essential for protecting your golf clubs from damage, and they look cool, too! It’s easy to create a golf club cover or a set of golf club covers for yourself or as a gift for someone, so this is a great project for any skill level. You will work the golf club cover in the round using double pointed needles and you can customize them using any color of yarn you like. Try out this project for a fun new challenge!
Steps
Knitting the Shaft Cover
-
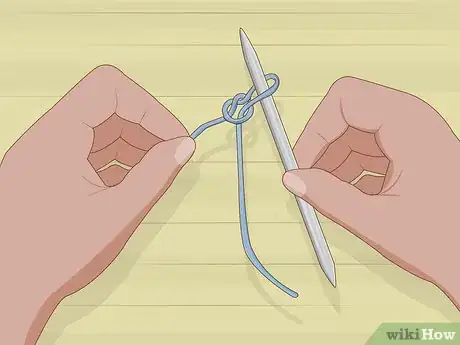
1Make a slipknot. Loop the yarn around your finger twice. Then, pull the first loop through the second loop to create the slipknot. Slide the slipknot onto the first double pointed knitting needle and tighten the slipknot by tugging on the tail of the knot.[1]
-
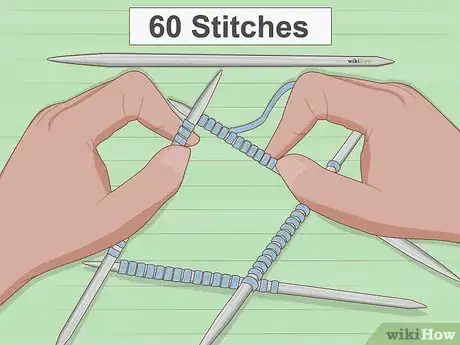
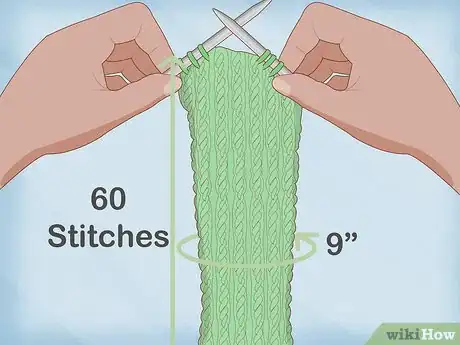
2Cast on 60 stitches. Use your set of 5 size 3 double pointed needles to cast on 60 stitches. Distribute the stitches evenly among 4 of the needles with 15 stitches per needle.[2] Leave the fifth needle empty. To cast on, loop the yarn over the needle in your left hand, then insert the right hand needle through the loop. Yarn over and pull through the loop to create a cast on stitch.
- If you are using a pattern, then follow the pattern’s recommendations for the type of yarn to use, the size of the needles, and the number of stitches you need to cast on.
Advertisement -
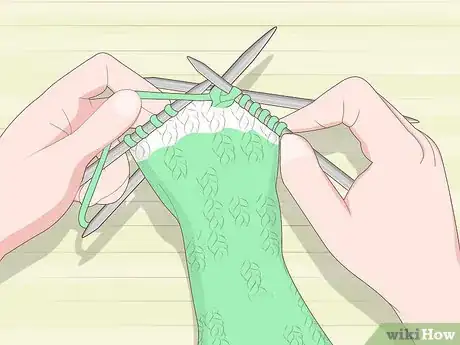
3Knit the first round. Insert the right hand needle into the first stitch on your first double pointed needle. Then, loop the yarn over the tip of the needle and pull this new loop through the cast on stitch. Continue to knit all of the stitches in the round.
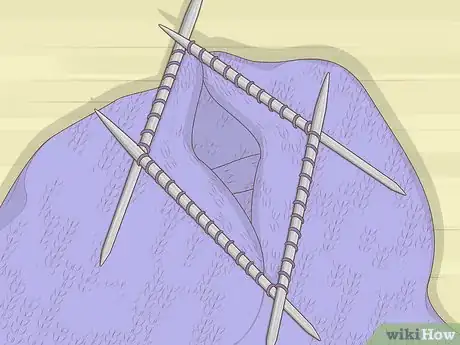
- As you knit with double pointed needles, you will be working from 1 needle to the next. Start with the empty double pointed needle in your right hand and knit the stitches on the first double pointed needle in your round. When that needle is empty, transfer it to your right hand and work the stitches on the next needle in the same way.[3]
- You may want to place a needle tip cover on the end of each needle. This will help to keep the stitches in place on the needles you are not using until you are ready to knit those stitches.
-
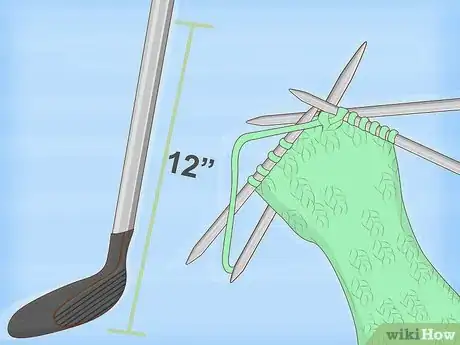
4Continue knitting until the shaft cover is the desired length. Measure the golf club shaft area that you want to cover to determine how long to make the shaft cover. You may work the entire golf club cover in the knit stitch or use a different stitch if desired. Just keep working until the portion of the cover that will go over the golf club shaft is as long as you want it to be.
- For example, you can work the shaft portion of the golf club cover until it is 8 inches (20 cm) or 12 inches (30 cm) depending on how long you want it to be.[4]
- Try using a decorative stitch for all or part of the shaft cover, such as the ribbed stitch, the brioche stitch, or the moss stitch.
-
5Change colors as desired. You can knit the golf club cover in a single color or you can change colors every few rows to create a striped effect.[5] To change colors, wait until you are about to start a new round. Then, tie the new strand of yarn to the old strand of yarn as close to the stitch as possible. Grasp the new strand of yarn and use it to knit the next round and as many rounds after that as you want.
- For example, you could change colors every 2 rounds for narrow stripes or every 4 rounds for wider stripes.
Increasing for the Club
-
1Start the increase round by knitting 1. Knit the first stitch as usual by inserting the tip of the right hand needle into the first stitch on the end of the first double pointed needle. Then, yarn over and pull through the stitch to create a new stitch.
- Knit all of the odd stitches in the round in the same way.
-
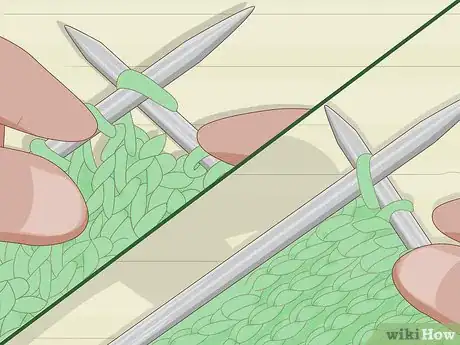
2Knit 1 front and back. To knit front and back, insert the right hand needle into the first stitch on the double pointed needle in your left hand and yarn over. Pull the yarn through but do not let the old stitch slide off of the left hand needle. Then, insert the right hand needle into the back part of the stitch and knit it from this direction as well.[6]
- Knit all of the even stitches in the round in the same way.
-
3Repeat this sequence to the end of the row. Following this sequence to the end of the row will increase the total number of stitches and the circumference of the knitting by 1.5 times. For example, if you have 60 stitches and the piece is 9 inches (23 cm) around, then you will end up with 90 stitches and the circumference will be 13.5 inches (34 cm).
-
4Knit the next round. After you finish the increase round, resume knitting all stitches or using another stitch if desired. You do not need to work any more increase rounds. Keep knitting until the golf club cover is the desired length.
- To see if the golf club cover is the right size for the club you want to use it on, try slipping the club into the cover when it is almost finished. This will allow you to see how much more you need to knit. Just be careful when you do this to prevent any stitches from sliding off the ends of the double pointed needles.
Finishing the Cover
-
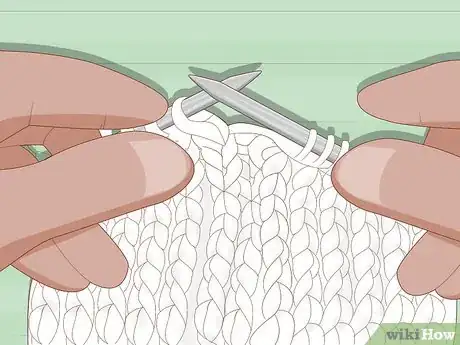
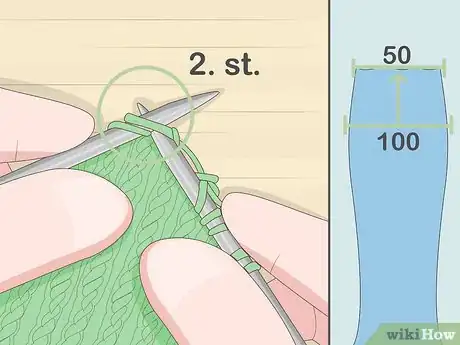
1Work a decrease round by knitting 2 together. A simple way to finish your golf club cover is to work decrease rounds until the top of the cover is closed. To decrease, insert your needle into the first 2 stitches on the left hand needle. Then, yarn over and pull the yarn through the stitches. This will leave you with 1 stitch on the right hand needle.[7] Do this to the end of the round.
- By the end of the round, you will have half the number of stitches you started with. For example, if you started with 100 stitches, then you will have 50 by the end of the round.
-
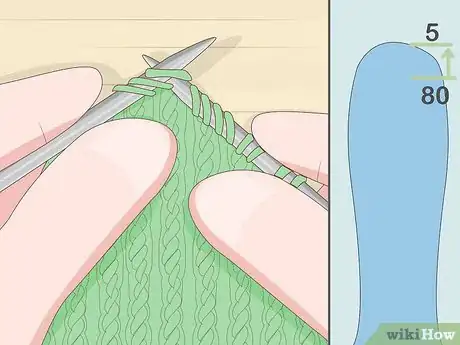
2Continue to decrease until the top of the club cover is closed. Each time you work a decrease round, you will have half the number of stitches at the end of the round. This means that you will have to work several rounds until you only have 1 left.[8]
- For example, If you started with 80 stitches, then you will have 40 stitches at the end of the next round, 20 stitches after that round, 10 stitches after the next, and 5 after that.
- If you work a round with an odd number of stitches, just knit the extra stitch as you normally would.
-
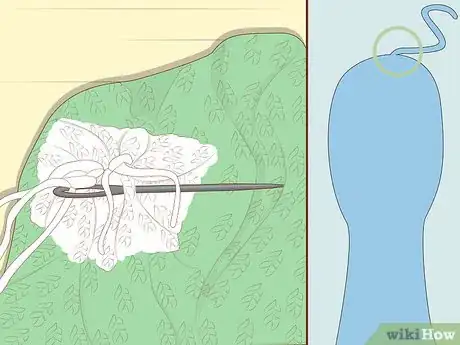
3Tie off the end of the yarn and tuck in the tail. When you only have 1 stitch left, cut the working yarn a few inches from the stitch and then pull the end of the yarn through the loop. Tug the yarn to tighten and secure the final stitch. Then, push the tail of the yarn through the top of the golf club cover to hide it.
- If desired, you may also weave in the ends by threading the end of the yarn through a yarn needle and sewing around the top of the golf club cover.[9]
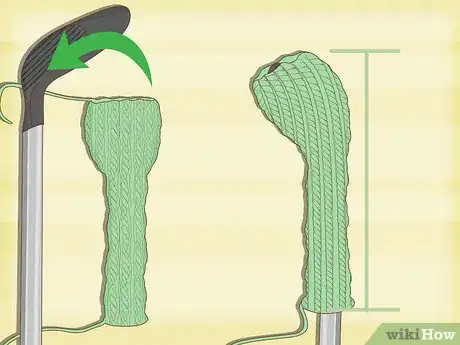
- Your golf club cover is finished! Place it over a golf club to try it out!
Things You’ll Need
- Medium or lightweight yarn
- Double pointed needles in size 3 (3.25 mm)
- Needle tip covers
- Scissors
- Pattern (optional)
References
- ↑ https://www.woolandthegang.com/how-to/knit/casting-on-with-double-pointed-needles
- ↑ https://www.woolandthegang.com/how-to/knit/casting-on-with-double-pointed-needles
- ↑ http://newstitchaday.com/double-pointed-needles/
- ↑ http://www.marlybird.com/knit-golf-club-covers/
- ↑ http://www.marlybird.com/knit-golf-club-covers/
- ↑ https://www.craftyarncouncil.com/mar06_increasing.html
- ↑ http://www.vogueknitting.com/pattern_help/how-to/learn_to_knit/decreasing
- ↑ http://www.marlybird.com/knit-golf-club-covers/
- ↑ http://www.marlybird.com/knit-golf-club-covers/
