This article was co-authored by wikiHow staff writer, Jessica Gibson. Jessica Gibson is a Writer and Editor who's been with wikiHow since 2014. After completing a year of art studies at the Emily Carr University in Vancouver, she graduated from Columbia College with a BA in History. Jessica also completed an MA in History from The University of Oregon in 2013.
The wikiHow Video Team also followed the article's instructions and verified that they work.
This article has been viewed 34,356 times.
Learn more...
If you're knitting a sleeve or shaped fabric, you may see M1 in the pattern. M1 means make 1 stitch. Instead of knitting a stitch and moving it onto the left needle, you'll actually knit into the bar of yarn between 2 stitches to create a new loop. Knit through this back loop to make the new stitch. Keep in mind that if your pattern specifies M1R it means to make the new stitches lean to the right. If the pattern doesn't specify, go ahead and use the standard M1 that leans to the left.
Steps
Knitting M1 (M1L)
-
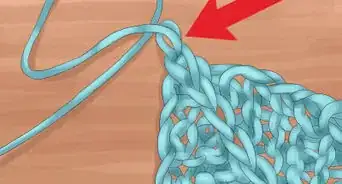
1Locate where to make the stitch. Follow your knitting pattern to determine where you should insert the new stitch. Find the horizontal bar of yarn between the stitch on your left needle and the stitch on your right needle. You'll insert the stitch in this space.[1]
-
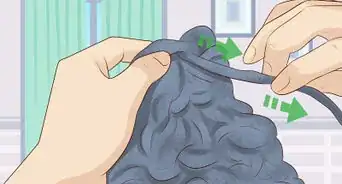
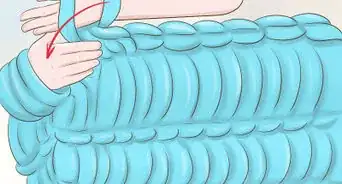
2Insert the left hand needle under the bar of yarn. Once you've found where to make 1 (M1), insert the tip of the left needle from front to back under the bar. Pull up with the left needle so the yarn loop is lifted up and onto the left hand needle.[2]
- If your knitting is tight and you're having trouble lifting the yarn loop onto the left needle, try using your fingers to move the loop.
Advertisement -
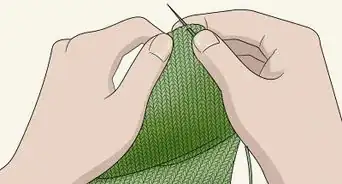
3Knit through the back loop. Insert the tip of the right needle through the back of the new loop on the left needle. The right needle should point towards the stitches on the left needle instead of up and away from them.[3]
- Knitting through the back loop will create criss-cross V shapes in the stitches. It will also prevent gaps from forming between the increased stitches.
-
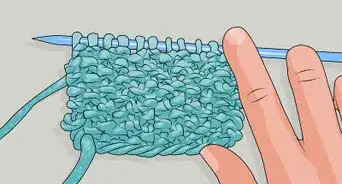
4Continue to follow the pattern. Once you've made 1 stitch, follow the pattern and knit or purl as usual. Depending on the pattern, you may need to M1 every row.[4]
Knitting M1R
-
1Determine where to make the stitch. Read your knitting pattern to find where to insert the new stitch. Look for the horizontal bar of yarn that's between the stitch on your left needle and the stitch on your right needle. This is where you'll insert the stitch.[5]
-
2Insert the left hand needle under the bar of yarn. Unlike inserting the needle for M1 (M1L), you'll need to insert the tip of the left needle from back to front under the bar. Use the left needle to lift the yarn loop onto the left needle.[6]
- If you have a hard time using the needle to move the loop, you can use your fingers to slide the loop onto the left needle.
-
3Knit through the front of the loop. Instead of knitting through the back loop, insert the tip of the right needle through the front of the loop. This will make the new stitch veer to the right.[7]
- Even though you're knitting this new stitch as usual, it will feel a little tighter because of the twist. This slight twist will prevent a hole or gap from forming between the stitches.
-
4Move the new stitch onto the right needle and continue with the pattern. Keep knitting according to the directions on your pattern and M1R whenever the pattern calls for it.[8]
Community Q&A
-
QuestionWhy provisional cast on?
 Community AnswerYou might want to use the live stitches to graft them onto something else. You keep the option open to lengthen to the opposite site. You might want to add a border and not want to pick up stitches.
Things You'll Need
- Knitting needles (any size)
- Yarn
References
- ↑ https://blog.tincanknits.com/2013/10/03/m1/
- ↑ https://blog.tincanknits.com/2013/10/03/m1/
- ↑ https://www.craftsy.com/blog/2015/12/ktbl-tutorial/?_ct=rbew&_ctp=193469
- ↑ https://www.craftsy.com/blog/2016/08/make-1-knitting/
- ↑ https://blog.tincanknits.com/2013/10/03/m1/
- ↑ https://www.craftsy.com/blog/2016/08/make-1-knitting/
- ↑ https://www.craftsy.com/blog/2016/08/make-1-knitting/
- ↑ https://www.craftsy.com/blog/2016/08/make-1-knitting/
About This Article