This article was co-authored by wikiHow Staff. Our trained team of editors and researchers validate articles for accuracy and comprehensiveness. wikiHow's Content Management Team carefully monitors the work from our editorial staff to ensure that each article is backed by trusted research and meets our high quality standards.
There are 7 references cited in this article, which can be found at the bottom of the page.
This article has been viewed 19,758 times.
Learn more...
You can improve the quality of ponds and other small, contained bodies of water by treating them with lime. Lime helps balance overly acidic ponds, resulting in fresher, cleaner water and a more hospitable environment for aquatic creatures and their various food sources. To determine whether your pond needs treatment, first take a soil sample from the bottom and test its pH level. If it’s lower than 6, call your local water management authorities for info on how to hire out a liming project or see to it yourself.
Steps
Testing Your Pond’s pH Levels
-
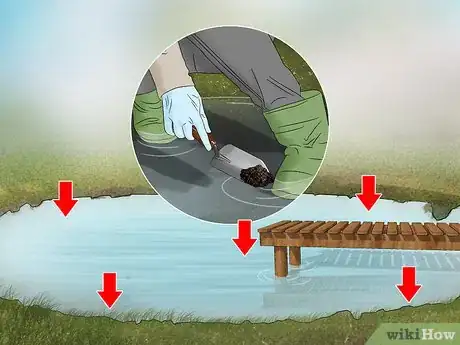
1Take a series of soil samples from the bottom of your pond. Scoop up a small amount of soil using a shovel or similar tool. Do this from several different parts of the pond, including each of the far “corners” and the area near the center.[1]
- Depending on the depth of your pond, you may be able to collect your samples from aboard a boat or dock. Otherwise, you’ll need to venture into a shallow section to dig out the soil manually.
- Rigging a device from a sounding pole and a tin can (or other narrow, sturdy container) can make it easier to take samples from the bottom of a particularly deep pond.[2]
-
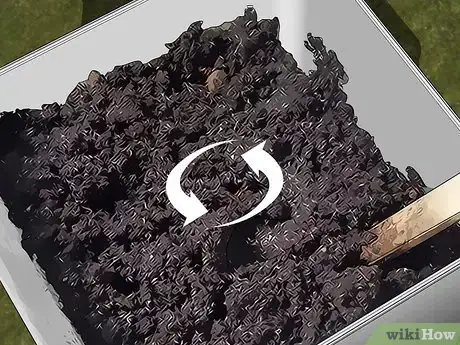
2Combine the soil samples into a single container. As you collect your samples, transfer them to a large lidded container where you can keep them together until you can have them analyzed. Since different parts of your pond may have slightly different pH levels, combining multiple soil samples will allow you to find the “average” pH, which you can then use to determine how much lime to use.[3]
- Use a dowel or other utensil to stir the soil samples thoroughly until they’re evenly mixed.
- Avoid letting your soil samples come into contact with water from other sources. Exposure to foreign chemicals may make your resulting pH reading unreliable.
Advertisement -
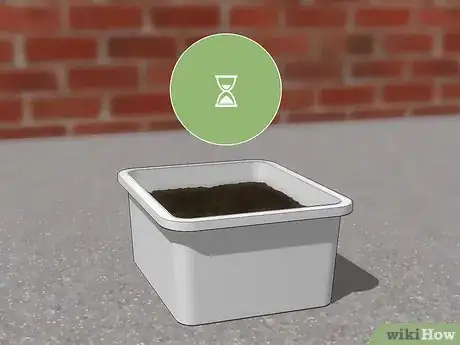
3Allow the samples to dry. Bring the sample collection container into your home and leave it to sit in an area that receives ample airflow. The mud will gradually harden into a uniform mass, which you can test to gauge the acidity or alkalinity of the conditions in your pond.[4]
-
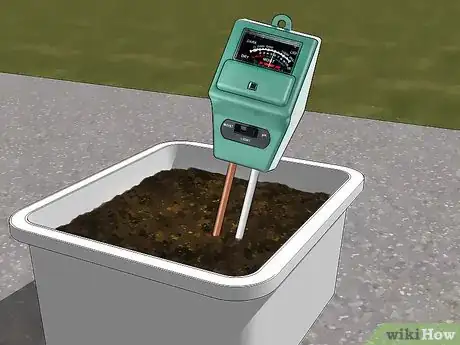
4Test the pH level of the aggregated samples. The simplest way to do this is to use a standard agricultural soil testing kit. Gather up a small amount of the mixed pond soil and place it into the testing container, then follow the instructions included with the kit.[5]
- If you’re not sure how to properly test soil pH yourself, you may be able to send your samples off to your local game and fish department, agricultural research center, or lake management service for expert analysis.
- Never lime your pond if the water or soil tests out to 7.5 or higher. Doing so can make the water chemically unstable and could harm or even kill natural wildlife.[6]
-
5Lime your pond if you get a reading lower than 6. Soil with a pH level lower than 6 is considered highly acidic, and can have a negative impact on fish, plants, and other wildlife. The primary purpose of applying lime is to minimize the harmful effects of overly acidic water by bringing it back to a more neutral level (around 7-7.5).[7]
- If the soil from your pond tests out to just over 6, it will be up to you whether you want to go ahead and add lime or wait and test it again later.
- Don't wait longer than 3-4 months to re-test fresh soil samples from your pond. A lot can change in a few months where water quality is concerned.
-
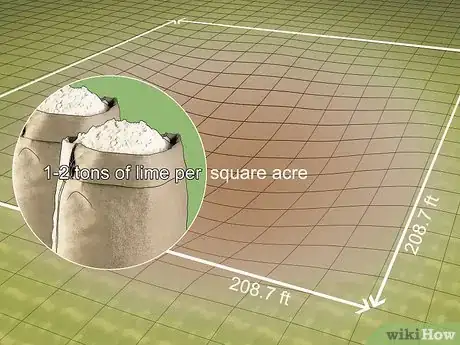
6Determine how much lime you’ll need to use. The exact amount you’ll need will depend on a few different factors, including the overall size of your pond, its current pH level, and the type of lime you’ll be using. Under normal conditions, it takes about 1-2 tons of lime per square surface acre or water to increase the alkalinity of a standard-sized pond 1 or 2 units.[8]
- Ponds with particularly thick or heavy clay soil may require as much as 2–4 tonnes (2,000–4,000 kg) of lime in order to improve the structure of soil deep down below the bottom.[9]
- Calculating the right amount of lime to add to a pond is a complex process with many variables. If possible, consult your local water management authority for advice or assistance.
Having Your Pond Treated Professionally
-
1Contact your local water management agencies for more info. Your state or territory’s water treatment service, game and fish department, or farmer’s co-op can be useful resources when you’re considering liming a pond on your property. One of these organizations may be able to provide you with important information, rent you the necessary equipment, or even oversee the project for you, in some cases.[10]
- Consider hiring a lake management company to lime your pond for a fee. Run a search for “lake management” along with the name of your town or city to explore your options.
-
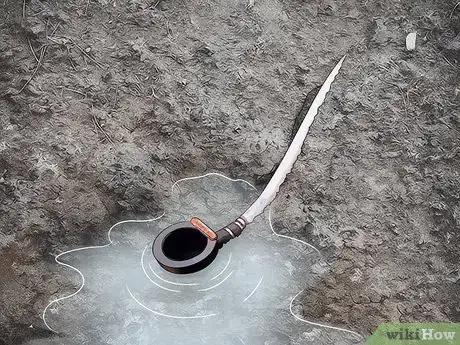
2Drain your pond. After inspecting and testing your pond, the professionals you’re working with will remove the water using a submerged pump system. This can take anywhere from a few hours to several days. While it can be somewhat time-consuming, draining is almost always preferred, as it makes the application process faster, safer, and more accurate.[11]
- It’s far easier to lime a dry pond than a full one, if it’s an option.[12]
- The only time lake management professionals may opt not to drain a body of water prior to liming is when it’s too large to be done feasibly.
- Draining a pond could kill or displace the fish and other creatures living in it. If the pond you're planning on liming is teeming with life, consider treating it while full instead.
-
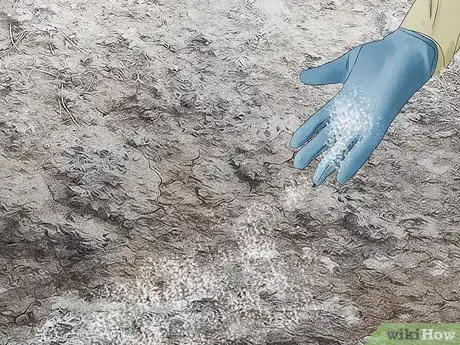
3Spread the lime over the bottom of the drained pond. Once all of the water has been emptied from your pond, the workers handling the application will cover the bottom with shovelfuls of ground limestone, making their way from one end to the other. They’ll then rake the lime until it’s evenly distributed over the entire surface.[13]
- In some cases, a manual or gas-powered lime spreading machine may also be employed for maximum efficiency.[14]
- Ideally, the lime should be spread while the bottom of the pond is dry. However, applying it to a muddy surface shouldn’t cause any harmful complications.
-
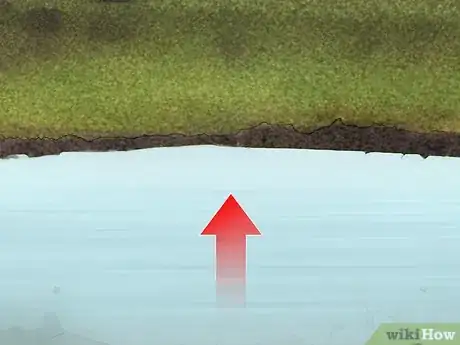
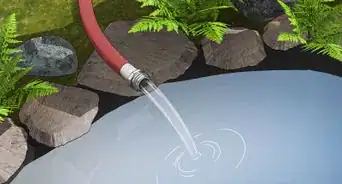
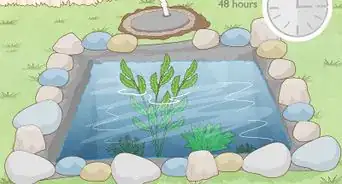
4Refill the pond. The water that was drained from the pond can now be pumped back in. As the newly-applied lime dissolves, it will begin absorbing and breaking down the acidic compounds created by decomposing organic matter, chemical runoff, and the natural buildup of waste products, restoring the water to a more natural composition as a result.[15]
- Don’t attempt to refill your pond with water from any other source, as there’s no guarantee that it will have the same pH as the water you used to determine how much lime you need.
-
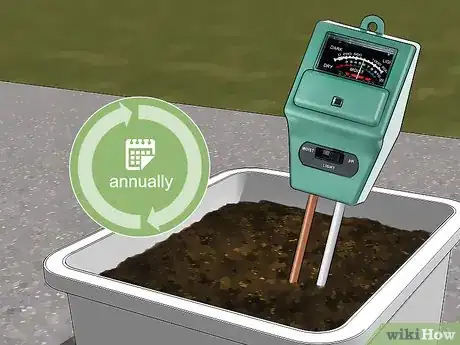
5Re-treat your pond every few years as needed. Get in the habit of testing the pH of the water or soil in your pond at around the same time annually. When it drops to 6 or lower, it will be time to apply a new course of lime.[16]
- The best time to treat your pond is in the fall or winter, when any water fertilizers you may have used during the spring or summer will have dissipated. That way, you can be sure they won’t interact negatively with the lime.[17]
- You can also add roughly a quarter of the amount of lime you used originally each year to maintain the proper balance, although this will require a lot more work.
Adding Lime on Your Own
-
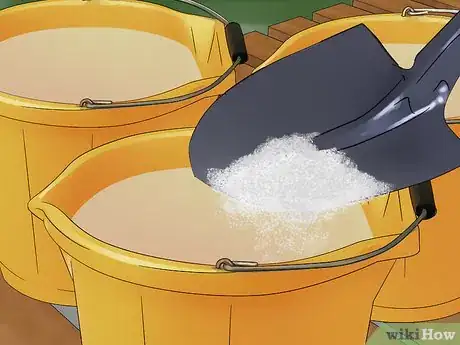
1Dilute the lime in water before adding it to your pond. Fill a wheelbarrow, steel drum, or group of large buckets with fresh water, then shovel in the lime a little at a time. The lime will dissolve gradually, forming a solution that disperses more easily (and evenly) than that in lump or granulated form.[18]
- Always wear thick gloves, eye protection, and a respirator or facemask anytime you’re handling raw lime.[19]
- If for some reason you’re unable to dilute your lime, it will be necessary to pile it onto a plywood platform or outstretched tarp at your application site.
-
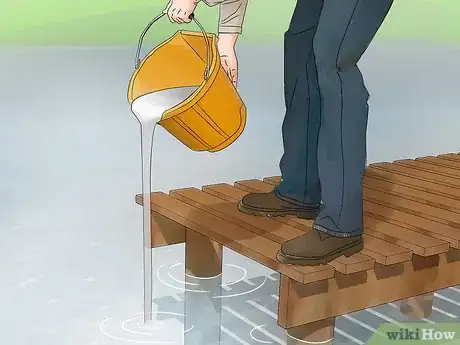
2Spread the lime outward from a boat or dock. Pour or pump the lime solution into the water in a 360 degree arc, starting from as close to the center of the pond as possible. It won’t take long for it to make its way to the outer edges, eventually diffusing through the entire body of water.[20]
- Adding the lime radially from the middle of the pond is far more effective than dispersing it from the banks.
-
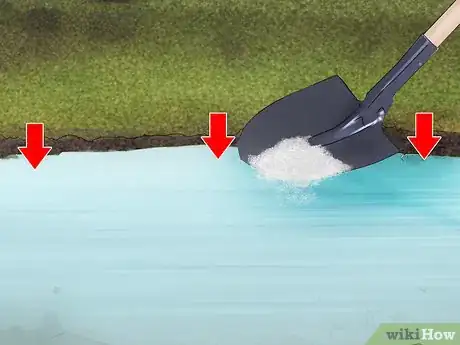
3Shovel the lime into the water from the banks. If you don’t have a boat or dock available to aid in application, your only option will be to work your way slowly around the perimeter of the pond. Try to stop and dump in a small amount of lime solution at consistent intervals, similar to the way you would shock a swimming pool.[21]
- A few passes with a bucket and shovel may be the most convenient way to treat especially small ponds.
- Only apply lime manually from outside large ponds as a last resort. It takes significantly longer to impact water quality this way, and much of the material often ends up soaking into the soil around the banks and being wasted.[22]
-
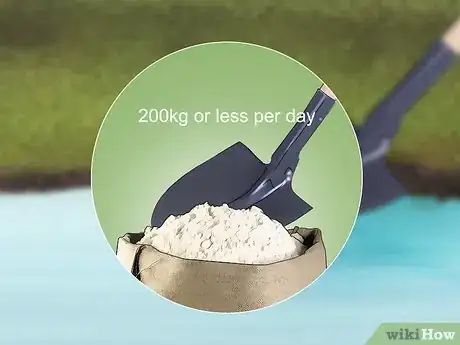
4Avoid using more than 200kg of lime at one time. This is the maximum upper limit for how much lime can be added in a single application. Unloading more than 200kg per day could cause the alkalinity of your pond to spike, upsetting both the chemical balance of the water and the wellbeing of the plants, fish, and beneficial microorganisms it contains.[23]
- Check the pH of the water at the end of the day to make sure it's still within safe limits.
- Alkalinity levels higher than about 9-9.5 can be enough to kill off fish and other large aquatic creatures.[24]
Community Q&A
-
QuestionAt what temp do I lime?
 Community AnswerLiming is best done at low temperatures, some below freezing.
Warnings
- Lime can cause severe chemical burns when its comes into contact with exposed skin. If you decide to apply lime yourself, be sure to follow the necessary safety precautions to avoid accident or injury.⧼thumbs_response⧽
Things You’ll Need
- Granulated lime
- Gloves, eye protection, and respirator or facemask
- Shovel
- Wheelbarrow, steel drum, or large buckets
- Soil pH testing kit
- Submersible water pump
- Large open container
- Lime spreading machine (optional)
References
- ↑ http://www.fao.org/fishery/static/FAO_Training/FAO_Training/General/x6709e/x6709e05.htm
- ↑ http://edis.ifas.ufl.edu/fa028
- ↑ http://www.dunnsfishfarm.com/ph_levels.htm
- ↑ http://www.dunnsfishfarm.com/ph_levels.htm
- ↑ http://edis.ifas.ufl.edu/fa028
- ↑ http://www.fao.org/fishery/static/FAO_Training/FAO_Training/General/x6709e/x6709e05.htm
- ↑ https://www.solitudelakemanagement.com/solitude-lake-management-blog/bid/344255/improve-water-quality-by-liming-your-pond
- ↑ http://edis.ifas.ufl.edu/fa028
- ↑ http://www.fao.org/fishery/static/FAO_Training/FAO_Training/General/x6709e/x6709e05.htm
- ↑ http://www.dunnsfishfarm.com/ph_levels.htm
- ↑ http://www.livingthecountrylife.com/homes-acreages/ponds/draining-farm-pond/
- ↑ http://edis.ifas.ufl.edu/fa028
- ↑ http://www.fao.org/fishery/static/FAO_Training/FAO_Training/General/x6709e/x6709e05.htm
- ↑ http://edis.ifas.ufl.edu/fa028
- ↑ https://www.solitudelakemanagement.com/solitude-lake-management-blog/bid/344255/improve-water-quality-by-liming-your-pond
- ↑ http://edis.ifas.ufl.edu/fa028
- ↑ http://edis.ifas.ufl.edu/fa028
- ↑ http://www.fao.org/fishery/static/FAO_Training/FAO_Training/General/x6709e/x6709e05.htm
- ↑ https://www.lime.org/documents/lime_basics/fact-safety_precautions.pdf
- ↑ http://edis.ifas.ufl.edu/fa028
- ↑ http://www.fao.org/fishery/static/FAO_Training/FAO_Training/General/x6709e/x6709e05.htm
- ↑ http://edis.ifas.ufl.edu/fa028
- ↑ http://www.fao.org/fishery/static/FAO_Training/FAO_Training/General/x6709e/x6709e05.htm
- ↑ https://www.fondriest.com/environmental-measurements/parameters/water-quality/ph/#p4
