This article was co-authored by wikiHow Staff. Our trained team of editors and researchers validate articles for accuracy and comprehensiveness. wikiHow's Content Management Team carefully monitors the work from our editorial staff to ensure that each article is backed by trusted research and meets our high quality standards.
There are 8 references cited in this article, which can be found at the bottom of the page.
This article has been viewed 402,831 times.
Learn more...
Tractors are extremely useful pieces of equipment, and with the right maintenance, they can run for years with very little trouble. Because there are so many different kinds of tractors with specific applications, maintenance may vary greatly from tractor to tractor. However, there are certain universal things you can do to help guarantee a long and useful life for yours.
Steps
Conducting Regular Inspections
-
1Familiarize yourself with your tractor’s manual. There are many different types of tractors on the market with a wide variety of applications and associated accessories. To be sure you properly maintain your specific make and model of tractor, you should read through the manual that came with it.[1]
- Many tractors require specific types of lubricants and hydraulic fluids that you can identify in the manual. Using the wrong kind could damage your tractor.
- If you do not have a manual for your tractor, you may be able to find the information on the manufacturer's website.
-
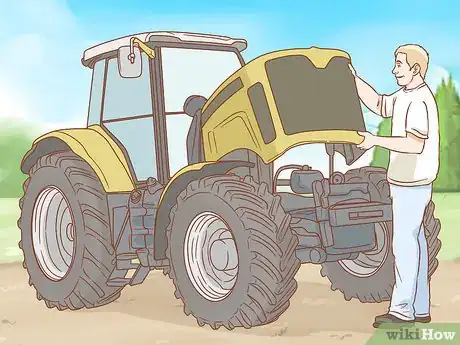
2Give the tractor a visual inspection. Before you get started with any planned maintenance on your tractor, give the whole thing a good once over to see if anything looks overly worn, broken, or dirty. Many newer model tractors even have plastic windows on fluid reservoirs to check things like hydraulic fluid levels.[2]
- Give your tractor a visual inspection before and after each use.
- Make note of any issues you identify to make sure you address them before the next time you use the tractor.
Advertisement -
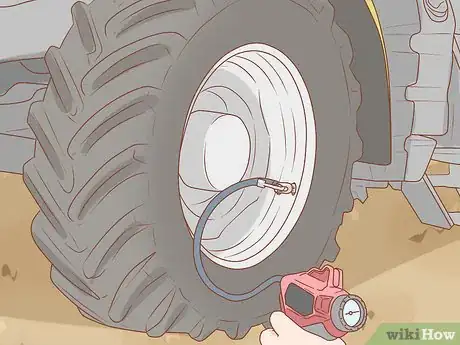
3Do a tire pressure check. Use a tire pressure gauge on each tire and compare it to the tire’s pressure rating written on the sidewall. Tractor tires can last years, but operating a tractor with under-inflated tires can ruin the sidewall and cause the tires to wear faster than they should. Under-inflated tires will also cause the tractor to burn more fuel in normal operations.[3]
- You may want to adjust tire pressure for different types of jobs. For instance, if you plan on driving your tractor on the road, you might want to add a few more pounds of air. Reducing tire pressure on slick surfaces like mud can help increase traction.
- Tires lose pressure more quickly when temperatures change from cold to hot, so you may want to check your tire pressure more frequently in the spring and fall.
-
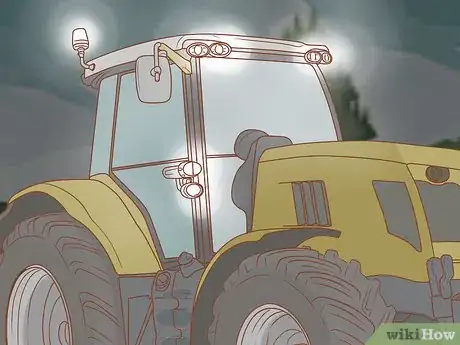
4Test the lights. Some tractors may not be equipped with any lights at all, while others could have an extensive lighting system that includes turn signals and interior lighting. Check each of the lights after each use of the tractor so you can address any electrical issues as they arise.[4]
- If a light fails to work, it may be a blown out bulb or fuse that needs to be replaced. If neither of those solve the problem, your tractor may need to be serviced by a technician.
- Check your owner’s manual to find the correct type of bulb or fuse needed to fix a bad light.
-
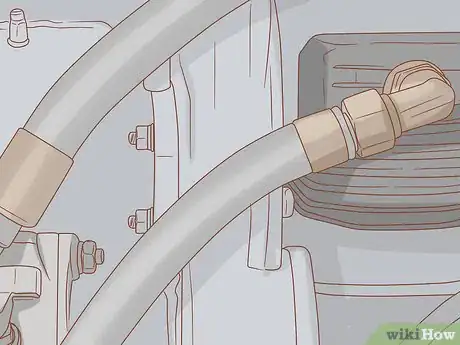
5Inspect the belts and hoses. Just like in a car, a tractor’s engine relies on a number of rubber hoses and usually at least one belt. Look all of the rubber components over for signs of wear or damage. Excessively worn rubber components should all be replaced.[5]
- Look for glazing on the sides and bottom of any belts that may indicate that it’s been slipping.
- Any rubber that has cracked should be replaced.
-
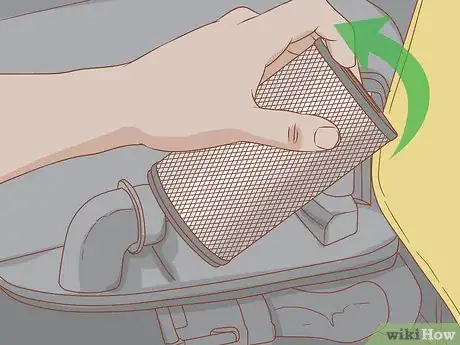
6Replace the air filter as needed. Depending on the environment you use your tractor in, you may need to change your air filter more or less frequently. Locate the air filter using the tractor’s user manual, then visually inspect it. If it’s really dirty, it should be replaced.[6]
- There’s no real rule of thumb with air filters; they should just be replaced as they appear dirty.
- You should check your air filter after 8 hours of use or so.
-
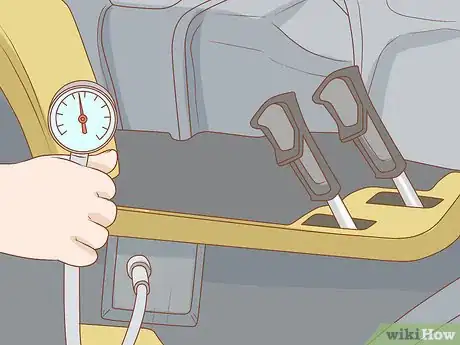
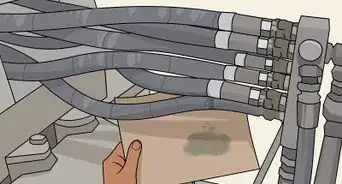
7Test the hydraulic system. You need specialized tools to check your tractor’s hydraulic system. If you have the correct coupler fitting and a pressure gauge, you can connect it to any of the black ports on the hydraulic system while it’s running, and compare that figure to the correct specifications outlined in the manual.[7]
- If you don’t have the correct tools, it’s recommended that you have your hydraulic system serviced by a professional after every 500 hours of use.
Checking and Replacing Fluids
-
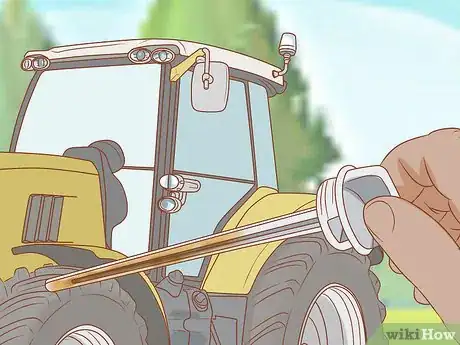
1Verify the oil level. Start your tractor up and let it run for a few minutes to warm up, then remove the oil dipstick, wipe it off, and reinsert it into the engine. Pull it out again and look at the oil level indicated on the stick.[8]
- The dip stick will show the high and low marks for you to compare your oil levels.
- If it’s low oil, you should add some, or just change the oil if it’s due.
-
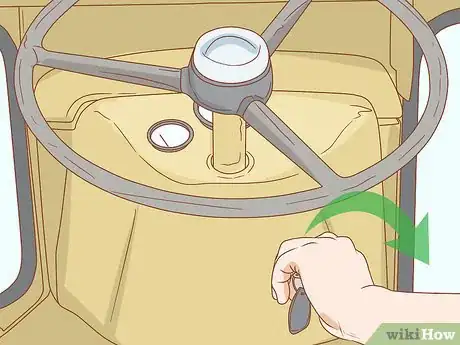
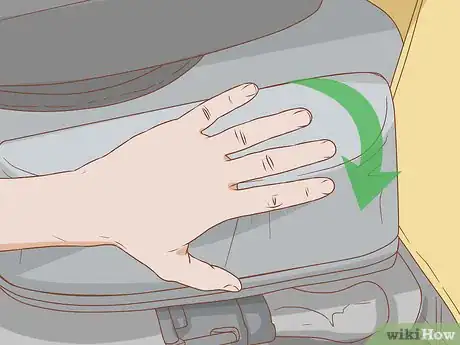
2Shut off the tractor. Doing any kind of maintenance on a tractor that’s still running is dangerous. After you shut the tractor off, remove the keys and set them aside to ensure no one accidentally starts it back up.[9]
- Tractors with mowers can be especially dangerous to work on while running.
- If you let the tractor warm up to check the oil, you may want to wait a bit as it cools.
-
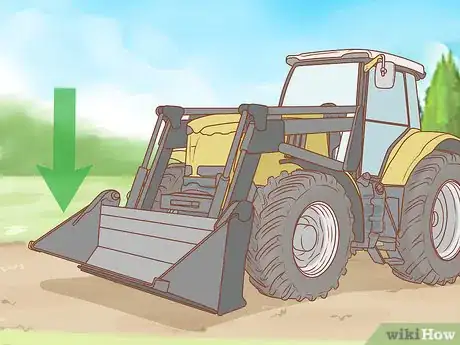
3Lower the hydraulics. Use the controls of your tractor to do so. If you’re unsure of how in your specific application, refer to the user’s manual. Tractors that have a bucket or other hydraulically powered accessories will need to have the hydraulic load removed by lowering them to the ground. Otherwise, those accessories may fall suddenly as you work on the hydraulic system.[10]
- Many hydraulic accessories can be extremely heavy, and may really hurt you if they were to fall.
-
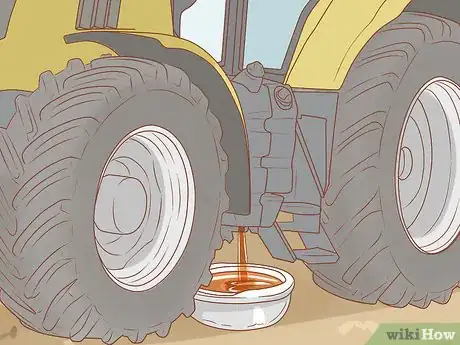
4Change the oil every 100 hours (or as specified in the manual). Different tractors are designed to operate for different amounts of time between oil changes, so be sure to consult the manual to determine how long you can go between them. To change the oil, remove the drain plug from the oil pan and let the oil drain out into an appropriate container.[11]
- Once the oil has been drained put the drain plug back in and remove the oil filter.
- Screw on the new oil filter and fill the tractor with the right amount of oil, as specified by its user manual.
-
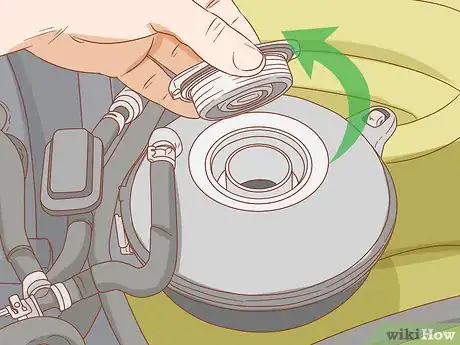
5Check the radiator fluid level. It’s totally normal for the level of coolant and water in your radiator to diminish over time, and it may need the occasional topping off. However, checking the fluid level regularly will also provide you with an early warning if there’s a serious leak anywhere in the cooling system.[12]
- Check the owner’s manual for your specific tractor to know what type of coolant to add to the radiator.
- Don’t operate the tractor until it’s been repaired if you notice a serious drop in radiator fluid.
-
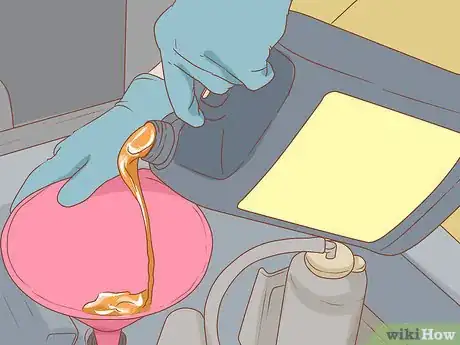
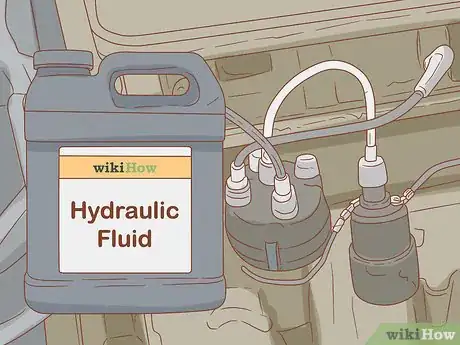
6Change your hydraulic fluid. You might want to consider having your hydraulic fluid changed by a professional, as it will require capturing and disposing of as much as 15 gallons (57 L) of fluid in some cases and involves the use of specialized tools.[13]
- You should have your hydraulic fluid changed every 400 hours of use.
- You should also have the hydraulic fluid filter changed.
-
7Monitor Diesel Exhaust Fluid (DEF) levels. Modern tractors require DEF to comply with regional emissions regulations. Check the DEF level to make sure it is within normal range. Some tractors have indicator lights to notify you when the fluid should be replaced
Cleaning and Properly Storing Your Tractor
-
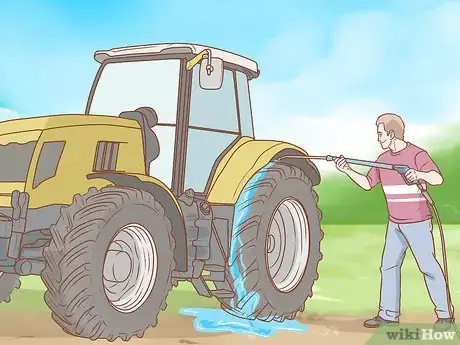
1Keep the tractor clean. While it’s nice to have a good looking tractor, the most important reason to keep it clean is to prevent debris from causing any damage to the tractor’s moving parts and so you can clearly see any issues as they develop.[14]
- Cleaning the tractor will also help you identify any damage to the paint that could lead to rusting.
- Be sure surfaces you step on are clear of debris and anything that might make them slippery.
-
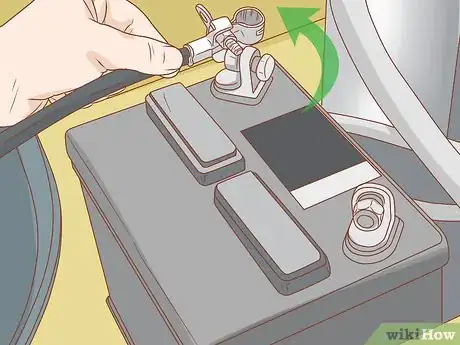
2Disconnect the battery before storing it. Leaving the battery connected will eventually kill it, and leaving a battery uncharged for too long will ruin it. Avoid this by using the appropriate sized socket to loosen the fasteners on both of the two battery terminals, then remove the battery.[15]
- Make sure to remove any strap that may hold the battery in place before you try to remove it.
- Store the battery somewhere with climate control, and if possible, leave it connected to a battery maintainer (available at most auto parts stores).
-
3Seal off the air filter before storing your tractor. If you leave a tractor outdoors or in a barn, chances are good that animals seeking shelter will find their way into places like the tractor’s air inlet. Use paper and tape to seal off openings before leaving the tractor for the season.[16]
- You can also use plastic wrap and tape.
- Make sure to remove all paper, plastic, and tape before starting the tractor again next year.
-
4Drain the fluids from the tractor before winter. If the tractor will be stored in an area that goes below freezing, you should drain any water from it. Freezing water expands and can destroy reservoirs or even coolant lines. The gasoline will go bad if stored over the winter as well, so be sure to drain the gas tank.[17]
- Only dispose of drained fluids at authorized chemical disposal locations.
- Do not store the gasoline for later use. Gas goes bad over time.
- Condensation will allow water to form in the fuel tank and mix with the fuel if you don’t drain it.
Community Q&A
-
QuestionHow often is a tractor supposed to undergo maintenance in a year?
 Community AnswerMost of these maintenance needs are best done once a year, as part of a thorough go over. However, check the oil regularly and change when black. Also check belts etc., and hydraulics on a regular basis.
 -
QuestionHow do I park a tractor?
 Community AnswerLower any 3-point implement. Rotate your front-end loader so the bucket faces down, keeping water out. Before dropping front and rear implements, place wood blocks down to keep those implements off the ground (your goal is to prevent rust). If you can't park under cover, cover the tractor with a large tarp. This will protect the tires from sun, and protect the dash, seat and the hydraulic pistons. When engine is turned off, jiggle the front loader control to release pressure and settle the front wheels down. Make sure the 3-point items are dropped, too. Finally, turn off your gas filter valve, and set the parking brake and latch or block your clutch pedal down.
 -
QuestionWhat are the routine checks needed on a tractor?
 Community AnswerGreasing axle pivots, 3 pt. systems, and loaders. Check air filters regularly. Do preventive maintenance monthly and weekly.
Warnings
- Do not remove guards, covers, or other safety devices.⧼thumbs_response⧽
- Read and understand the instruction manuals with all attachments you purchase for your tractor.⧼thumbs_response⧽
- Never let riders sit on the tractor while it is moving. Tractors are single passenger machines, and often pull dangerous implements, and there simply is no safe place for passengers to sit.⧼thumbs_response⧽
- Never attach a tow strap or chain to the axle or draw bar to pull up stumps or very heavy loads. If the tractor ceases forward motion while pulling, the wheels can continue turning, rolling the tractor over backward on the operator.⧼thumbs_response⧽
- Shut the engine off and allow it to cool before working on it. The engine in a tractor is more exposed than an automobile engine, and pulleys, fans, and belts can be very dangerous. The exhaust manifold, including the muffler which often sticks out of the hood at the top of the tractor, becomes very hot while operating.
⧼thumbs_response⧽ - Many tractor brake linings contain asbestos, which causes Mesothelioma cancer, lung cancer, asbestosis, and many other illnesses. Exposure to brake dust means exposure to asbestos.⧼thumbs_response⧽
Things You'll Need
- Wrenches or various sized sockets and accompanying socket wrench for servicing filters, tightening hoses and belts, and adjusting components.
- Owner's manual, and possibly service manual.
References
- ↑ http://www.automobileglobe.com/how-to-maintain-a-tractor/
- ↑ https://www.agrisupply.com/tools-and-tips-for-maintaining-your-tractor/a/1046/
- ↑ https://www.hobbyfarms.com/7-daily-tractor-maintenance-tasks-2/
- ↑ http://www.automobileglobe.com/how-to-maintain-a-tractor/
- ↑ https://www.consumerreports.org/cro/2013/07/maintaining-your-lawn-and-garden-equipment/index.htm
- ↑ https://stablemanagement.com/articles/tractor-maintenance-2650
- ↑ http://www.automobileglobe.com/how-to-maintain-a-tractor/
- ↑ https://www.hobbyfarms.com/7-daily-tractor-maintenance-tasks-2/
- ↑ https://www.ccohs.ca/oshanswers/safety_haz/tractors/maintenance.html
- ↑ https://www.ccohs.ca/oshanswers/safety_haz/tractors/maintenance.html
- ↑ http://www.automobileglobe.com/how-to-maintain-a-tractor/
- ↑ https://www.hobbyfarms.com/7-daily-tractor-maintenance-tasks-2/
- ↑ https://stablemanagement.com/articles/tractor-maintenance-2650
- ↑ https://www.ccohs.ca/oshanswers/safety_haz/tractors/maintenance.html
- ↑ https://stablemanagement.com/articles/tractor-maintenance-2650
- ↑ https://stablemanagement.com/articles/tractor-maintenance-2650
- ↑ https://www.thisoldhouse.com/how-to/how-to-store-your-lawn-mower-cold-season
About This Article
It’s important to properly maintain your tractor, so read through the manual for your specific make and model to be sure you’re aware of any special instructions or products you need. When you’re inspecting your tractor, check the tire pressure and look over the whole machine for any parts which are obviously broken or worn out. Test the lights and inspect all of the belts, hoses, and the air filter. Change the oil every 100 operating hours, and check the radiator fluid level regularly. In addition, have a professional change your hydraulic fluid every 400 operating hours. Keep reading to learn how to properly store your tractor!

