X
This article was co-authored by wikiHow staff writer, Jack Lloyd. Jack Lloyd is a Technology Writer and Editor for wikiHow. He has over two years of experience writing and editing technology-related articles. He is technology enthusiast and an English teacher.
This article has been viewed 484,393 times.
Learn more...
This wikiHow teaches you how to animate items in PowerPoint. By animating several items or text in a sequence, you can create a movie-like presentation.
Steps
-
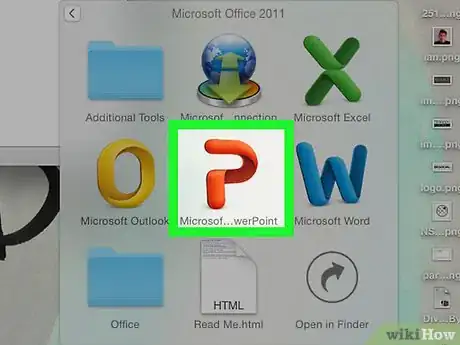
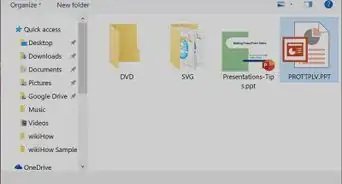
1Open PowerPoint. Double-click the PowerPoint app icon, which resembles a white "P" on an orange background.
- You can also open PowerPoint by typing powerpoint into Start (Windows) or Spotlight (Mac) and then clicking or double-clicking PowerPoint.
- If you want to open an existing PowerPoint file, double-click the file in question and skip the next step.
-
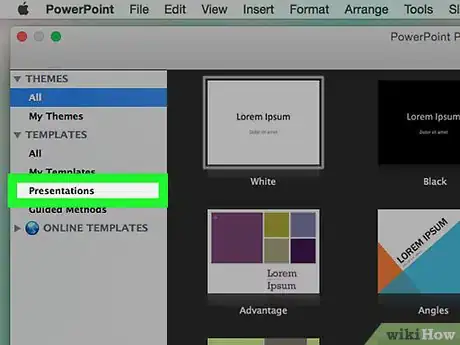
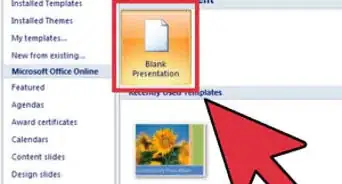
2Click Blank Presentation. It's in the top-left corner of the PowerPoint window. A new blank presentation will open.Advertisement
-
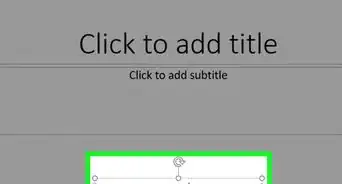
3Add images and text. If you want to add an item to your PowerPoint slide, do the following:
- Images — Click Insert, click Pictures, select a photo, and click Insert.
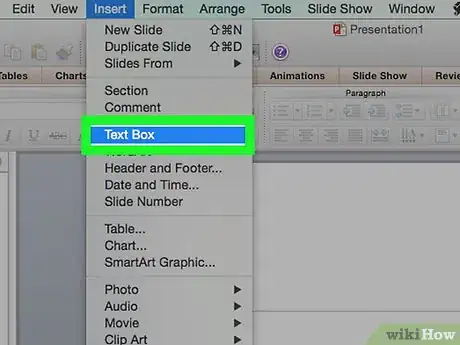
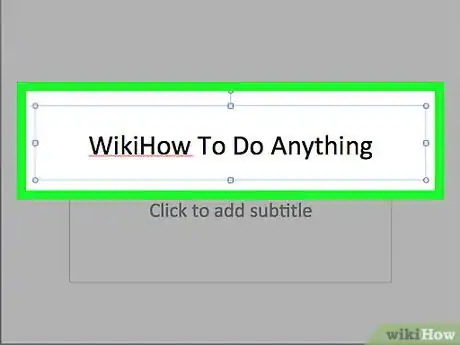
- Text — Click Insert, click Text Box, click and drag your mouse across the area in which you want to create the text box, and enter text.
-
4Select an item to animate. Click the image or text to which you want to add an animation.
-
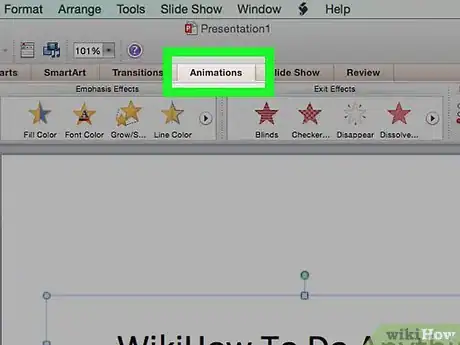
5Click the Animations tab. You'll find this tab at the top of the PowerPoint window. Doing so opens the Animations toolbar.
-
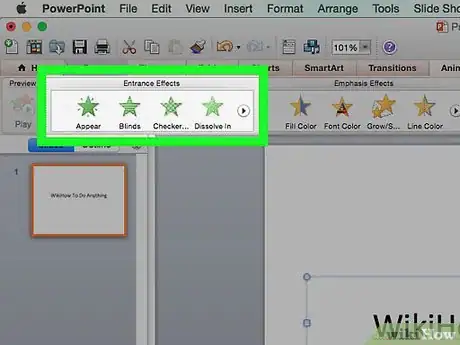
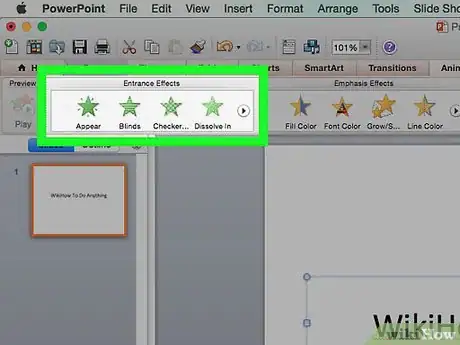
6Select an animation. In the "Animation" window that's in the middle of the toolbar, scroll up or down through the available animations and then click one you want to use.
-
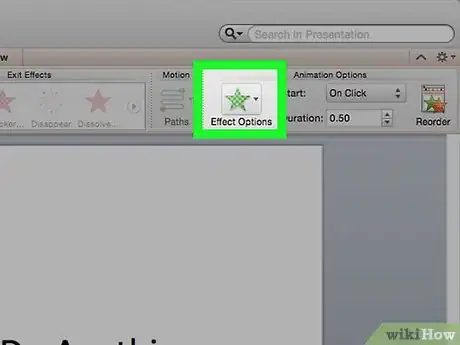
7Change the animation's specific options. With the animation selected, click Effect Options to the right of the list of effects and select a specific change in the resulting menu. These options vary depending on the selected animation.
- If the selected animation doesn't have any available options, Effect Options will be greyed out.
- For example, many animations (such as the "Fly In" animation) can be edited to enter the presentation from a different side of the frame.
-
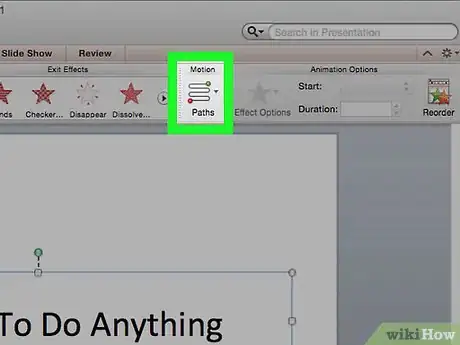
8Add an animation track. If you want to move a photo or text along a set path, do the following:[1]
- Select the item you want to animate.
- Click Add Animation
- Scroll down and click one of the "Motion Paths" options.
- Click OK
- Click and drag the line which appears to reposition it, or click and drag one of the points on the line to change its shape.
-
9Add animations to the rest of the items. Once you've added the animations that you want to use for each of the items on the slide, you can proceed.
-
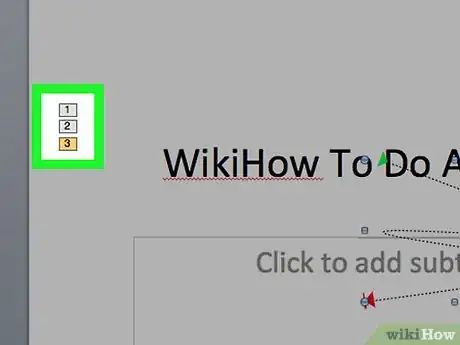
10Review your animations' order. You should see at least one number to the left of each animated item. For example, 1 refers to the first item to animate, while subsequent numbers indicate the order in which items will animate.
- Clicking a number will demonstrate the animation to which it pertains.
- You can change an animation by clicking the number next to an animated item and then selecting a new animation.
-
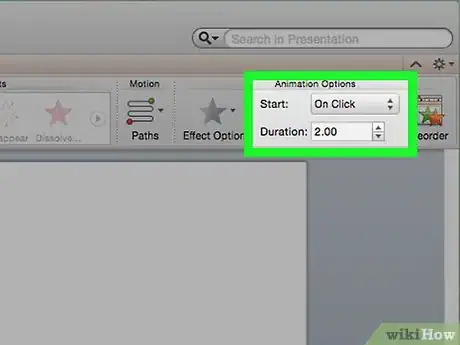
11Adjust an animation's timing. Click an animated item to select it, then change the numbers in the "Duration" and/or "Delay" text boxes in the upper-right corner of the window.
- The "Duration" text box dictates how long the animation lasts, while the "Delay" text box determines how much time will pass between the animation's trigger and the animation beginning.
- You can also change what triggers the animation by clicking the "Start" drop-down menu in the upper-right corner and then selecting On Click, With Previous, or After Previous.
-
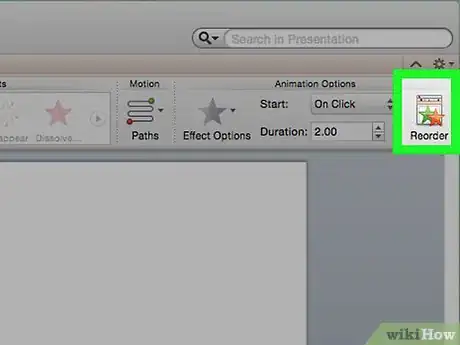
12Reorder your animations if needed. Click the animation which you want to move up or down in the order of animations, then click Move Earlier or Move Later in the far-right side of the toolbar.
-
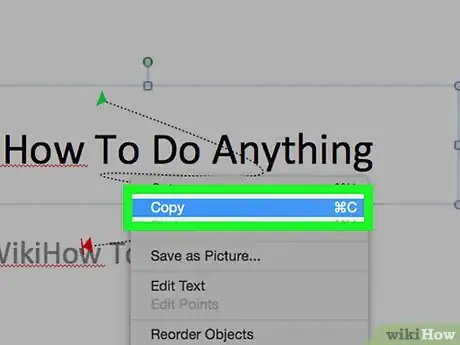
13Copy an animation onto another item. Select the animation you want to copy, then click Animation Painter in the upper-right side of the page and click the item to which you want to apply the animation.[2]
- If the Animation Painter button is greyed out or unavailable, first make sure that you've fully selected an animated item to copy.
-
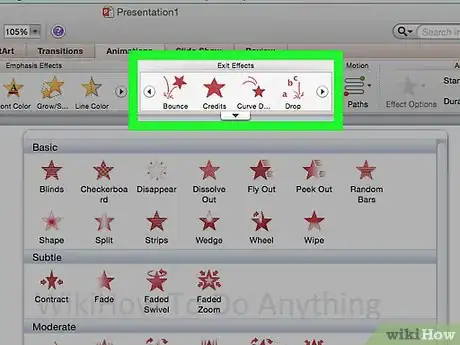
14Add an exit animation. To remove an item from the PowerPoint slide without transitioning to a different slide, select the item, then scroll down to the red "Exit" animations row in the "Animations" section and select your preferred exit animation.
-
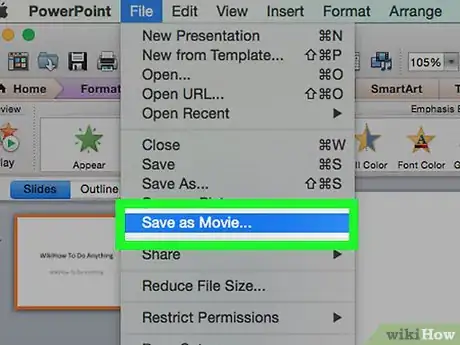
15Save your animation as a video. You can create an MP4 version of your PowerPoint's slide(s) by doing the following:[3]
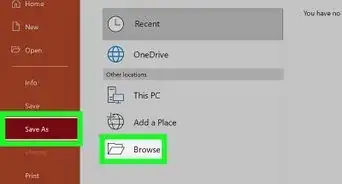
- Windows — Click File, click the Export tab, click Create Video in the middle of the page, enter a file name, select a save location, and click Save.
- Mac — Click File, click Save As Movie..., enter a file name, select a save location, and click Save.
Advertisement
Community Q&A
-
QuestionWhat if you want to add your own drawings or characters?
 Community AnswerTry to draw them beforehand with a program like Paint. Then import them into PowerPoint. If you need different positions, then import those too.
 -
QuestionHow do I add sound to a PowerPoint slide?
 Community AnswerClick on the "Insert" tab, click on "Sound", then "Sound from File". Next, insert the audio file from your computer.
 -
QuestionWhere do I open MS PowerPoint?
 Community AnswerIn the corner of your computer, you should have a search bar. Into that, type "PowerPoint". Then it should show your PowerPoint and you can click on it.
Advertisement
Warnings
- Clip Art is not available in Microsoft PowerPoint 2016.⧼thumbs_response⧽
Advertisement
References
About This Article
Article SummaryX
1. Open PowerPoint with images or text you want to animate.
2. Click the object you want to animate.
3. Click the Animations tab and select an animation.
4. Change animation options in the toolbar.
Did this summary help you?
Advertisement
