wikiHow is a “wiki,” similar to Wikipedia, which means that many of our articles are co-written by multiple authors. To create this article, 26 people, some anonymous, worked to edit and improve it over time.
This article has been viewed 220,959 times.
Learn more...
Baskets provide storage for a variety of items and often are used in home décor. You can buy baskets online or at many retail stores. However, you also can make your own baskets using supplies purchased at craft stores, or simply using things you have around your house.They are great for decor. See step 1 to get started making your basket!
Steps
Weaving Reed Baskets
-
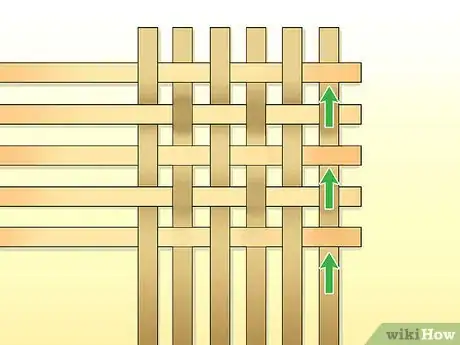
1Make the base of the basket. You'll need to lay out 5 reeds parallel to one another, with about 3/8ths of a space between them. Weave a sixth reed perpendicularly through the other 5. Bring the sixth reed over the first reed, under the second, over the third, under the fourth and over the fifth reed. Weave 4 more reeds in this manner, making sure that they are parallel to the sixth reed.[1]
- Ensure that the squares formed by the base weaving are no bigger than 3/8 inch (.9 cm).
-
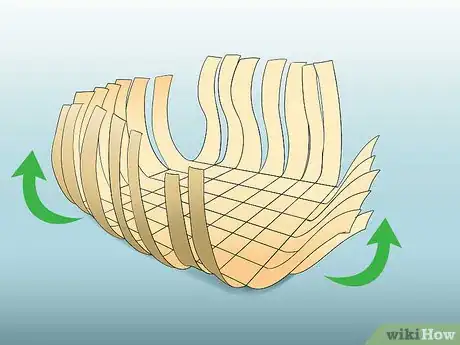
2Bend the reeds. Bend the reeds that stick out from the square base into an upwards position. These bent reeds are called spokes. Bending them will make it easier to weave and these spokes will act as the supports for the basket.Advertisement
-
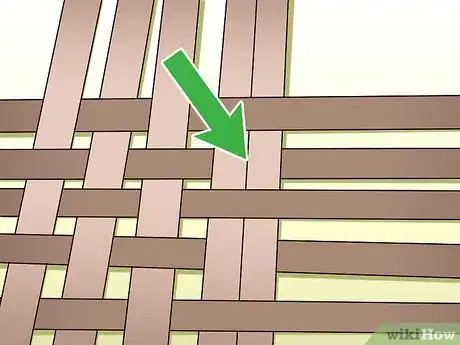
3Split a center spoke. Split one end of either the third or eighth spoke, starting where it comes out from under the last spoke to cross it. You will now have eleven spokes. You'll be putting the weaver into the split.
-
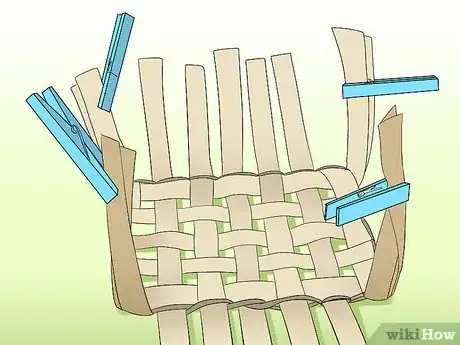
4Weave the basket. Put the tapered end (the smaller end) of a weaver reed into the split spoke and hold it in place with a clothespin. Keep the weaver reed near the base of the basket and weave, by going over one spoke and under the next.
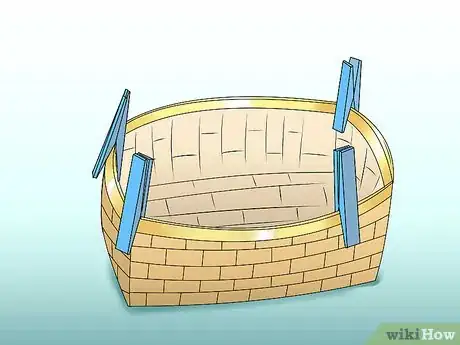
- If you're going for a square shape, hold the base corners together with clothespins. This will help maintain the shape of the base.
- Continue to attach and weave new reeds through the spokes for 3 or 4 rows, depending on the desired height of the basket. Each new reed should be stacked above the reed woven before it.
- Do your best to make the weave snug and tight, but not too tight or you can screw up the base of the basket. You, also, want to make sure that the weave isn't too loose.
-
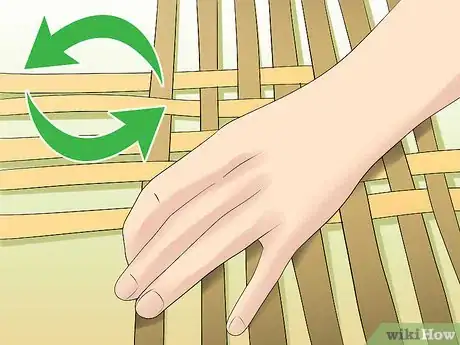
5Foot the base. This means closing up those square holes that are still in the base. Starting in the left corner of your basket, take the corner spoke and tug it gently. Tug more firmly on the second spoke. You want to tug quite firmly on the middle spoke because this will create an arch in the bottom of the basket. Move to the 4th spoke and tug gently again.
- Straighten your spokes and repeat on all 4 sides of the basket, until the holes in the base are closed.
-
6Continue weaving. Keep attaching and weaving new reeds through the spokes. Make sure that you don't pull too hard on the corners, because that will make your spokes bend inward and you'll lose your basket's shape.
- You also don't want your corners to be too loose, which can happen if you aren't keeping your spokes upright and parallel while you weave.
- Stop weaving once you've reached your desired height.
-
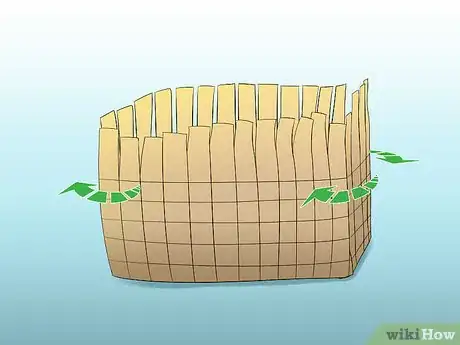
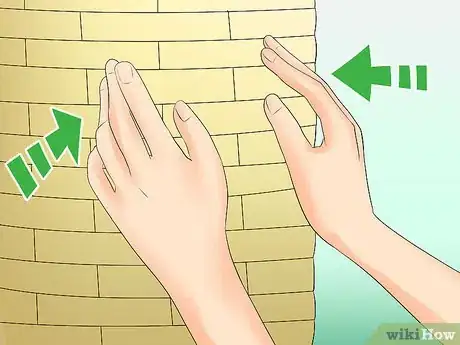
7Pack the base. Push or pull the woven rows down towards the base as you weave. Ensure that there is no space between the base and the rows. Start pressing or pulling from the base and move up to the newer reeds as you go.
- A properly packed basket should have a nicely arched base, straight, parallel spokes, properly spaced corners, and tight weaver rows.
-
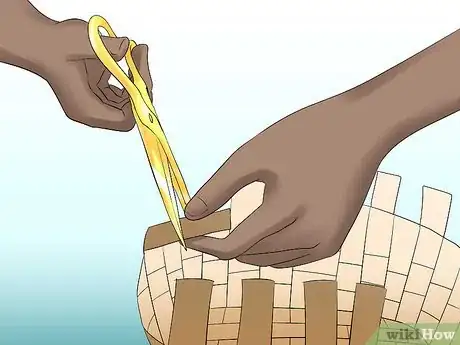
8Finish the top of the basket. Stop weaving your last reed after you have woven 4 spokes past the split spoke. Taper the reed with scissors, moving from the fourth spoke to the end of the reed. Weave until all of the final reed has been woven into the spokes.
-
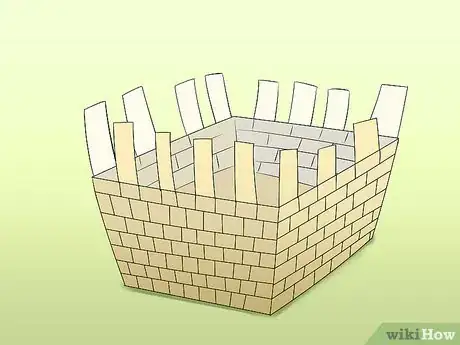
9Trim the basket. Cut the spokes with scissors. The spokes should be 1/2 to 2 inches (1.3 to 5 cm) higher than the last woven reed. Fold the spokes towards the inside of the basket over the top row of reeds. Insert the end of each spoke into the third row from the top. Ensure that each spoke lies flat against the inside of the basket.
-
10Make the rim. You'll wrap a reed around the top row of the basket and pin it to the basket with a clothespin. Now, anchor the new reed by weaving its bottom end into the top few rows inside the basket. This reed is called the lacer.
- Bring the lacer up and over the reed pinned to the basket and insert it through the front of the basket into the woven rows. Now pull the lacer inside the basket.
- Continue wrapping the lacer around the pinned reed, circling the circumference of the basket.
- Glue the end of the lacer inside the basket.
Weaving With Newspaper
-
1Make your newspaper sticks. You'll use these rolled up sections of newspaper as the spokes and weavers for your basket. Get a thin stick, like a thin knitting needle or a pine skewer or 3mm dowel.[2]
- Cut the newspaper in half horizontally and then again horizontally.
- Place the stick at a corner of the piece of newspaper at an acute angle to the newspaper. Start rolling the newspaper around the stick, making sure that you're doing so tightly.
- When you've rolled it all the way to the other corner, glue it onto the newspaper roll to hold it in place. Remove the dowel or knitting needle.
- One end will usually be a bit narrower than the other on the newspaper sticks, but that's how it is supposed to look. When you're weaving you'll stick the narrower section of one newspaper stick into another to make them longer.
-
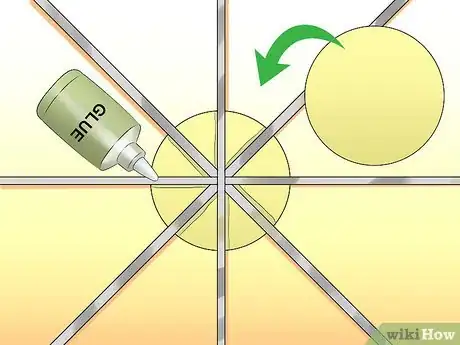
2Make the base. Cut out two rectangular pieces of cardboard whatever size you want your basket to be. On one side of one of the cardboard pieces, put double sided tape. Lay out your newspaper sticks along the sides (you'll want to do about 13 on the long side and 7 on the short size).
- Always use an odd number of sticks when making your base.
- Use double sided tape on the second piece of cardboard and press into place a piece of fabric, whatever color you'd like. Put glue on the side that won't be facing out and glue the two pieces of cardboard (one with the fabric and one with the sticks) together. Put something heavy on them and leave to dry (about and hour).
-
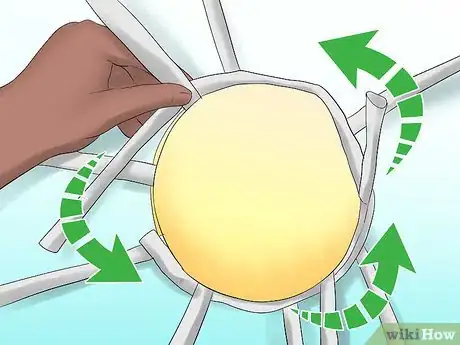
3Begin weaving. Start at one of the corners. Take a newspaper stick (a weaver) and fold it in half. Thread it around the corner stick. Using each half of the weaver weave around the upright sticks, with one half of the stick and the other half in back.
- Keep the upright sticks parallel to one another and pulled upright, and keep the weavers pulled tight. You don't want them too loose.
- At the corners you'll want to do an extra twist (over and under) before continuing the twist down the next side.
-
4Make the newspaper stick longer. As you reach the end of a tube, you'll need to add another stick to it, so that you can keep going. This is a lot easier than it sounds! All you have to do is insert the narrow end of the second stick into the first and push it in enough that it is secure.
-
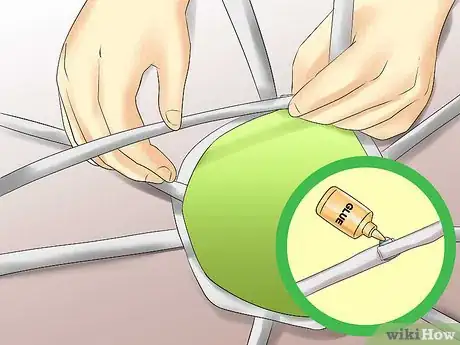
5Finish the basket. Once you've added rows until you've reached the height you want, it's time to finish the basket. This is very easy. Cut the leftover upright newspaper sticks to about 1 inch (2.54 cm).
- For every other upright stick you'll fold into down into the basket and glue it in place. Use a clothespin to dry it in place.
- For the sticks you didn't fold into the basket, you'll fold down on the outside and weave into the upper part of the basket.
-
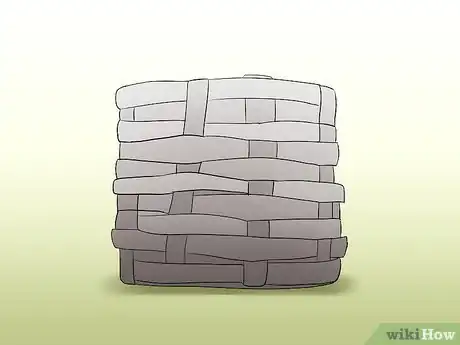
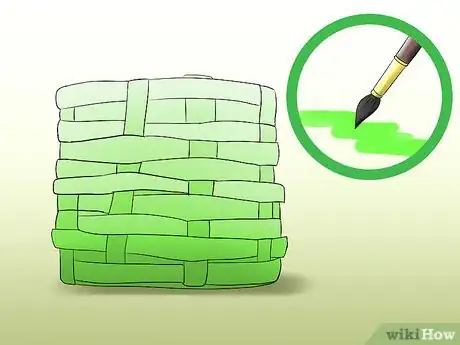
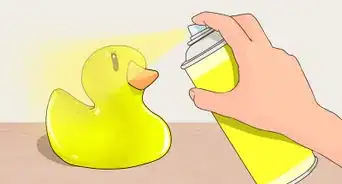
6Paint it. This is a completely optional step, as newspaper baskets look cool just as they are, but you can also paint them a color of your choosing. You could use a white acrylic paint and add a tinted varnish (which makes them look like a more 'authentic' basket), or you could use a bright, bold spray paint.[3]
Community Q&A
-
QuestionWhy would I want to make a basket?
 Community AnswerBaskets can be useful for holding everyday items such as fruit, car keys, and dog treats. They also make great artistic decorations.
 -
QuestionWhat are some different types of weaves?
 Community AnswerHavana twists, mico/mini braids, and boxer braids, just to name a few. You can find plenty of weave types online!
 -
QuestionHow many weaving reeds will I need?
 Community AnswerA good number of them, as I was using palm fronds and needed more than twenty. For the base, I used 6 horizontal and 6 vertical. The sides depend on how tall you want your basket.
Warnings
- You're first basket is probably going to come out a little screwy, because it takes time to figure out the right tension level when weaving, but that's okay! Keep practicing and you'll get more used to how tight and how loose to make the weaves.⧼thumbs_response⧽
- Be sparing with the glue, as you don't want it to get all over everything while you're working.⧼thumbs_response⧽
Things You'll Need
Reed Basket:
- Weaving reeds (size and number according to preference)
- Clothespins
- Glue
Newspaper Basket:
- A newspaper
- A small stick, like a small knitting needle or 3mm dowel
- Glue
- Double sided tape
- Cardboard
- Fabric (color and type of your choice)
- Paint (optional)
References
About This Article
To make a basket with newspaper, first roll newspaper around a long, thin rod and glue it in place before removing the rod. Then, make a base from cardboard and fabric, and lay out your newspaper "sticks" in a spoke pattern on the base to make the uprights that will be the frame of your basket. Next, weave the sticks in and out of the uprights, adding sticks by putting the end of one tube into the beginning of the next. Keep weaving newspaper sticks in and out around the uprights until you reach the height you want, then finish your basket by gluing down the tops of the uprights. To learn how to make a basket by weaving reeds together, scroll down!
