X
wikiHow is a “wiki,” similar to Wikipedia, which means that many of our articles are co-written by multiple authors. To create this article, 14 people, some anonymous, worked to edit and improve it over time.
This article has been viewed 29,337 times.
Learn more...
Words spelled out in neon fluorescence have been a staple of night life for many years. Now this same effect can be recreated using only a few simple tools. A neon sign spelling out a phrase of your choice is only a few steps away.
Steps
Method 1
Method 1 of 2:
Cursive Letters/Images
-
1Brainstorm ideas of what word you want to shine in neon. This can also be a phrase, easiest if made up of only two to three words. It is also possible to make designs or symbols with this technique. Use your creativity to imagine what you want the sign to look like
-
2Draw the word, or outline a design with pencil on a piece of paper. Draw it as if you are unable to pick up your pencil, since to make the design the whole thing needs to be connected. If writing a word, use cursive. If making an image, try to draw something simple enough to look clear as an outline.Advertisement
-
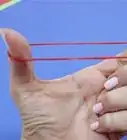
3Using the string, trace around the letters or the design. Cut the string when done and measure its length to determine how much wire you will need. If the string measures longer than the amount of wire you have, make the letters smaller or use a shorter phrase.
-
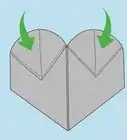
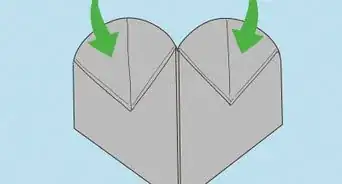
4Bend the metal wire in the shape of your letters. Use pliers to shape sections that are harder to bend/need to be sharper such as cursive "i" or the stem of an "n". Tip: Have another person hold down the initial sections of the wire as you move further along, to keep its shape.
-
5Using your EL wire and a hot glue gun, glue the EL wire to the metal wire. Do this section by section. Work slowly and hold the EL wire down to the metal wire for 5-10 seconds to make sure that it is set in place.
-
6Wrap the remaining cord in white tape (or whatever color matches the background of where the sign will be hanging) and hang the sign in the location you would like it to shine.


Advertisement
Method 2
Method 2 of 2:
Block Letters
-
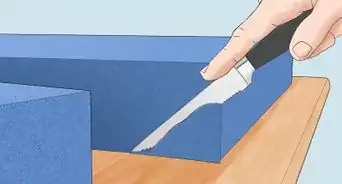
1Obtain a wooden board or piece of plywood to serve as a background for the sign. If desired, paint the board the same color as the wall to make the words stand out on their own.
-
2Choose a word or phrase whose letters use mostly straight edges. This is easier when it is written in capital letters.
-
3Print out the letters in the desired size, such as one letter per sheet of computer paper. Lay them out in the correct order.
-
4Gather one blue and one red pen. These will be used to map out how to thread the wire through the wooden board. The blue pen represents the visible wire. The red pen represents the part of the wire that will be hidden, behind the board.
-
5Use the pens on the printed paper to create a visual path for the wire. Draw an "X" at every entry point of the wire with blue pen. At the end of the first letter, when the wire will go back behind the board, use red pen. Think about how the wire will need to enter and exit the board to create the words.
-
6Punch holes throughout the paper wherever there are "X"s. Measure out as much string as the length of the EL wire owned and thread the string through the path made to make sure there is enough wire to sustain the design.
-
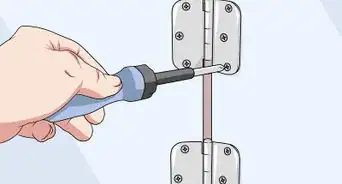
7Tape the paper to the plywood board and begin drilling holes in the board where the original "X"s were marked. After done drilling, remove the papers from the board.
-
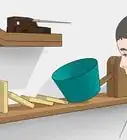
8Start at the back of the board and thread the EL wire through the first hole, all the way through. Tape the battery pack to the back of the board.
-
9Using the path laid out before, thread the wire through the holes. When finished, tape the excess wire to the back of the board to make it flat and easier to hang.
-
10Hang up the plywood where you want it, turn on the battery pack and watch your neon sign come to life!


Advertisement
Things You'll Need
Cursive Letters/Images
- Material to use for the sign, such as wood
- Paper and pencil for planning
- String to measure amount of wire
- Metal wire
- EL wire
- Pliers
- Hot glue gun + hot glue
- Colored tape to tape down extra wire
Block Letters
- Wooden board/plywood
- Computer printer to print out letters
- Paper
- Two different colored pens
- Hole puncher
- String to measure amount of wire
- Drill
- EL wire
- Tape
- Paint (optional)
About This Article
Advertisement