wikiHow is a “wiki,” similar to Wikipedia, which means that many of our articles are co-written by multiple authors. To create this article, 33 people, some anonymous, worked to edit and improve it over time.
wikiHow marks an article as reader-approved once it receives enough positive feedback. In this case, 90% of readers who voted found the article helpful, earning it our reader-approved status.
This article has been viewed 218,948 times.
Learn more...
Making simple beads at home with the kids can be as easy as pulling the flour out of the pantry, adding water and being creative with the paints!
Ingredients
- 4 cups flour
- 1 cup salt
- 1 1/2 cups cold water
- Food coloring (optional)
Steps
-
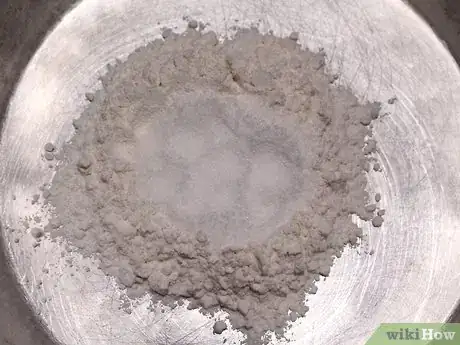
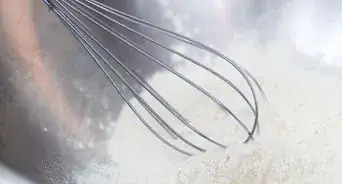
1Mix the flour and salt.[1]
-
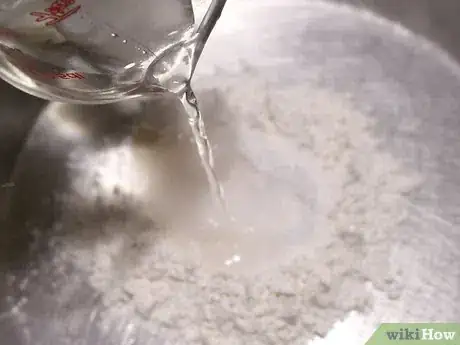
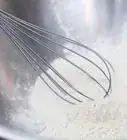
2Add water and mix well.[2]Advertisement
-
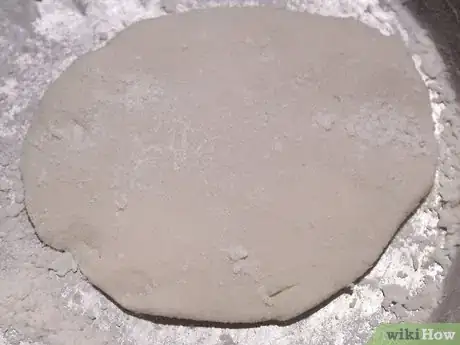
3Knead the "dough" that you've created for 10 - 15 minutes. If it feels flexible when you bend it and does not fall to pieces, it is ready for shaping.[3]
-
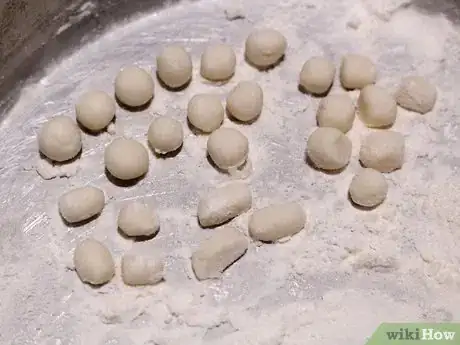
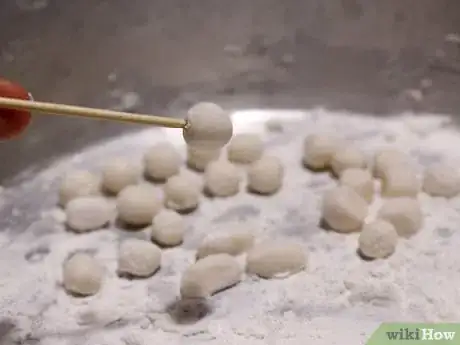
4Shape the beads. Take small pieces and work them into ovals, circles, squares, or whatever shape takes your fancy.[4]
-
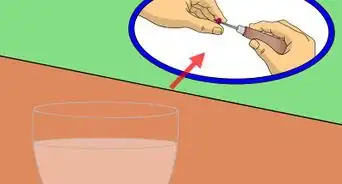
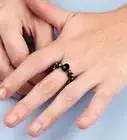
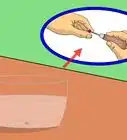
5Make a hole in the bead. If you are using your beads to turn into a necklace or bracelet, make a hole in the center with a skewer or other thin long object. If you are using the beads for other projects, you may not want to have holes in them.[5]
-
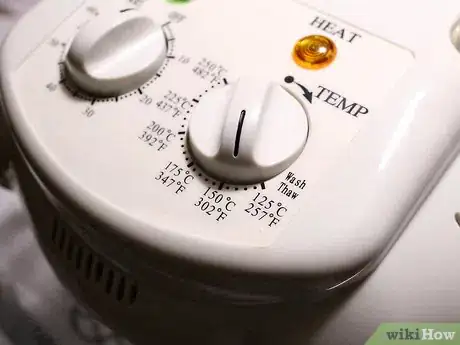
6
-
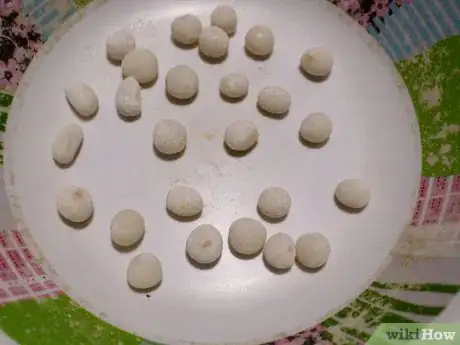
7Remove from oven and allow to cool on a rack.[7]
-
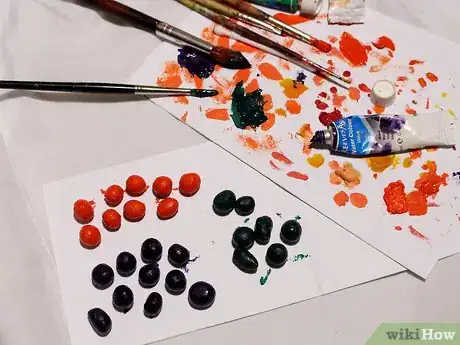
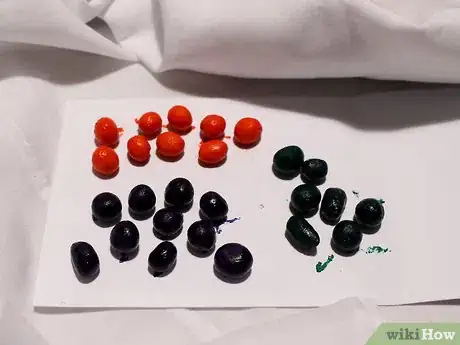
8Paint your beads. Decide which colors you'd like to make your beads and paint them. Include spots, stripes, shapes and other designs on them. Even little people or animal figures can be effective if you have detailed painting skills.[8]
-
9Allow paint to dry thoroughly.
-
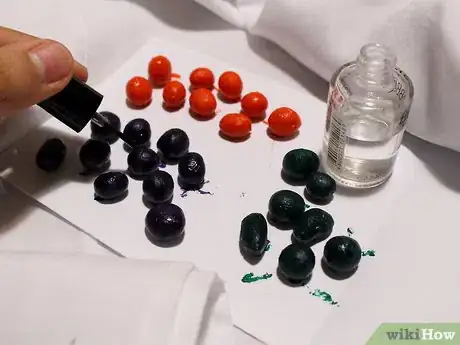
10Completely finished beads can be lacquered for a beautifully shiny finish.[9]
Community Q&A
-
QuestionWhat is the food coloring for?
 Community AnswerThe food coloring can be used if you want to dye the bead "dough" specific colors. Note that the beads will come out of the oven a lighter shade of the color than the dough was dyed.
 -
QuestionCan I bake the beads for a short time?
 Community AnswerYes, you can but not for less than 1 hour or your beads won't finish. You need to wait and be patient.
 -
QuestionAre these beads water resistant? Do they break easily?
 Community AnswerIf you use a sealant, such as clear nail polish or Mod Podge, they will be somewhat water resistant, and will not fall apart. If you do not use a sealant, then no, they won’t be water resistant and yes, they will break.
Warnings
- Don't eat the dough as it's highly salty.⧼thumbs_response⧽
- Always use an oven mitt to remove hot items from an oven.⧼thumbs_response⧽
- Only adults should use the oven. Children should never be allowed to use the oven without adult supervision.⧼thumbs_response⧽
Things You'll Need
- Flour
- Salt
- Water
- Oven
- Acrylic or other suitable paint (optional)
- Paintbrushes (optional)
- Skewer or other long thin object (optional)
References
- ↑ https://www.youtube.com/watch?v=0SmfpX-GmDs
- ↑ https://www.redtedart.com/salt-dough-recipe-beads/
- ↑ https://www.youtube.com/watch?v=yHJxuHhKY2w
- ↑ http://www.auntannie.com/CraftRecipes/ModelingDough/
- ↑ https://www.youtube.com/watch?v=IvtabCQEGOE
- ↑ https://www.youtube.com/watch?v=0SmfpX-GmDs
- ↑ https://www.redtedart.com/salt-dough-recipe-beads/
- ↑ https://www.youtube.com/watch?v=0SmfpX-GmDs
- ↑ https://www.redtedart.com/salt-dough-recipe-beads/
