This article was co-authored by wikiHow Staff. Our trained team of editors and researchers validate articles for accuracy and comprehensiveness. wikiHow's Content Management Team carefully monitors the work from our editorial staff to ensure that each article is backed by trusted research and meets our high quality standards.
There are 9 references cited in this article, which can be found at the bottom of the page.
This article has been viewed 381,620 times.
Learn more...
Cheesemakers often shy away from attempting to make blue cheese at home, but with a little patience and some careful attention to detail, you can create your own batch of earthy, pungent blue cheese from the comfort of your own home. You’ll need to set aside an entire day for the task, but after that, you can pretty much let the cheese do its own work until it’s ready to consume in about 2 months.
Ingredients
- 2 gallons (7.6 liters) of whole milk
- 2 cups (470 mL) of cream
- 1 teaspoon (4.9 mL) of calcium chloride with 1 tablespoon (15 mL) of water
- 1 package of yogurt culture starter
- 1 package of direct-set mesophyllic starter
- 1 teaspoon (4.9 mL) of liquid rennet mixed with 1⁄4 cup (59 mL) of water
- 1 ounce (28 g) of blue cheese blended with 1⁄4 cup (59 mL) of water
- 2 tablespoons (17 grams) of kosher salt
Makes 2 pounds (0.91 kg) of cheese
Steps
Sanitizing the Equipment
-
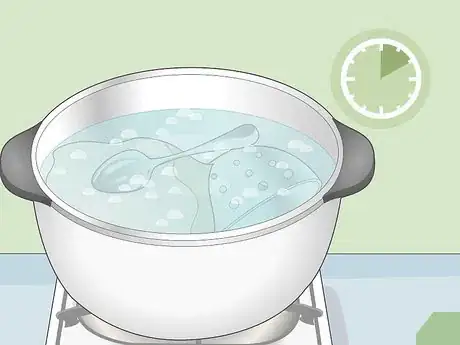
1Boil all the smaller items inside the stockpot for 10 minutes. Place the spoon, knife, cheese mold, cheesecloth, colander, mesh grate, and cheese mats into the large stockpot, cover everything with water and bring it to a boil. Let everything boil for 10 minutes, and then carefully drain the water and set the items on a clean countertop.[1]
- Although blue cheese is moldy by nature, you want to make sure to not introduce any other kinds of harmful bacteria to the mixture.
- This process cleans the stockpot for you, so you don’t have to do anything additional to it.
-
2Clean the baking tray and large plastic bucket with soapy water. Don’t use an old sponge to clean the items, as it could transfer bacteria in spite of the soap. Use a new sponge or clean washcloth to wipe down the baking tray and the 5 gallon (19 liter) plastic bucket.[2]
- You could mix in 1 teaspoon (4.9 mL) of bleach to wash these items if you want to.
Advertisement -
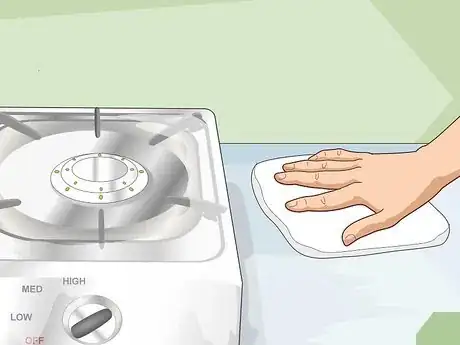
3Wipe down the countertops and stovetop with water and soap. Any working surface that you think you might use during the cheese-making process will need to be wiped down. Use warm water and dish soap, and then dry off the surfaces with a clean towel.[3]
- Wear gloves if you have sensitive skin—just make sure to wash your hands thoroughly before you begin the cooking process.
Heating the Milk and Adding the Starters
-
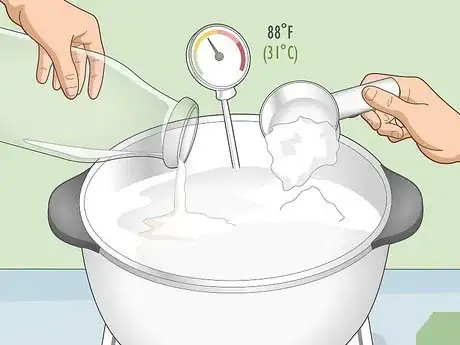
1Heat the milk and cream in the stockpot until it reaches 88 °F (31 °C). Add 2 gallons (7.6 liters) of whole milk along with 2 cups (470 mL) of cream, and attach the thermometer to the side of the stockpot. Warm the milk slowly by turning the heat to medium, rather than high, to prevent it from scalding.[4]
- You can use any kind of animal milk, as long as it’s whole milk. Goat, sheep, and cow milks are all acceptable.
-
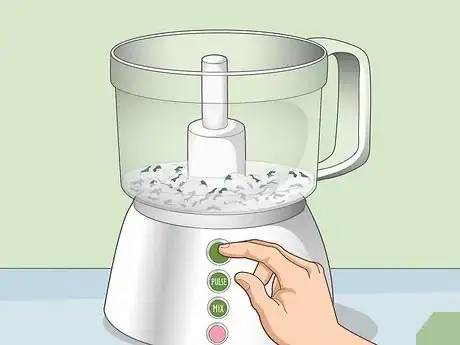
2Blend the blue cheese and water while the milk is heating. Take the 1 ounce (28 g) of blue cheese and put it in a blender along with a 1⁄4 cup (59 mL) of water. Blend it for about 30 seconds, or until completely smooth, and then set it aside.[5]
- Using blue cheese to make blue cheese is an easier way to introduce the penicillium to the mixture without actually having to find and buy it. The penicillium is what creates the mold in the cheese, giving it its characteristic blue veins and strong taste and odor.
- If you would rather not use blue cheese for the mold component, you will need to add 1⁄4 teaspoon (1.2 mL) of penicillium to the milk and cream at this time.
-
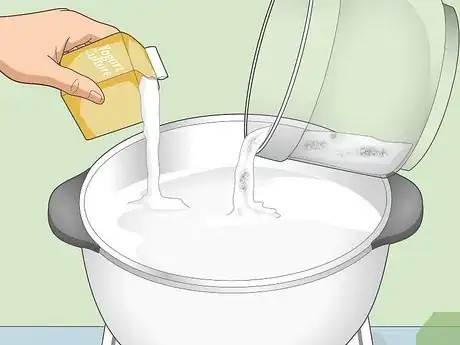
3Add the yogurt culture, mesophyllic starter, calcium chloride, and blue cheese to the pot. You’ll use 1 teaspoon (4.9 mL) of calcium chloride mixed with with 1 tablespoon (15 mL) of water, 1 package of yogurt culture starter, 1 package of direct-set mesophyllic starter, and the blue cheese and water you blended previously. Stir the pot for about 1 minute to incorporate all the ingredients.[6]
-
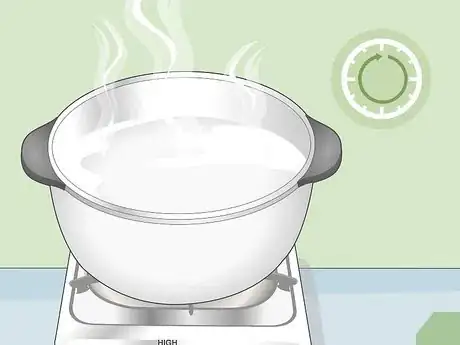
4Let the mixture simmer for 60 minutes. Remove the thermometer and put the lid on the pot. Check the temperature after 60 minutes to ensure it’s remaining around the 88 °F (31 °C) range.[7]
- Make sure to set a timer so the mixture doesn’t simmer for too long.
-
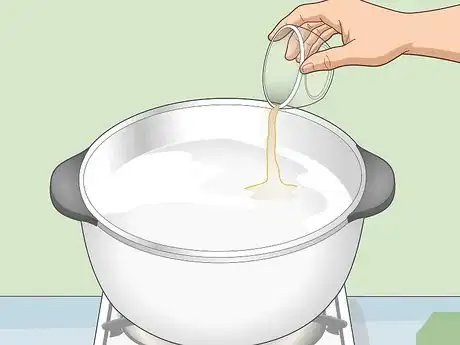
5Measure the rennet and add it to the pot. Use 1 teaspoon (4.9 mL) of liquid rennet mixed with 1⁄4 cup (59 mL) of water, and carefully add it to the rest of the liquid. Stir the pot for 1 minute to help it mix in.[8]
- Rennet contains all the enzymes that curdle milk.
-
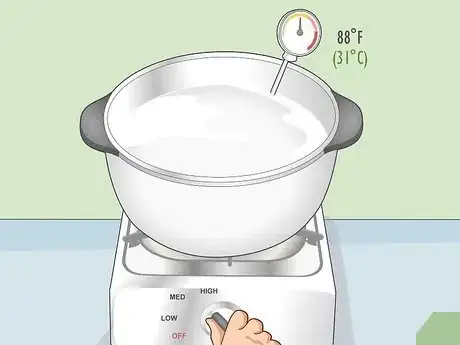
6Lower the heat so it maintains a temperature of 88 °F (31 °C). Turn down the burner and check the thermometer until the temperature reaches the right degree. The temperature component of blue cheese is really important to getting it to the right consistency.[9]
- If you’re having a hard time getting the right temperature on the stove top, you could fill the sink with hot water and submerge the pot in there for a more gentle heating process. You may need to add more hot water every so often to keep the temperature at the right level.
-
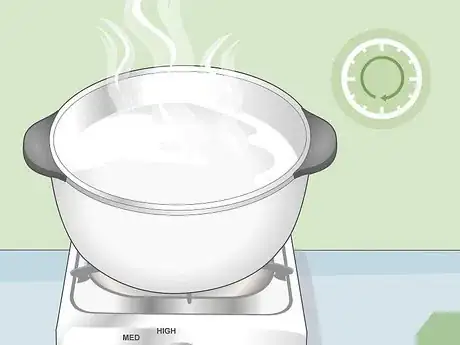
7Let the liquid simmer and coagulate for about 90 minutes. Put the lid back onto the pot, removing the thermometer if you need to. Set a timer for 90 minutes. When you check the pot once the time is up, the mixture should break into chunks when you push it.[10]
- If the consistency is more like yogurt, let it sit for an extra 15 minutes.
- The top of the pan will be filled with the coagulated milk, and beneath it will be the whey, which is the remaining liquid.
Cutting and Straining the Curd
-
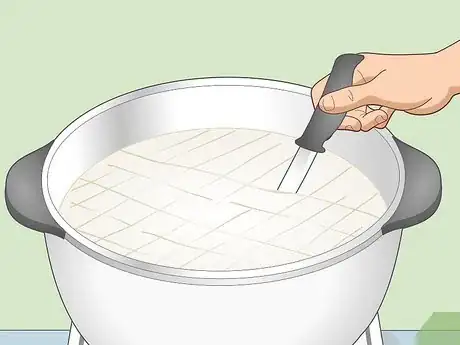
1Cut a checkerboard pattern in the curd to break it up into chunks. Take your knife and make long, even cuts across the curd. Then do the same going the opposite direction, to create a grid pattern.[11]
- This process just helps to loosen the curd and makes it easier to scoop out.
-
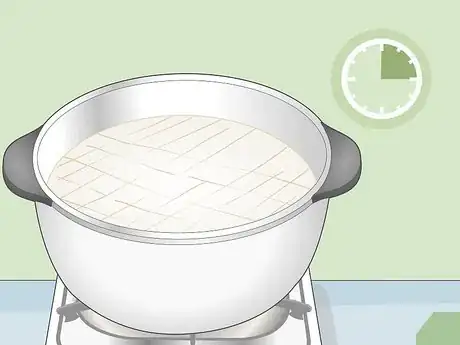
2Let the curds sit for 15 minutes with the heat still on. After you’ve cut through the curds, you need to give them a little more time to rest. This helps them solidify more and lose any additional whey.[12]
-
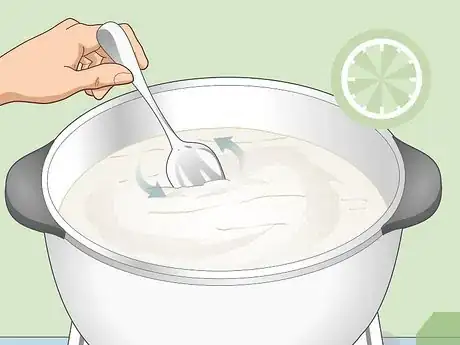
3Rotate stirring the curd and letting it sit every 5 minutes for an hour. Keep the temperature at 88 °F (31 °C). Gently stir the curds with your sterilized spoon every 5 minutes and then let the curds rest between stirs.[13]
- This process ensures the curds lose as much of the whey as possible.
-
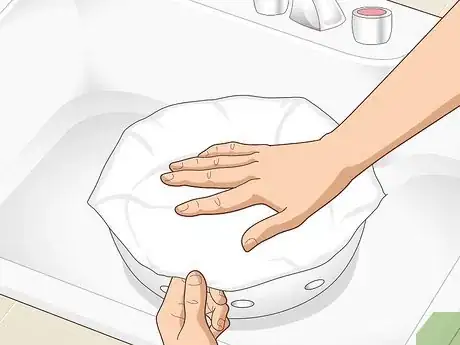
4Line your colander with your cheesecloth or muslin. Do this over the sink, as you’ll be working there in just a minute. Make sure the sink is clean, and carefully lay the cloth over the bottom of the colander and up along the sides.[14]
- Remember to use the cloth that you sanitized earlier.
-
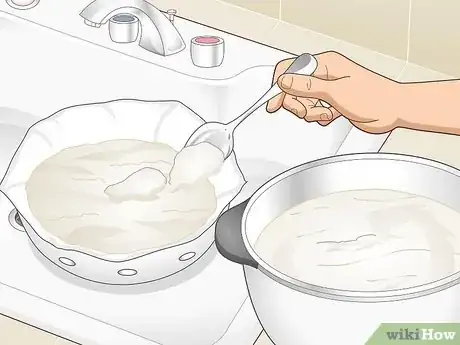
5Transfer the curd carefully to the colander using the metal spoon. Scoop the curd out and place it in the colander, avoiding as much whey as you can. Let the curd drain through the cheesecloth for 10 minutes.[15]
- Depending on how big your colander is, you may need to use 2 simultaneously to fit everything in.
-
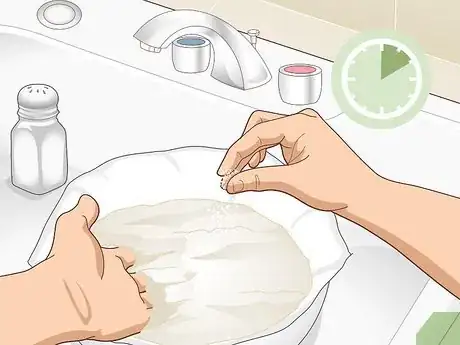
6Mix salt in with your hands and let the mixture sit for 10 minutes. Use 2 tablespoons (17 grams) of kosher salt and sprinkle it evenly overtop of the curds. Then use your hands (wash them before touching the curd) to gently mix up all the curds. This will help them not coagulate together again. Then let the mixture sit for an additional 10 minutes.[16]
- You may also be able to find specific cheese salt at the specialty cheese shop, which you can use, too. But kosher salt will also work just fine!
Forming the Cheese
-
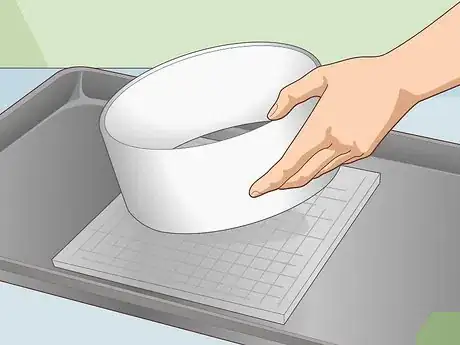
1Put the mat on your tray and put the cheese mold on top of that. Use the cheese or bamboo mats, the cookie sheet, and the cheese molds. Set up a station for yourself to get ready to fill the molds.[17]
- The cookie sheet helps keep moisture from spreading to any surfaces, and it also keeps the cheese safe from any odd bacteria that might be on the counter.
-
2Fill the cheese mold with the drained curds. Use your disinfected spoon or your clean hands, and gently transfer curd from the colander to the cheese mold. Fill it up as high as you can.[18]
- If the mold fills before you’re out of curds, let the mold sit for 10 minutes to let extra moisture come out, and then continue filling it.
- Try to avoid pressing down on the curds. Just let them settle organically.
-
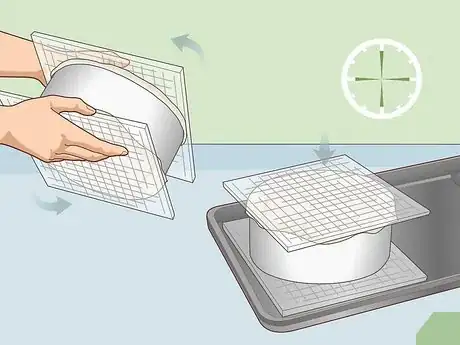
3Cover the mold and flip it every 15 minutes for 2 hours. Both ends of the mold will be covered with a cloth. Make sure to set the mold back down over the cookie tray each time to you flip it.[19]
- This process helps the curd continue losing moisture so it can start to form in the right shape.
-
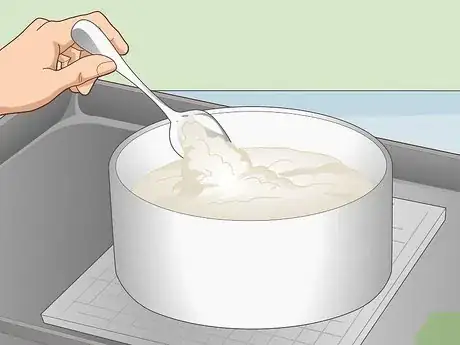
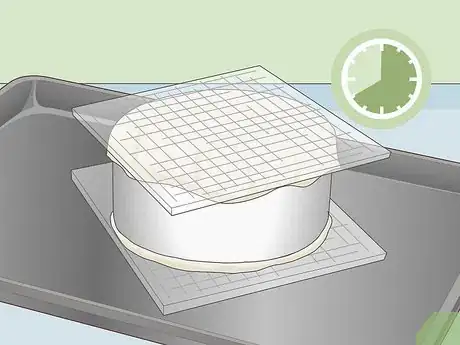
4Let the mold drain for 8 hours or overnight. Drain the tray, and then set the cheese mold, still sandwiched between two mats, back onto it. You can leave it for longer than the 8 hours, but at a minimum, that’s how much time it’ll need.[20]
- If you have cats or other animals that might get onto the counters, set up a barricade so they can’t get into the kitchen overnight.
Aging the Cheese
-
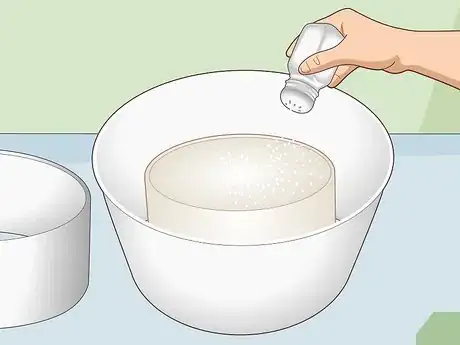
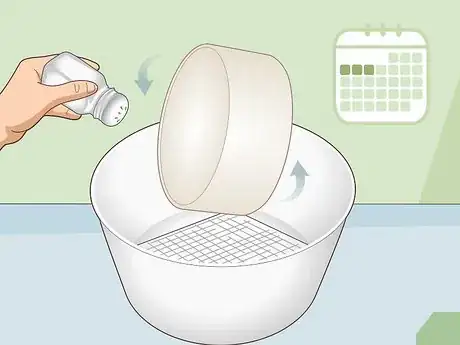
1Remove the cheese from the mold and sprinkle salt all over it. Take your 5 gallon (19 liter) plastic bucket and set the grate in the bottom of it. Cover the grate with another cheese mat. Place the cheese inside the bucket, and then sprinkle it generously with kosher salt. Don’t worry if some of the salt falls off![21]
- You’re going to be using a lot of kosher salt over the next few days, so if you’re starting to run out, make a trip to the store for more.
-
2Keep the bucket at about 50 °F (10 °C) in a dark location. A basement or dark closet should work well. Don’t worry if the location is humid—blue cheese thrives on humidity.[22]
- Don’t leave the bucket anywhere where it’ll be exposed to the sun. It needs humidity but it doesn’t need heat.
-
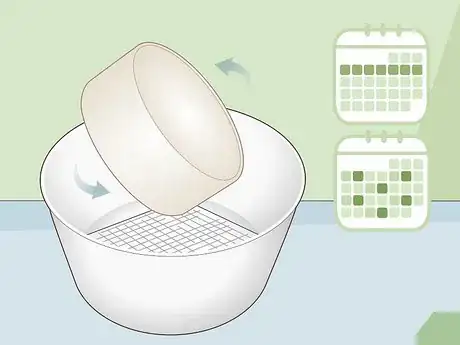
3Flip the cheese over and sprinkle it with salt every day for 3 days. If there is any whey that has drained off, take a moment to get rid of it when you add the new salt by draining it into a sink.[23]
- Flipping the cheese lets you salt the other side periodically, and it also helps to keep shifting the weight so that the excess whey continues to come out.
-
4Continue flipping the cheese daily for 1 week, then flip it every 4-5 days. No need to salt the cheese anymore! Now you just need to flip the cheese and pay attention to how it looks on the outside.[24]
- If you don’t flip the cheese, it’ll still be usable but it might take a strange pear- or apple-shaped form.
-
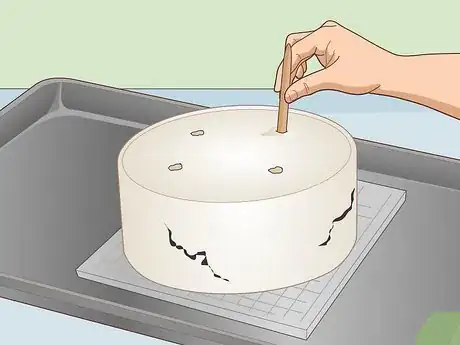
5Poke holes in the cheese when blue mold shows up on the outside. Sterilize a long skewer and stick it through the cheese in 3 or 4 different places. This is what will create those blue veins that run through the cheese.[25]
- The holes let the penicillin from the blue cheese move around.
-
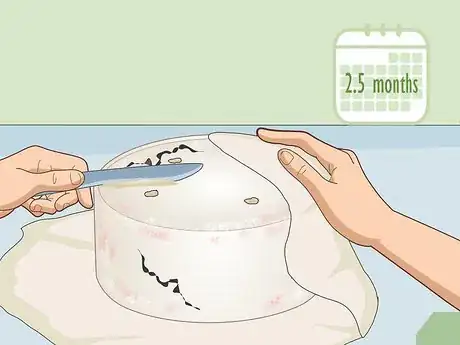
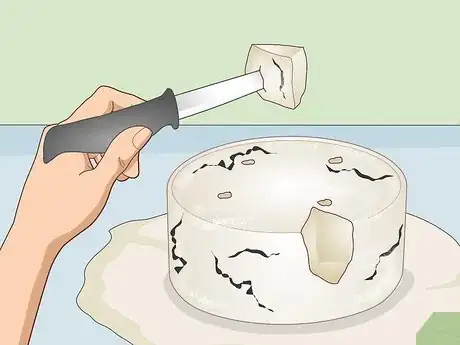
6Keep flipping the cheese every 2 days until you see red and white mold. Once this mold appears, use a long, thin, clean knife or cake frosting spatula to scrape off the mold. Throw it away, and return the cheese to the bucket. Keep doing this, at least once a month, whenever you notice the mold has grown a lot.[26]
- Always make sure to disinfect your tools before you use them on your cheese.
-
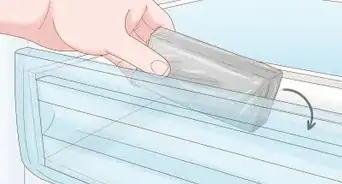
7Scrape and wrap the cheese after 2.5 months, and store it in the fridge. After the long waiting time is over, give the cheese one additional scrape and then wrap it up tightly in either foil or a cheesecloth. Put the cheese in the bottom of your fridge to keep it nice and cold.[27]
- Clean out your bucket really thoroughly so you can use it again for your next project!
-
8Enjoy the cheese right away, or let it keep aging for a few more months. Once the cheese is in your fridge, you can start using it. Just make sure to reseal it with the cheesecloth or foil after you’re done each time. The longer you let it age in the fridge, the stronger the flavor will get.[28]
- For a fun gift idea, you could wrap small parcels of blue cheese in cheesecloth, wrap it in butcher paper, tie it up with string, and decorate the paper.
Community Q&A
-
QuestionIs it normal to have a strong odor?
 Community AnswerYes, blue cheese usually has both a pungent odor and taste.
 -
QuestionWhat is the total duration of preparation?
 Sarah BattilanaCommunity AnswerIt'll take you about 6-8 hours the first day, and in total about 2.5 months for the cheese to age.
 -
QuestionDoes blue cheese expire?
 Sarah BattilanaCommunity AnswerIt doesn't expire, exactly, but it might lose it's taste or get too crumbly to use (like it might not be creamy anymore). Generally, it'll last for at least a few months. If it gets moldy on the outside after you've put it in the fridge, you could scrape the mold off and it'll probably still be good to eat.
Warnings
- On very rare occasions, people who are allergic to penicillin as a drug experience negative reactions (hives, itching, or worse) to food products with penicillium or penicillin-related substances in them. If you are allergic or sensitive to penicillin, consult your doctor or allergist before trying this cheese.⧼thumbs_response⧽
Things You’ll Need
- 2.5 gallon (9.5 liter) stockpot
- Long metal spoon
- Long knife or spatula
- Thermometer
- Colander
- Tray or cookie sheet
- 2 pounds (0.91 kg) cheese mold
- 2 feet (0.61 m) cheese cloth or muslin dishtowel
- 2 cheese or bamboo mats
- 5 gallon (19 liter) plastic bucket with a lid
- Grate or rack that fits bottom of big bucket
- Blender
- Kabob skewer
- Foil
References
- ↑ http://www.onetomato-twotomato.com/2015/05/making-blue-cheese-at-home/
- ↑ http://www.onetomato-twotomato.com/2015/05/making-blue-cheese-at-home/
- ↑ http://www.onetomato-twotomato.com/2015/05/making-blue-cheese-at-home/
- ↑ https://youtu.be/k2dXcMm6S40?t=61
- ↑ http://www.onetomato-twotomato.com/2015/05/making-blue-cheese-at-home/
- ↑ http://www.onetomato-twotomato.com/2015/05/making-blue-cheese-at-home/
- ↑ https://curd-nerd.com/soft-cheese-recipes/blue-cheese/
- ↑ https://youtu.be/k2dXcMm6S40?t=99
- ↑ https://youtu.be/k2dXcMm6S40?t=140
- ↑ https://youtu.be/k2dXcMm6S40?t=140
- ↑ http://www.onetomato-twotomato.com/2015/05/making-blue-cheese-at-home/
- ↑ http://www.onetomato-twotomato.com/2015/05/making-blue-cheese-at-home/
- ↑ http://www.onetomato-twotomato.com/2015/05/making-blue-cheese-at-home/
- ↑ https://curd-nerd.com/soft-cheese-recipes/blue-cheese/
- ↑ https://youtu.be/k2dXcMm6S40?t=196
- ↑ https://youtu.be/k2dXcMm6S40?t=473
- ↑ http://www.onetomato-twotomato.com/2015/05/making-blue-cheese-at-home/
- ↑ https://youtu.be/k2dXcMm6S40?t=537
- ↑ http://www.onetomato-twotomato.com/2015/05/making-blue-cheese-at-home/
- ↑ http://www.onetomato-twotomato.com/2015/05/making-blue-cheese-at-home/
- ↑ https://curd-nerd.com/soft-cheese-recipes/blue-cheese/
- ↑ https://curd-nerd.com/soft-cheese-recipes/blue-cheese/
- ↑ http://www.onetomato-twotomato.com/2015/05/making-blue-cheese-at-home/
- ↑ http://www.onetomato-twotomato.com/2015/05/making-blue-cheese-at-home/
- ↑ https://curd-nerd.com/soft-cheese-recipes/blue-cheese
- ↑ http://www.onetomato-twotomato.com/2015/05/making-blue-cheese-at-home/
- ↑ http://www.onetomato-twotomato.com/2015/05/making-blue-cheese-at-home/
- ↑ http://www.onetomato-twotomato.com/2015/05/making-blue-cheese-at-home/
About This Article
To make blue cheese, start by heating some milk and cream in a stockpot until it reaches 88 degrees Fahrenheit. Then, add penicillium to the stockpot, which is what creates the mold in the cheese and gives it its strong taste and odor. Next, add yogurt culture, mesophyllic starter, and calcium chloride to the pot and let everything simmer for 1 hour. After an hour, add liquid rennet and then let the mixture simmer and coagulate for 90 minutes. Finally, cut and strain the curds and put them in a cheese mold before aging your blue cheese. To learn how to age blue cheese, scroll down!
