This article was co-authored by wikiHow Staff. Our trained team of editors and researchers validate articles for accuracy and comprehensiveness. wikiHow's Content Management Team carefully monitors the work from our editorial staff to ensure that each article is backed by trusted research and meets our high quality standards.
There are 7 references cited in this article, which can be found at the bottom of the page.
This article has been viewed 15,257 times.
Learn more...
If you're looking for a fun and creative activity to do in the fall, creating your very own footprint or handprint turkeys is an activity you should try out. If you're a parent, it's an excellent way to connect with your kids and do something productive. If you're younger and aren't sure how to create one, the steps are simple. You can create your turkey by using construction paper or by using finger paint. If you follow the techniques and get creative, you can make a handprint and footprint turkey that you can be proud of.
Steps
Using Construction Paper
-
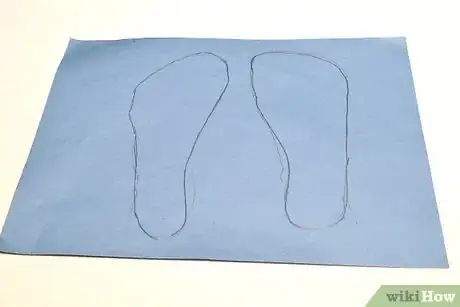
1Trace your feet on a piece of construction paper. When tracing your feet, it's not necessary to go in between your toes. Just trace the outline of what your feet look like. The two feet will be glued together to form the turkey's body. Trace both your left and right foot.
- You can create the turkey body out of any color you want, but brown is the most commonly used and will resemble the look of a turkey the most.
-
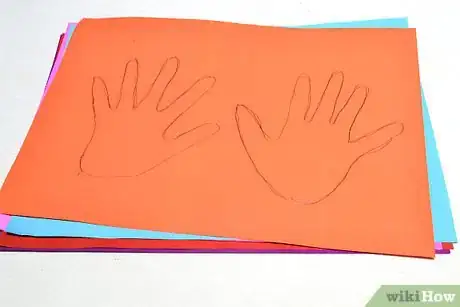
2Trace your hands on six to seven pieces of colorful construction paper. Use whatever colors you like the best, and use a pencil or pen to trace around your fingers. Repeat this process on different colored paper to create all of the feathers for your turkey. You can use one or both hands for this step.
- Trace in between your fingers and around your thumb.
Advertisement -
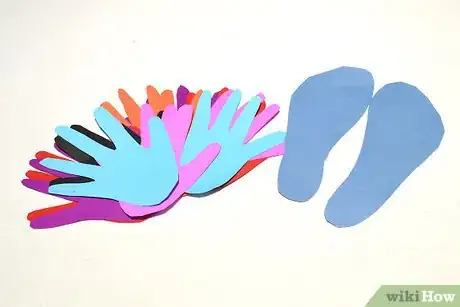
3Cut out your traced feet and hands. Cut around the trace of your hands and feet and set the pieces to the side as you move onto the next one. Be careful when cutting and use child safe scissors if you are younger.
-
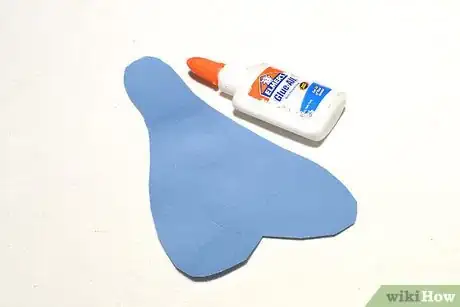
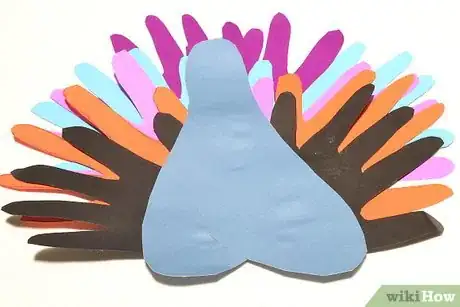
4Glue both feet together to form the body. Line up both of your cutouts so that your heels overlap each other, but so that the toes of your cutout go out at a 30-degree angle. This should make it look like a single cutout with one neck and head, and two bumps that represent the turkey's stomach.
- You can use liquid glue or a glue stick.
-
5Glue the paper hands onto the back of the body of the turkey. Arrange the hands behind the turkey to get a feeling for what it will look like once it's done. Stack your traced out hands on an angle and glue them together so that the feathers look like they are spread out. Once your hands are glued together, take them and glue them to the back of your turkey's body.[1] Center the hands on the back of your turkey's body, so that they come rising from behind your turkey's head or the heel of your cutout.
-
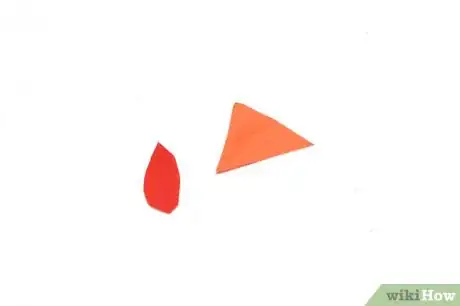
6Cut out an orange beak and red wattle for your turkey's face. Use orange and red construction paper. You can either create an outline for these features and then cut them out, or you can just cut out a triangle and round teardrop free hand.
- Use orange construction paper to create the beak for your turkey.
- Use red construction paper for the wattle of the turkey.
-
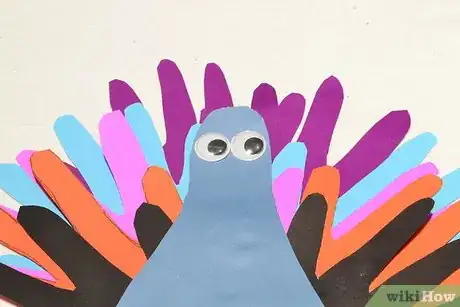
7Draw two eyes or glue on googly eyes. You can purchase googly eyes at most arts and craft or department stores. If you don't have googly eyes, you can draw eyes onto the top of your turkey's body to emulate them.
-
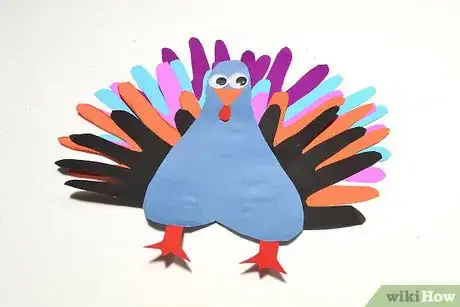
8Paste the beak and wattle below your turkey's eyes. Glue the rest of your pieces onto the turkey's face. If you've run out of construction paper for the turkey's features, you can draw them on with a pencil or pen. The beak should be pasted under the eyes, and the wattle should go right under the beak. Once the glue dries, your project is finished.
Using the Paint Method
-
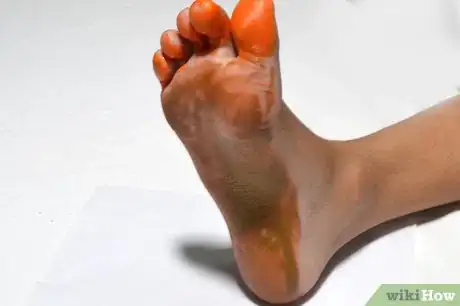
1Paint the bottom of your foot brown and your toes orange. The imprint of your foot will act as the body and feet of the turkey. Paint your foot brown using a brush or your fingers. You can buy finger paint at most art stores.[2]
- Read how to fingerpaint for more ideas on finger painting.
- Spread out a tarp or tablecloth to prevent paint from getting on your furniture or floor.[3]
-
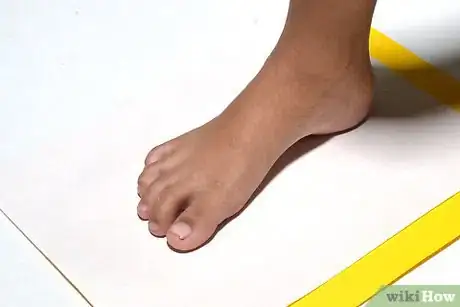
2Plant your foot onto a white piece of paper. After you put your foot on the paper, the paint should form an image that somewhat resembles a turkey's body. Once you are done planting your foot on the paper, wipe it down with a rag or clean-wipe, so you don't make a mess.
-
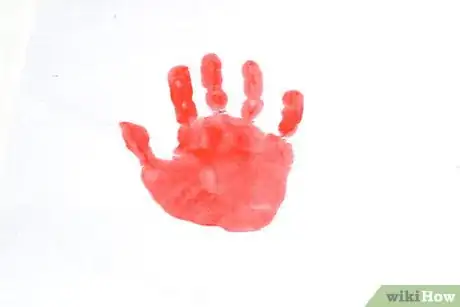
3Paint your hand red and plant it onto a separate piece of white paper. These handprints will make up your turkey's wings and feathers. You will repeat this step with different colors to create a full set of feathers for your turkey.
- You can also replace your handprints with feathers to emulate the turkey's wings and feathers.
-
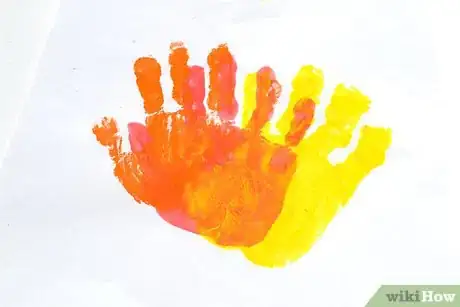
4Paint your hand orange then yellow and layer it over your red handprint. Plant your hand down over the red handprint. Put your hand at an angle, so it looks like the handprint has 8 to 10 fingers.[4] Clean off your hand and repeat the process using yellow.
- Feel free to get creative and layer your handprints however you want if you don't like the way it looks.
- Use one hand when fingerpainting so your other hand is clean and free to touch other things.
-
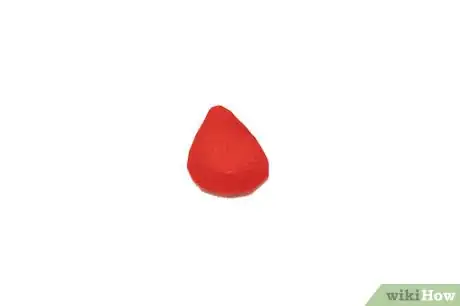
5Cut out a red piece of construction paper to form the turkey's wattle. The wattle is the red piece of skin that hangs from the turkey's neck. It's one of the things that distinguishes the turkey from other birds. The wattle should look like a red tear drop.
-
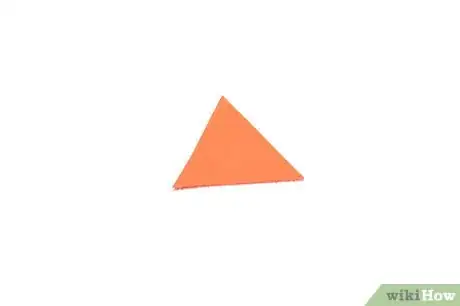
6Cut out an orange triangle to form the turkey's beak. Use an orange piece of construction paper to cut out the turkey's beak. You can either do this freehand or use a pencil to outline the beak and then cut it out with scissors.
-
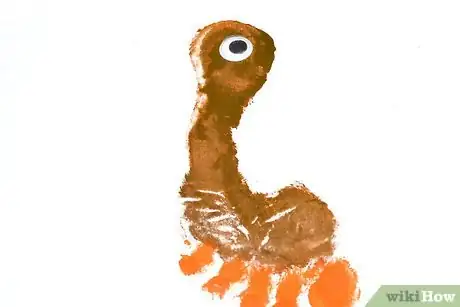
7Draw eyes on the heel of your footprint. Draw eyes near the heel of the brown imprint of your foot to represent the turkey's eyes. You can also paste on googly eyes if you want to give your bird a sillier feeling.
- If you aren't artistically inclined, two black circles made with marker is good enough.[5]
- Make sure that your footprint paint has fully dried before drawing anything on it.
-
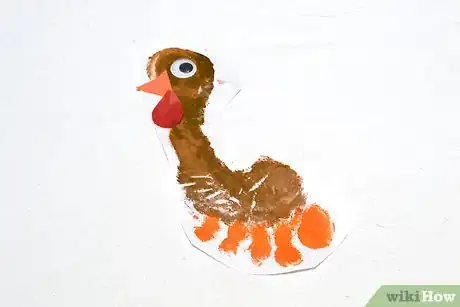
8Glue on the rest of your turkey's pieces. Glue the beak under the eyes and the wattle. The wattle sits under the turkey's beak. This will complete your turkey's face. You can add other features like a smile or eyeglasses if you want a goofier looking turkey.
-
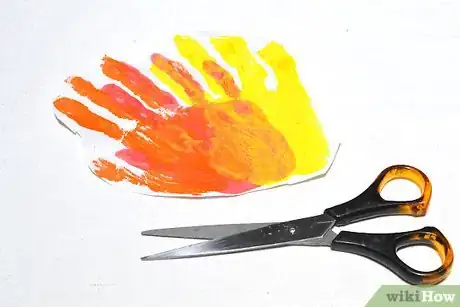
9Cut out the handprints. Wait until your handprints are dry before cutting them out. Cut around the outside of the print using scissors. It's okay to leave a little bit of a white outline around your paint.
-
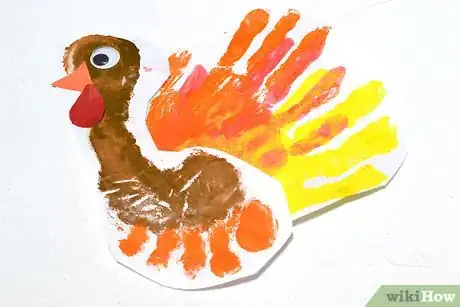
10Glue or tape your feathers to the side of your footprint. Tape or glue your handprints behind the turkey's body. If laminating your turkey, you can position the pieces the way that you want them and run it through the laminator instead of gluing them together.[6] Center the handprints behind the turkey so that they look like they are rising behind the heel of your cutout. This completes your turkey project.
Using Colored Pencils
-
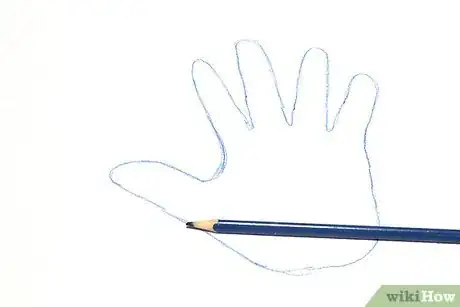
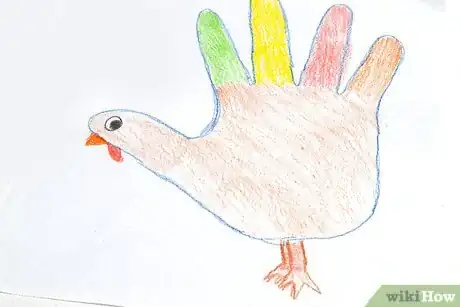
1Trace an outline of your hand. Trace around your hand's fingers and thumb. The thumb will be the face of your turkey, the hand will represent the body, and your fingers will represent its feathers. You can use any color of pencil you want for the outline, but make sure that the color stands out so people can see it.
- If you use regular computer paper, your final product may be flimsy or fragile. Instead of using regular paper, consider using cardstock or white construction paper.
- Good colors for the outline of your turkey include dark blue or black colored pencils.
-
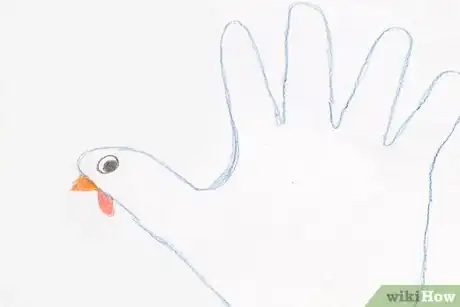
2Draw on the eyes and beak of your bird. Draw a small triangle on the end of your thumb, to resemble the beak of the bird. You can also draw a wattle, which looks like a red tear drop under the beak. Draw a circle with a black dot in the middle to represent your turkey's eye.[7]
- The beak of the bird should be orange, while the wattle is usually red.
-
3Color in the body of your bird. Use a brown or yellow colored pencil to color in the body of the bird. If you want to make colorful wings, choose different colored pencils. Use brighter colors like green, red, yellow and orange to make the colors pop. To make your bird's feathers look realistic, use quick strokes. Once you're done coloring the turkey, you're done with the project.[8]
- You can glue candy corn to your fingers to give your feathers a more colorful look.[9]
- You can also draw feet onto the bird with yellow colored pencils.
References
- ↑ http://www.enchantedlearning.com/crafts/thanksgiving/handfoot/
- ↑ http://www.kidsplayandcreate.com/handprint-footprint-turkey-craft-thanksgiving-crafts-for-kids/
- ↑ http://alittlepinchofperfect.com/handprint-and-footprint-turkey-an-adorable-thanksgiving-craft-for-kids/
- ↑ http://www.kidsplayandcreate.com/handprint-footprint-turkey-craft-thanksgiving-crafts-for-kids/
- ↑ http://funhandprintartblog.com/2014/11/make-footprint-turkey-using-feathers.html
- ↑ http://www.kidsplayandcreate.com/handprint-footprint-turkey-craft-thanksgiving-crafts-for-kids/
- ↑ http://frogsandsnailsandpuppydogtail.com/candy-corn-turkey-classic-handprint-art-for-thanksgiving/
- ↑ http://www.crayola.com/crafts/a-bird-on-your-hand-craft/
- ↑ http://www.thejennyevolution.com/handprint-candy-corn-turkey-craft-for-kids/
