wikiHow is a “wiki,” similar to Wikipedia, which means that many of our articles are co-written by multiple authors. To create this article, 9 people, some anonymous, worked to edit and improve it over time.
The wikiHow Video Team also followed the article's instructions and verified that they work.
This article has been viewed 259,128 times.
Learn more...
Producing large batches of olive oil for commercial purposes requires costly machinery and complex work, but you can create a small batch of olive oil for your own use with common kitchen tools. The process is long and labor-intensive, but the resulting olive oil should be crisp, clean, and high-quality.
Ingredients
Makes about 1 pint (500 ml) oil
- 5 lbs (2.25 kg) fresh organic olives
- 1/2 to 1 cup (125 to 250 ml) hot water (distilled/filtered prior to use)
Steps
Preparing the Olives
-
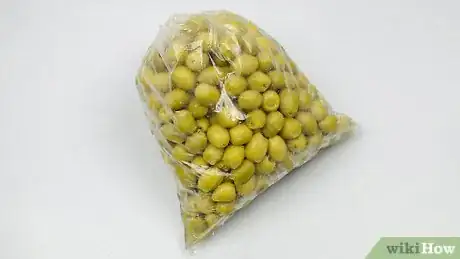
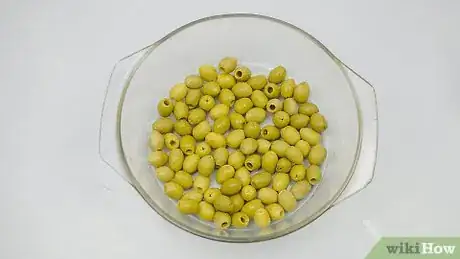
1Choose ripe or unripe olives. You can use unripe green olives or ripe black olives for this process, but either way, it's important to use freshly harvested olives instead of the processed canned type.
- Oil made with ripe olives will offer more health benefits than that made with unripe olives, but the taste and smoking point shouldn't differ too much. Also note that unripe olives produce green-tinted oil and ripe olives produce gold-tinted oil.[1]
-
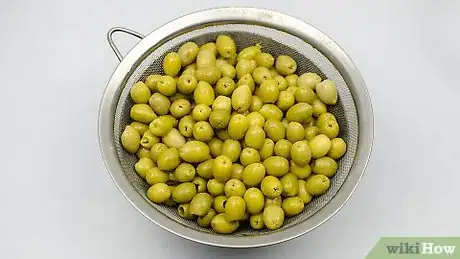
2Wash thoroughly. Place the olives in a colander and rinse them under cool, running water. Use your fingers to gently scrub away any dirt.
- During this time, you should also sort through the olives and pick out any leaves, twigs, stones, or other debris mixed in with the fruit. These elements can ruin both the oil and the equipment used to produce it.
- After rinsing the olives, allow the excess water to drain and pat the olives dry using clean paper towels. The olives do not need to be perfectly dry since any water will eventually separate from the oil, but they should at least be mostly dry, especially if you don't plan to process them right away.
Advertisement -
3Use within several days. Ideally, you should grind the olives into oil the same day you obtain them. You can probably wait up to two or three days, if necessary, but waiting for longer periods will decrease the flavor and quality of the oil you produce.
- If you do need to wait before making the olive oil, transfer the olives into an open plastic or glass container and refrigerate them as needed.
- Pick through stored olives before use and discard any that appear rotted, shriveled, or unusually soft.
Grinding and Pressing the Olives
-
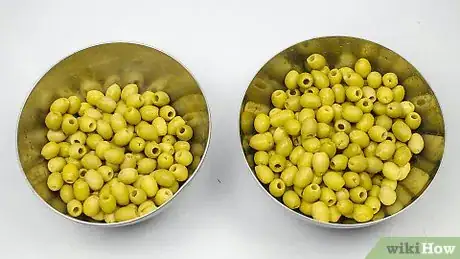
1Work in batches, as needed. Even though you're making a relatively small batch of olive oil—only 1 pint (500 ml)—you may need to separate the full batch into three or four parts while working, depending on the size of your equipment.
-
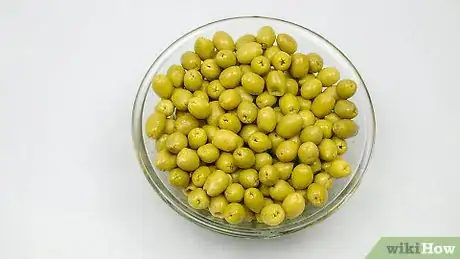
2Gather the olives in a shallow bowl. Place the clean olives in a large bowl with relatively shallow sides. Ideally, you should be able to keep the olives in a single layer.
- For homemade olive oil prepared in your kitchen, it's best to use a bowl or similar dish with sides rather than something completely flat. While the first round of grinding won't produce much liquid, using a bowl will allow you to collect any liquid that does come out more readily than a flat board or stone would.
-
3Crush the olives into a paste. Using a clean mallet, repeatedly strike the olives, mashing them into a thick, chunky paste.[2]
- A standard meat tenderizer should work well for this step. Metal and plastic versions are advised, however, since wooden mallets may absorb some of the liquid. Note that you can use either face of the mallet for crushing the olives.
- Consider removing the pits while you work. Since the pits are relatively fragile, you might be able to crush them into the olive paste. Doing so won't have a negative impact on your olive oil, but stray bits of seed can damage some of the electric tools you'll need later in the process, so removal is advised.
- When ready, the olives should be thoroughly crushed, and the mash should have a slightly shiny coating over its surface. This sheen is the oil. The crushing process breaks apart the flesh of the olives, thereby releasing the oil contained within its cells.
-
4Transfer the paste to a tall glass. Spoon the paste into a tall drinking glass or similar dish, filling no more than one-third of the glass at a time.
- While you can technically keep the olive mush in its current bowl, the next part of the process can get extremely messy, and using a glass or dish will taller sides may help reduce some of the inevitable splatter.
- Alternatively, you can spoon the paste into a durable, high-speed blender. Fill no more than one-third to one-half of the blender.
-
5Combine the paste with water. Pour about 2 to 3 Tbsp (30 to 45 ml) of hot water into the glass for every 1 cup (250 ml) of olive mush. Quickly stir the contents of the dish to distribute the water evenly and let it sink to the bottom of the glass.
- You only need enough water to help facilitate the upcoming blending process; do not add enough water to completely cover the olives.
- The water should be hot but not boiling; the extra heat should help release more oil from the paste. Ideally, the water should be filtered or distilled before use since using unfiltered tap water may introduce impurities into the final product.
- Note that the water you add will separate from the oil later.
-
6Press using an immersion blender. Using an immersion blender, grind the olive paste down further until beads of oil begin rising to the surface.
- Continue the process for at least 5 minutes. Blending the paste for longer intervals should release more oil from the olives, but it also increases the amount of oxidation that occurs, which may result in a shortened shelf life.[3]
- Use a relatively high-powered blender if you didn't remove the seeds while mashing the paste; otherwise, bits of seed can ruin the blades. If you did remove the pits, however, a standard-power blender should suffice.
- You can also use a standing blender for this part of the process, but you'll need to pause and check the progress every minute or so.
- During professional extraction, this part of the process is known as "malaxing," and it encourages the smaller beads of oil to combine into larger beads.
Extracting the Oil
-
1Mix the olive mush until the oil separates. Using a mixing spoon, vigorously stir the mashed olives for several minutes, continuing as needed until the small beads of oil turn into larger beads.
- Try to stir the olive paste using circular rotations. The force of each rotation should help draw more oil out of the solid "pomace," or pulp.
- This step is also considered part of the malaxing process, but instead of using high speed to separate the oil, you're relying on the direction of the force to separate out the various components.
-
2Let it sit. Loosely cover the dish with a clean dish cloth, paper towel, or lid. Allow the contents to rest for 5 to 10 minutes without any disturbance.
- At the end of this waiting period, it should be even easier to see beads of oil along the surface of the olive paste.
-
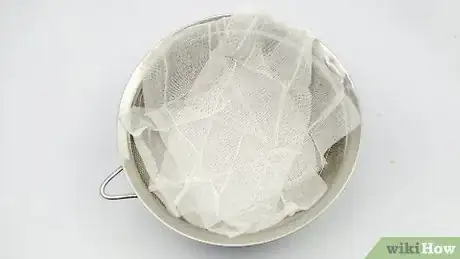
3Drape cheesecloth over a large strainer. Cut a piece of cheesecloth nearly twice as large as the mouth of the strainer, and center it over the top of the strainer. Rest the cover strainer over a large bowl.
- Fine mesh strainers are optimal for this project, but the cheesecloth should sufficiently trap any solids even if you need to use a wider-gap plastic colander instead.
- If you don't have cheesecloth, consider using large sheets of filter paper or clean (i.e. never previously used) painters' straining bags.
-
4Pour the olive mush into the cheesecloth. Spoon out the olive paste, including all visible liquid and solids, and transfer it directly to the center of the cheesecloth. Wrap up the sides of the cheesecloth over the olive paste, creating a secure bundle.
- Note that the cheesecloth should completely cover the entire batch of olive paste. If it isn't large enough, you should consider separating the paste into even smaller batches.
-
5Place a weight over the bundle. Rest a wooden block or similar weight on top of the bundled olive paste. The weight should be heavy enough to actively press down on the bundle.
- If you're concerned about how sanitary the weight is, you can wrap it in plastic wrap before placing it on top of the bundle.
- Alternatively, you can place a smaller bowl inside the strainer and on top of the olive bundle. Fill this smaller bowl with dry beans or similarly heavy material to apply constant pressure on the bundle.
-
6Let the liquid drain. Let the olive oil, olive juice, and water drain through the cheesecloth and the strainer for at least 30 minutes. The bowl placed beneath the strainer should collect this liquid as it drains.
- Every 5 to 10 minutes, gently yet firmly press down on the bundle using your hands to help the extraction process.
- When you're ready to move on, the bowl should contain a decent puddle of liquid and the olive solids inside the cheesecloth should look relatively dry. Note that you can discard these solids at the end of the draining process.
-
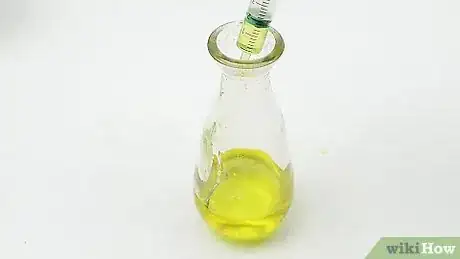
7Siphon the oil. Place the tip of a baster or syringe just beneath the surface of the collected liquid. Carefully draw out the top layer liquid, leaving the lower layers behind. Transfer this portion of liquid into a separate glass.
- Due to the difference in densities, the oil should naturally separate off into its own distinct layer, and that layer of oil should rise to the top of the bowl.
- It may take a little practice before you can draw off only the oil without also collecting some water or juice. Inspect the body of the syringe immediately after collecting the oil; if there are separate layers within the utensil, expel the water and leave only the top oil layer.
Storing the Oil
-
1Pour the olive oil into a clean bottle. Rest a funnel in the mouth of a clean glass bottle, then pour the collected oil through the funnel and into the same bottle.
- Glass bottles are ideal, and tinted bottles are even better since the tint should help protect the oil from the harmful effects of strong light. If necessary, however, you may use a plastic container.
- Note that any bottle you use should be thoroughly cleaned with hot water and dish soap, rinsed well, and dried before you pour the oil inside.
-
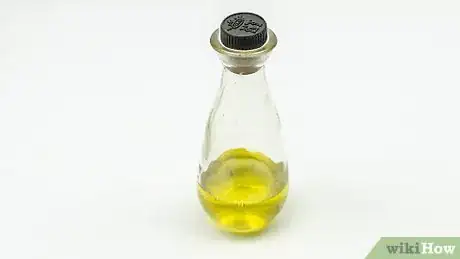
2Seal the bottle with a cork. Remove the funnel from the bottle before sealing it with an appropriately sized cork, screw cap, or similar lid.
- The exact material shouldn't matter too much as long as you can create a tight seal around the mouth of the bottle.
- Carefully wipe away any oil from the mouth and sides of the bottle during this step, as well. Dab away small spots with a dry paper towel; wipe away larger splashes using a soapy dish cloth, followed by a clean damp cloth, and finished with a dry towel.
-
3Store the oil in a cool, dry location. The olive oil is now finished and ready to use. Store the bottle in your pantry cupboard (or an equally cool, dark, and dry location) until you're ready to use the prepared oil.
- Homemade olive oil won't have the same shelf life as commercially prepared oil, so you should use it within 2 to 4 months for the best level of quality.
Community Q&A
-
QuestionI have collected all the liquid, but it is just a green mess. How long does it take to separate?
 Community AnswerIf you did it right, it should only take about an hour. The longer it takes, the worse it will be. If it takes longer than a day, start over.
 -
QuestionWhere can i get the olives?
 Maggie PetersonCommunity AnswerYou will need to buy them online or from an olive grove or a food co-op or even grow and harvest the olives. Supermarkets do not sell fresh olives because fresh olives are incredibly bitter and don't appeal to most people.
Warnings
- This process can be extremely messy. It's best to wear “junk clothes” you don't mind dirtying and/or a full-body kitchen apron while making the olive oil. You should also prepare the oil in an area that will be easy to clean afterward.⧼thumbs_response⧽
Things You'll Need
- Colander
- Paper towels
- Large shallow bowl
- Kitchen mallet (metal or plastic)
- Tall drinking glass
- Immersion blender or stand blender (high-powered preferred)
- Mixing spoon
- Cheesecloth
- Fine-mesh strainer
- Large bowl
- Medium bowl
- Wooden block or similar weight
- Plastic wrap
- Large syringe or baster
- Funnel
- Pint-sized (500-ml) glass bottle
- Cork or screw cap
- Apron
References
About This Article
To make olive oil, start by crushing the olives into a paste with a meat tenderizer. Next, mix the paste with hot water and grind it with an immersion blender until you see beads of oil rising to the surface. Then, vigorously stir the paste with a spoon for at least 5 minutes until larger beads of oil form. Finally, drape cheesecloth over a strainer and scoop the paste onto the center of the cheesecloth. Let the liquid drain for 30 minutes, then siphon the top layer of oil and transfer it to a glass container. For more helpful tips on draining the olive paste, read on!
