This article was co-authored by Chloe Goldman. Dr. Chloe Goldman, MD is a Dermatologist based in Miami, Florida, who currently works at Baumann Cosmetic & Research Institute and Upper East Side Dermatology. She specializes in cosmetic, medical, and surgical dermatology. She earned a Doctor of Medicine from New York University and a BA in Biology, Neurobiology, and Behavior from Cornell University. She completed her dermatology training at University of Miami, where she was awarded the prestigious position of Chief Resident. She has won grants from the American Skin Foundation and the Melanoma Research Foundation.
This article has been viewed 315,472 times.
Tired of paying for expensive store bought pore strips? Pore strips are a somewhat effective way to prevent the appearance of blackheads, but they are also a one-time use product that can become expensive with regular treatments and aren't really a consensus among dermatologists. On the other hand, it is easy to make your own pore strips for a fraction of the price of store bought products.[1]
Steps
Using a Milk and Gelatin Pore Strip
-
1
-
2Put a spoonful of milk and gelatin in a container. You should use equal parts milk and gelatin. Approximately a tablespoon of each should work, but you might find that you can use less than this.[4] [5]
- Any type of milk should work. You can use whole, skim, almond, or soy milk.
- The gelatin should be unflavored, so as to avoid introducing extraneous substances into the pore strip.
- Some people recommend adding a drop of lavender essential oil to the mixture.
Advertisement -
3Mix it thoroughly. Use a utensil, possibly the brush you will use later, to mix the milk and gelatin together. By the time that you are done, it should have a thick, chunky, cloudy appearance.[6]
-
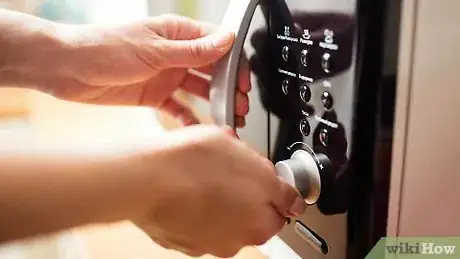
4Heat the mixture. You will need the mixture to be warm, but not hot. You can either microwave it or heat it on the stove. If you microwave it, be sure to do so in a microwave safe container.
- If microwaving, heat the mixture for 10 seconds.
- If using the stove, place in a small container. Heat slowly, mixing as it heats. This method will allow you to better monitor the temperature. Stop when the mixture is warm, but not hot.[7]
-
5Allow the mixture to cool slightly. If you used the microwave, remove the container from the microwave. Allow it to cool for 20 seconds. It should look even cloudier than before.
-
6Test the temperature. Use the brush to test the temperature on your hand. It should be warm, but not hot. Put a small amount of the mixture on the brush and see how it feels on your hand.
-
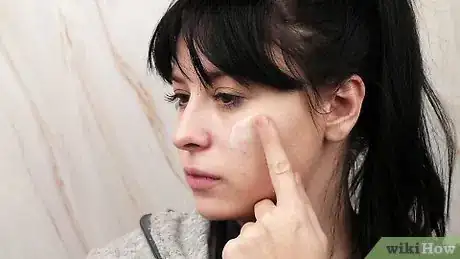
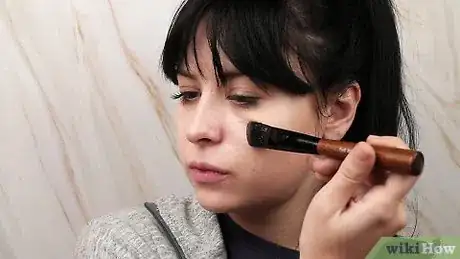
7Apply the mixture across your face. Use a makeup brush or your fingers to spread the mixture across your face. Be sure to target areas in which you have had outbreaks in the past.[8]
- If you use a makeup brush, clean it off thoroughly before using it again.
-
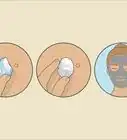
8Wait until the mixture hardens. As the mixture cools it should solidify and form a mask. This could take anywhere from 10 to 20 minutes. The longer you wait, the more likely it is that the mixture will attach to the dirt in your pores. This will allow you to better pull out the dirt. Therefore, it is best to error on the side of leaving the mixture on for a longer period of time.[9] [10]
-
9Peel off the mixture. Start from the outside and peel the hardened mixture off your face. Progress slowly. If you try to rip the whole mask off at once, you might hurt yourself.[11]
-
10Wash and moisturize. After removing the strip, rinse your face with cold water to remove any additional pieces of the mixture from your face. The cold water will also close your pores. Afterward, apply moisturizer.[12]
Using an Egg White Pore Strip
-
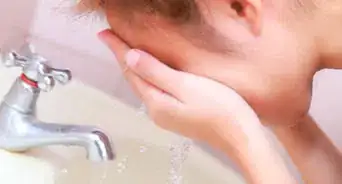
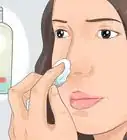
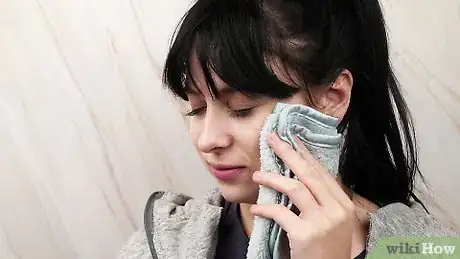
1Wash your face with warm water. You should always wash your face before using a pore strip. Washing removes dirt and oil. Using warm water will also open up your pores. [13]
- It is particularly important to remove makeup before applying the pore strips.[14]
- By opening up your pores, warm water will make it easier for the pore strip to attach to dirt inside the pores. Thus you can pull it out and prevent blackheads from forming.
-
2Purchase egg white. For these pore strips, you will need the egg white specifically, which can be difficult to separate from the yolk. Consider saving yourself the trouble and purchase egg white that has already been separated.
- Alternatively, you can use an egg white separator. Crack the egg and let it run through the separator. The yolk will get caught in the separator and the white will flow through. Have a container underneath to catch the egg white.
- You can also break the egg into a bowl. Use your hands to gently pick up the yolk and move it to a separate container.[15]
-
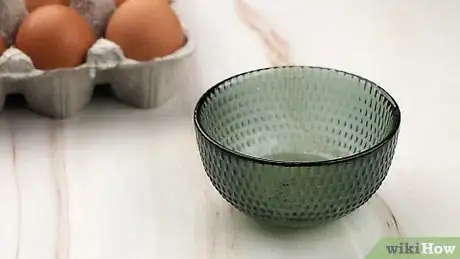
3Soak paper in egg white. Put egg white in a small bowl and place a large piece of two-ply toilet paper or paper towel in the bowl. It is imperative that the paper be thoroughly soaked in egg white.
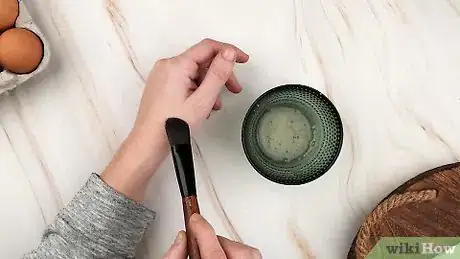
- Alternatively, you can use a makeup brush to spread the egg white directly on your face, stick the paper on your face, and then use the paper to apply an additional layer of egg white on top.[16]
-
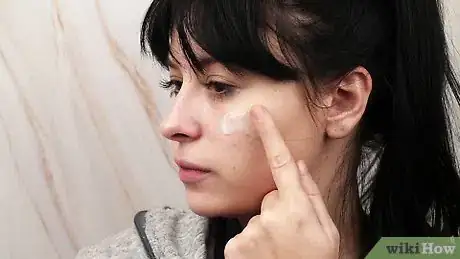
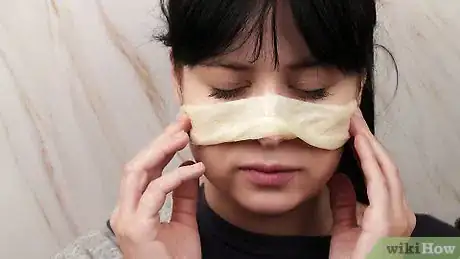
4Apply the paper with egg white on your face. A large piece of paper can be spread across your entire face, or at least most of it. This will allow you to get a lot of blackheads at the same time. Be especially careful to target problem areas, where you have or are experiencing blackheads.
-
5Allow the paper with egg white to sit on your face. The paper should harden, so that it sticks to your face. This might take anywhere from 10-20 minutes.[17]
- There is no need to tear the paper up into thin sheets, like store bought pore strips. You can use one large paper towel or piece of toilet paper to cover much of your face. This makes the process quicker and easier.
-
6Peel the paper off your face. After approximately 10-20 minutes, slowly remove the paper from your face. Start from the edge when peeling it off. Do not pull it off so quickly that you hurt yourself.[18]
-
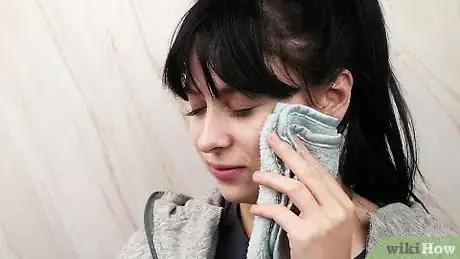
7Splash face with cold water and moisturize. After removing the strip, rinse your face with cold water. It is possible that small pieces of the pore strip will stick to your face if you do not wash. After you wash, apply moisturizer to your face.[19]
- You should use cold water when washing after removing the pore strip. Cold water will close your pores.
Creating a Regimen
-
1Experiment with different methods. Before you commit yourself to one type of pore strip, try them to see which is most effective. If you are having difficulty with a specific type of pore strip, try altering the way that you use or apply it.
- Some people report that paper towels are much more effective than toilet paper when making an egg white pore strips.[20]
- To tell if your pore strip is working, look at it afterward to see if pieces of dirt and grime have been picked up. If so, the strip is working.
- It is also a good sign if the strip seems to stick well to your skin. If it is hard to remove, then it is working well.
-
2Watch out for pimples. The egg white solution might remove blackheads, but can also cause pimples. Sometimes this is temporary. However, if this is a reoccurring problem, consider a different method.[21]
-
3Repeat regularly. You can reserve this treatment for when a blackhead appears. But to ensure that blackheads are a thing of the past for you, try this treatment every 1-2 weeks. This will keep your pores clean and forestall the appearance of blackheads.[22]
Warnings
- Before trying the steps above or using commercial pore strips, know that their only function is to remove the debris inside pores. They don't help minimize the appearance of pores or prevent the production of material that fills the pores.⧼thumbs_response⧽
- The best way to reduce the appearance of pores is to use care products such as salicylic acid or other agents such as retinoids to clear the debris. In any case, discussing your specific case with a dermatologist is usually the way to go if you want good results and less side effects.⧼thumbs_response⧽
Expert Interview
Thanks for reading our article! If you'd like to learn more about skin care, check out our in-depth interview with Chloe Goldman.
References
- ↑ http://www.xovain.com/skin/diy-pore-strips-vs-drugstore-pore-strips
- ↑ http://www.diynatural.com/homemade-pore-strips-diy-blackhead-removal/
- ↑ http://www.xovain.com/skin/diy-pore-strips-vs-drugstore-pore-strips
- ↑ http://www.diynatural.com/homemade-pore-strips-diy-blackhead-removal/
- ↑ http://www.xovain.com/skin/diy-pore-strips-vs-drugstore-pore-strips
- ↑ http://www.xovain.com/skin/diy-pore-strips-vs-drugstore-pore-strips
- ↑ http://www.diynatural.com/homemade-pore-strips-diy-blackhead-removal/
- ↑ http://www.xovain.com/skin/diy-pore-strips-vs-drugstore-pore-strips
- ↑ http://www.xovain.com/skin/diy-pore-strips-vs-drugstore-pore-strips
- ↑ http://www.diynatural.com/homemade-pore-strips-diy-blackhead-removal/
- ↑ http://www.diynatural.com/homemade-pore-strips-diy-blackhead-removal/
- ↑ http://www.diynatural.com/homemade-pore-strips-diy-blackhead-removal/
- ↑ http://www.diynatural.com/homemade-pore-strips-diy-blackhead-removal/
- ↑ http://www.xovain.com/skin/diy-pore-strips-vs-drugstore-pore-strips
- ↑ http://www.epicurious.com/archive/blogs/editor/2014/05/egg-hacks-how-to-separate-egg-whites-and-egg-yolks.html
- ↑ http://www.vivawoman.net/2014/06/how-to-make-nose-pore-strip/
- ↑ http://www.vivawoman.net/2014/06/how-to-make-nose-pore-strip/
- ↑ http://www.vivawoman.net/2014/06/how-to-make-nose-pore-strip/
- ↑ http://www.diynatural.com/homemade-pore-strips-diy-blackhead-removal/
- ↑ http://www.vivawoman.net/2014/06/how-to-make-nose-pore-strip/
- ↑ http://www.vivawoman.net/2014/06/how-to-make-nose-pore-strip/
- ↑ http://www.xovain.com/skin/diy-pore-strips-vs-drugstore-pore-strips
About This Article
If you want to make your own pore strips at home, all you need are some egg whites and toilet paper. Start by washing your face with warm water to open your pores up, which will make the strips more effective. Once your face is clean, crack an egg and separate the egg white from the yolk. Next, soak some toilet paper in the egg white and put it on any problem areas. Let the egg-soaked paper sit on your face for 10 to 20 minutes, or until it hardens and sticks to your skin. Then, slowly remove the paper, splash your face with cold water to close your pores, and apply some moisturizer. To learn how to make pore strips out of milk and gelatin, keep reading!



-Step-8-Version-2.webp)
