This article was co-authored by wikiHow Staff. Our trained team of editors and researchers validate articles for accuracy and comprehensiveness. wikiHow's Content Management Team carefully monitors the work from our editorial staff to ensure that each article is backed by trusted research and meets our high quality standards.
The wikiHow Video Team also followed the article's instructions and verified that they work.
This article has been viewed 202,038 times.
Learn more...
Making a cardboard dollhouse is a great way to recycle old boxes and create a new toy. Dollhouses provide hours of fun and can be configured in any number of ways. Using cardboard is a fun way to construct a place to give all your dolls a place to call home.
Steps
Making a Basic Dollhouse from a Shoebox
-
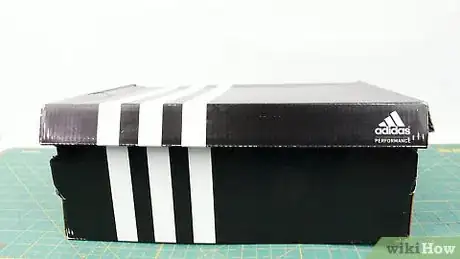
1Find a large shoebox. A shoebox for adult sized shoes would be best. If you can find a shoebox for boots, it will give you even more room to work with.[1]
-
2Cut the top of the shoebox in half. Use the top of the shoe box to create a roof for your dollhouse.
- Tape the two halves together on the ends to create a long "V" shape.
Advertisement -
3Attach the roof to your dollhouse. Place the open shoebox on its side. Glue the "V" shaped roof to the upper side of the shoebox. The space under the roof can serve as an attic for your dolls.
-
4Cut out windows and doors. Use a razor knife or scissors to cut out squares on either side of the shoe box as windows. Cut three sides of a rectangle from the bottom center of the back of the box to create a door.
-
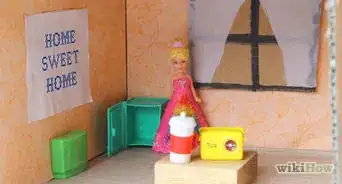
5Add columns and furniture. Use toilet paper tubes to create columns on the front of your dollhouse. Build furniture out of scraps of cardboard.
- Place squares of cardboard on toilet paper tubes cut in half to create a table.
- Glue multiple cardboard rectangles together to create a bed.
-
6Decorate your house. Use paints or wrapping paper to decorate the interior and exterior of your house. You can cover the entire house with wrapping paper to give it a fun look! Tape the wrapping paper around the house.
Using a Large Box to Create a House
-
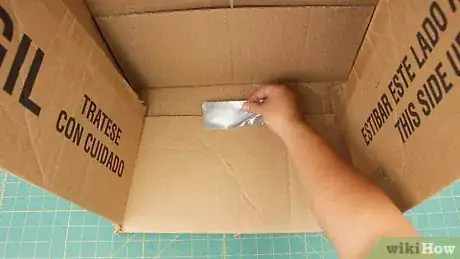
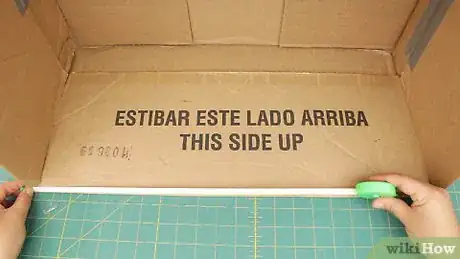
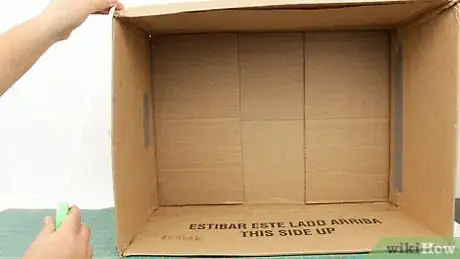
1Tuck the flaps inside a large box. Use the top of a box that is taped close on one side to tuck the flaps into the box. The extra cardboard will give the outer edge of our dollhouse more structural support.
- Tape the flaps to the inside of the box.
-
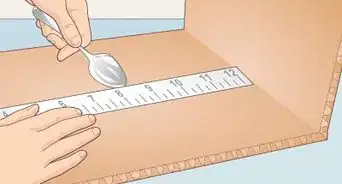
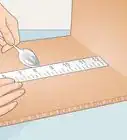
2Measure the interior dimensions of your box. You can use any size box you’d like to create your dollhouse. A larger box will give you more space to create rooms inside the house.[2]
- Write down the measurements and determine how many rooms you’d like your house to include.
- Divide the width of your box by the number of rooms you want to have on each level of the house. This number is the width of each room.
-
3Divide the height of the box by the number of floors you want your dollhouse to have. This number is the height of each room
-
4Cut cardboard from another box to create the walls and floor. Cut the cardboard a few inches longer than the width or height of your box.
- You will use the extra length to create a flap to attach the walls and floor to the inside of the large box.
-
5Glue the floor inside the box. Fold a flap of about one inch on either side of the piece of cardboard. Glue the flap to the inside of the large box to create the floor for the second story of your dollhouse.[3]
- Reinforce the floor by adding “L” shaped braces to the underside of the floor. Place them in the corners and spaced about every six inches around the edge of the floor.
- Glue the reinforcements to the floor and wall of the dollhouse.
-
6Cut a small slit to attach the walls. Create a slit halfway through the floor you just glued in. Cut a similar slit in the middle of the wall pieces to allow the wall pieces to interlock with each other.
-
7Attach the walls in the box. Use glue to attach the walls to the interior of the box. Slide each wall on to the slits cut in the slit you cut in the floor.
- Fold a flap on the top and bottom portion of the wall to glue the cardboard to the ceiling and bottom floor of your dollhouse.
- Glue along the edges where the wall meets the sides of the box.
- Glue along the slits cut in the floor and wall pieces of cardboard.
-
8Cut windows and doors. Cut out windows and doors between rooms.
- Use a razor knife to cut squares from the exterior of the house.
- Cut doors between rooms by cutting a three sides of a rectangle and leaving one tall side attached.
-
9Add a roof to your dollhouse. Attach a large piece of cardboard folded in a “V” shape to the top of your dollhouse.
- Cut a rectangle that is an inch deeper than your house and 8-12 inches wider than the house.
- Fold the cardboard into a “V” with a crease in the middle.
- Attach the roof with a hot glue gun to the outer walls of the dollhouse.
- Fill in the eaves under the roof above the ceiling of your house with a triangle piece of cardboard cut to size.
-
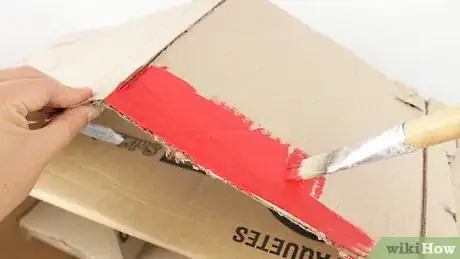
10Paint your dollhouse with acrylic paint. Add color to the exterior of your house with acrylic paint. You can also paint the interior of the rooms and floor to make each room special.[4]
-
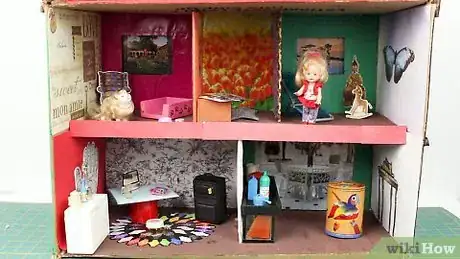
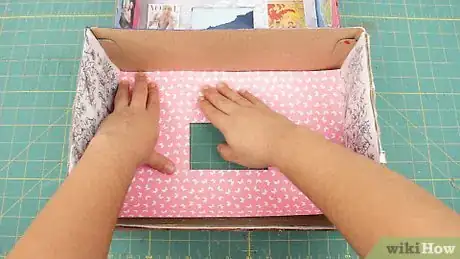
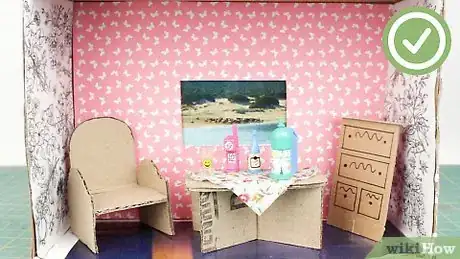
11Add decoration to the house. Use your imagination to decorate the bedrooms, living room, bathroom, and kitchen of your dollhouse.
- Cover the walls with wallpaper made from wrapping paper. Glue or tape the wrapping paper in place.
-
12Make cardboard furniture. Be creative to fold and connect pieces of cardboard to create beds, tables, chairs, and more. Use old fabric to cover couches or make rugs.[5]
Using Multiple Shoeboxes to Build a Dollhouse
-
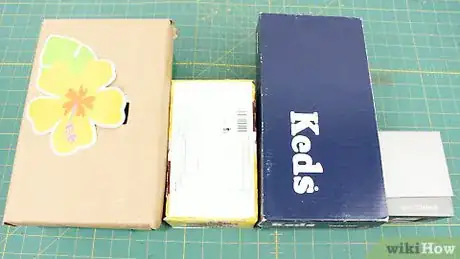
1Gather shoeboxes of different sizes. Shoeboxes make perfect pre made rooms for a dollhouse. The more shoeboxes you can find, the larger you can make your house.
- It is best to use shoeboxes with separate lids.
-
2Arrange the shoeboxes from largest to smallest. Set up the shoeboxes according to size. You will want to use the largest shoeboxes for the bottom floor of your house and build up using smaller boxes.
-
3Attach the shoe boxes together. Use a hot glue gun to stick shoe boxes together. Attach the side of one shoe box to the side of another shoe box using a hot glue gun. Each box will become an individual room of the house. You can place them side by side to create many rooms on the same floor of the dollhouse, or stack the shoeboxes on top of each other to create a multi-story house.
- Run a line of hot glue around the edges of one side of a shoebox and attach it to the side of another box.
- Be creative when configuring your boxes. You can build a house in any shape you can imagine.
- Make a multi-story home by stacking 3 to four boxes on top of each other.
-
4Cut windows and doors into the boxes. A razor or xacto knife works best to cut out pieces of cardboard from the center of the box.
- Cut out three sides of a rectangle on interior surfaces to create doors between rooms. You will need to cut through two boxes and leave one long edge on the side to make a door that will open and close.[6]
-
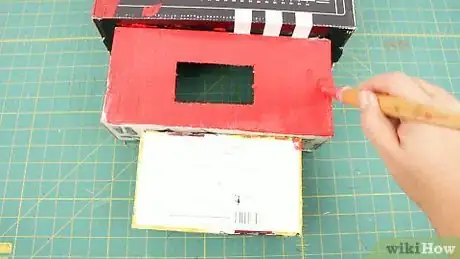
5Paint the house with acrylic paint. Acrylic paint will be more durable than poster paint or tempura paint and is a better choice when the house is going to be played with.
- Use different colors to paint the outside of your dollhouse and give it a finished exterior.
- Paint around windows and doors to add trim.
-
6Add decorations to your dollhouse. Decorate the rooms of your dollhouse to give your house a unique personalized look.
- Use wrapping paper to cover the walls for wallpaper.
- Cut pictures from magazines to decorate the walls.
- Use fabric squares to make rugs and floor coverings.
-
7Add furniture. Finish the interior of the dollhouse with customized furniture. Furniture can be purchased pre made for dollhouses, or you can build your own from cardboard or craft sticks.
Community Q&A
-
QuestionWhat other stuff can I make this mini doll house with?
 Community AnswerIt's up to your imagination. For example, you can use some fabric you found for curtains, or use a book as a bed. Anything is possible.
 -
QuestionHow can I make the tables in the picture?
 Community AnswerThe red painted tables are made with popsicle sticks and hot glue. Cute 3 into the size you would like, then glue them together. With 4 more sticks, cut them, and glue them onto the sides of the 3 sticks already put together in a crisscross pattern.
 -
QuestionWill cardboard furniture break?
 Community AnswerCardboard furniture is more delicate than wooden furniture, and must be treated with care.
Things You’ll Need
- Cardboard boxes, various sizes
- Hot Glue Gun
- Razor Knife
- Scissors
- Acrylic Paint
- Wrapping Paper
- Old magazines
- Fabric Samples
Warnings
- Don’t cut cardboard on a table as you might scratch the surface of the table. Place a piece of scrap wood or extra layers of cardboard underneath the piece you are cutting.⧼thumbs_response⧽
Keep razor knifes away from infants and young children.
- Ask an adult for help when using a razor knife or cutting cardboard.⧼thumbs_response⧽
References
- ↑ http://www.pbs.org/parents/crafts-for-kids/shoebox-dollhouse-video/
- ↑ http://www.redtedart.com/2011/12/23/how-to-make-a-cardboard-dolls-house/
- ↑ http://www.ikatbag.com/2012/04/cardboard-barbie-house.html
- ↑ http://artfulparent.com/2014/02/from-cardboard-box-to-lighted-dollhouse.html
- ↑ http://www.handmadecharlotte.com/6-ways-make-cardboard-dollhouse/
- ↑ http://letsdosomethingcrafty.com/cardboard-box-dolls-house/
