X
wikiHow is a “wiki,” similar to Wikipedia, which means that many of our articles are co-written by multiple authors. To create this article, volunteer authors worked to edit and improve it over time.
This article has been viewed 128,561 times.
Learn more...
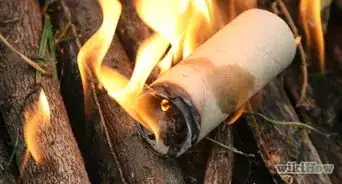
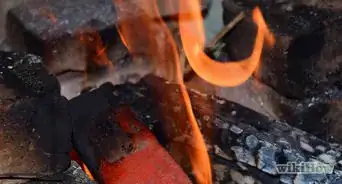
Using a chimney starter is a great way to get your barbecue lit without using lighter fluid. You can make your own with items you probably have lying around the house already. The idea is to create a cylinder to hold the charcoal and direct air flow to light the charcoal quickly.
Steps
-
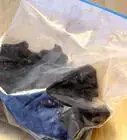
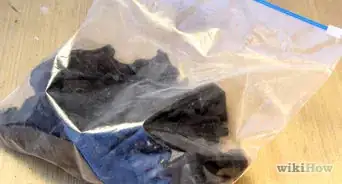
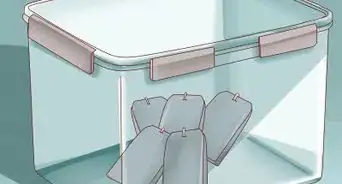
1Remove the label and bottom from the tin can. Discard the label, but keep the bottom. You'll re-attach it later higher up.[1]
-
2Make a series of holes around the bottom of the can. Use the churchkey opener and space the holes about every 3 inches (7.6 cm).[2]Advertisement
-
3Drill a pattern of holes in the bottom of the can that you removed earlier. Use a 5/8-inch and 1/4-inch drill bit. Remember: the idea is to let air through, but to hold the charcoal briquettes. Hammer around the holes when you're done to remove sharp edges.[3]
-
4Drill 3 holes around the side of the can. These will be to attach the L-brackets. Make sure the holes are approximately evenly spaced (see position of bolts in photo below) and that the width of the hole is slightly less than the size of your bolts. The bottom of the brackets should be about 3 inches (7.6 cm) from the bottom of the can. Use the ridges along the can as a guide to ensure that you drill the holes at the same height.
-
5Attach the L-brackets to the inside of the can. Use the three small bolts. Don't worry if they seem a little loose.
-
6Insert the bottom into the can vertically from the bottom opening. Lift it past the L-brackets and bolts, then push it into place over the brackets. You may have to cut a small nick in the side of the bottom in order to fit it down over the last bolt, or you can remove this bolt and then re-attach the L-bracket. The bottom should fit snugly and secure the L-brackets to the side of the can.
-
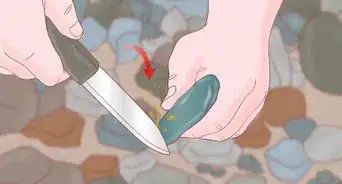
7Cut a length of broom handle the same height as the can. (About 7 inches)
-
8Drill holes about 1 inch (2.5 cm) from each end of the broom handle. Using a drill bit wider than the head of your bolt, drill halfway through the handle. Finish the hole using a drill bit the same width as the 4-inch bolt.[4]
-
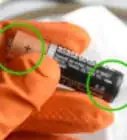
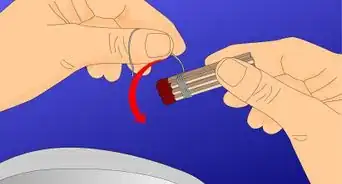
9Drill a hole about 1 inch (2.5 cm) from the top of the can. Insert the bolt completely through the top hole of the handle and secure it on the other side with one of the nuts. Thread another nut onto the end of the bolt, about 1⁄4 inch (0.6 cm) from the end. Insert the end into the hole on the side of the can (the bolt will remain outside the can). Secure the bolt to the inside of the can with the third nut, then tighten the nut outside the can until it is flush with the can. Tighten all nuts.[5]
-
10Insert the second 4-inch bolt into the bottom hole of the handle and mark where it touches the can. Drill a hole at this mark, then affix the 3 nuts to the bolt and can as in the previous step: 1 against the handle, 1 outside the can, 1 inside the can. Tighten all nuts.
-
11Enjoy using your home-made chimney starter!
-Step-1-Version-2.jpg)
-Step-2-Version-2.jpg)
-Step-3-Version-2.jpg)
-Step-4-Version-2.jpg)
-Step-5-Version-2.jpg)
-Step-6-Version-2.jpg)
-Step-7-Version-2.jpg)
-Step-8-Version-2.jpg)
-Step-9-Version-2.jpg)
-Step-10-Version-2.jpg)
-Step-11-Version-2.jpg)
Advertisement
Warnings
- Secure the bottom of the can well while you are drilling the holes.⧼thumbs_response⧽
- Be careful of the sharp edges of the holes. Smooth them out by hammering or crimping with a pair of pliers.⧼thumbs_response⧽
Advertisement
Things You'll Need
- 1 large coffee can or other tin can
- 5/8 and 1/4-inch drill bits
- 3 small L-shaped metal brackets, with corresponding bolts
- 2 4-inch long bolts, with 3 nuts each
- broom handle
- Can opener (turning type)
- "Church key" can opener (punch-type)
- Power drill
- saw


References
About This Article
Advertisement