wikiHow is a “wiki,” similar to Wikipedia, which means that many of our articles are co-written by multiple authors. To create this article, 66 people, some anonymous, worked to edit and improve it over time.
This article has been viewed 898,302 times.
Learn more...
An excellent mask can be made using products found easily at home: tin foil and tape. This is a straightforward project that is ideal for last-minute mask-making before the masked ball or any fancy dress do. Just see Step 1 below to get started.
Steps
-
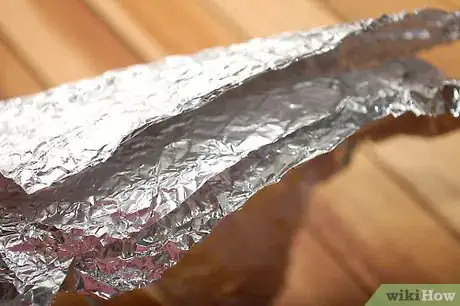
1Overlap three sheets of aluminum foil in a stack.
-
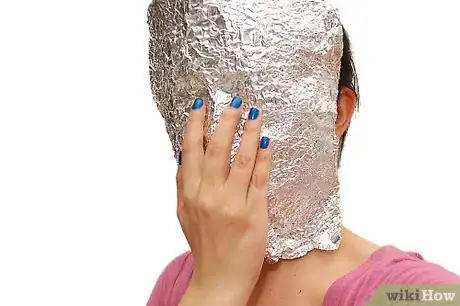
2Push the stack of sheets onto your face. Push down as hard as you are comfortable pushing. Do it carefully, so the foil does not become punctured. (It might be useful to have a helper do this part.)Advertisement
-
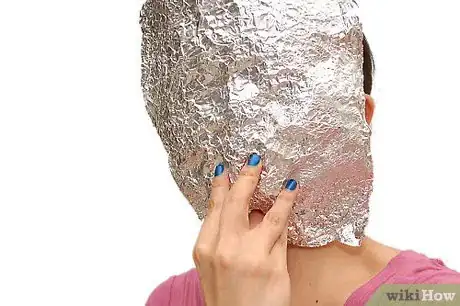
3Check you have the general outline of your face imprinted: nose, lips, corners of your eyes and cheekbones. Use a marker and trace around your eyes (it might be good to follow the bones around your eye socket) for where you want to place the eye holes in your mask. Also, trace around anything else you want cut out. (Breathing holes are useful for breathing!)you might also want to cut a hole for talking too.
-
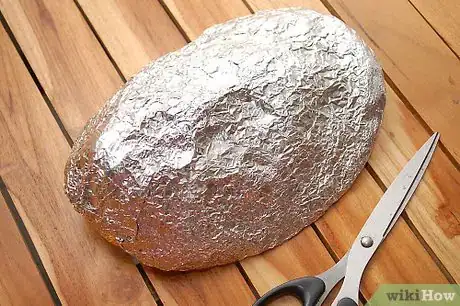
4Carefully remove the foil from your face. Cut with sharp scissors around the edges of the mask. And note––once you cut it, you can't really go back easily, so leave extra.
-
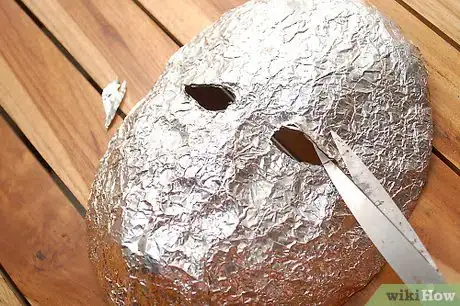
5Carefully cut out the eyes. Do this either by puncturing the foil with a toothpick and tearing the foil out, or snipping in the center of the area with the tip of scissors and folding the foil back.
-
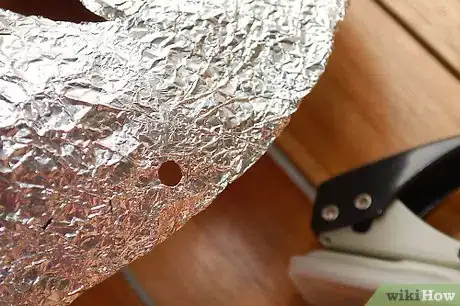
6Cut holes or slots in the side of your mask. These are for the ribbons/cord/shoelaces to attach the mask to your face.
-
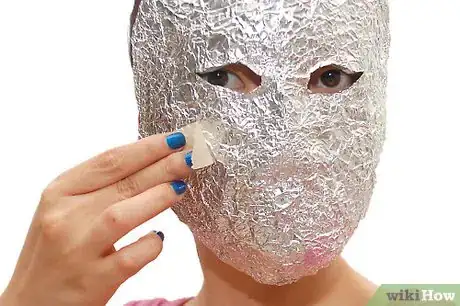
7Cut small sections of tape. While pressing the mask to your face to keep the features strong, gently place the tape onto your mask. When you feel the mask's features are firm enough, place all the sections of tape, overlapping, across all visible places of foil, including the back (foil is itchy next to the skin).
-
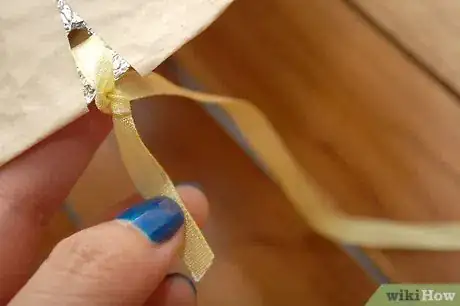
8Tie the cord to the holes in the side of your mask. Leave enough length to both wrap around your head, and to tie in a nice knot or bow.
-
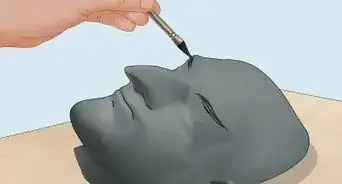
9Optional: Use plaster or papier mache to smooth the surface of the mask.
-
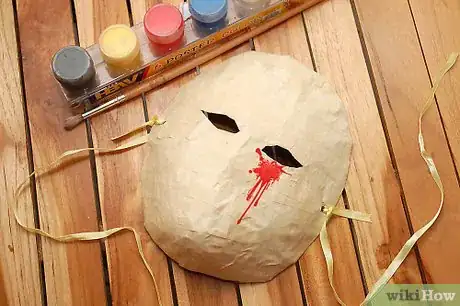
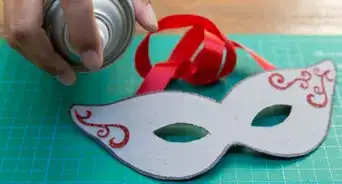
10Decorate using acrylic paints. Paint whatever you want, making sure to leave it to dry out of the way of children or pets. You can even sprinkle glitter on the paint while it's wet if you like. Adding sequins, feathers, beads, etc. can enhance the mask.
Community Q&A
-
QuestionCan I use Elmer glue or scotch tape? This seems a little complicated.
 Community AnswerYes, any glue is fine, but scotch tape might not work. It will make it look too messy.
 -
QuestionCould I put tape over the tin foil or could I paint it?
 Community AnswerIf you're going to paint the mask, it's a good idea to cover the foil with duct tape for a smooth surface to paint on.
 -
QuestionWhat kind of tape is used here? Do I have to use that tape?
 Community AnswerThe tape in the picture is masking tape. The masking tape looks nice and clean when overlapped, and it gives the mask a nice white-ish color.
Things You'll Need
- Really sticky, firm tape
- Aluminum foil (aka kitchen foil)
- Scissors sharp enough to cut foil and your tape
- Ribbon or string
- Paint (optional)
- Glue (if you don't trust your tape)
About This Article
To make a mask out of tin foil and tape, start by stacking 3 sheets of foil on top of each other. Then, press the sheets of foil onto your face to create a mold of your face shape. Next, carefully remove the foil and cut around the edges of the mold with scissors so you're left with an oval-shaped mask. Once you've done that, puncture the eye holes with a toothpick or pencil and use the scissors to cut them out. Finally, cover the entire surface of your mask with tape so the foil stays in place. To learn how to decorate your mask with paint, keep reading!
