wikiHow is a “wiki,” similar to Wikipedia, which means that many of our articles are co-written by multiple authors. To create this article, 24 people, some anonymous, worked to edit and improve it over time.
This article has been viewed 68,142 times.
Learn more...
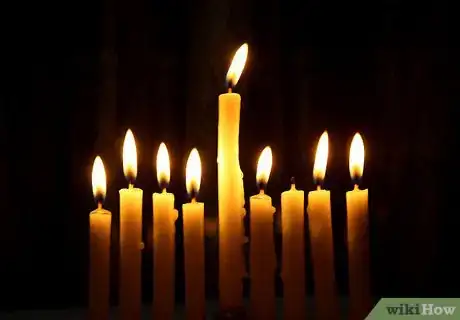
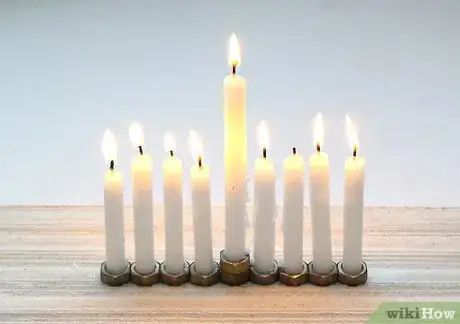
It's easy to learn how to make the holder for the nine lights of Hanukkah — technically a chanukiah, but commonly called a menorah. The only kosher requirements for a menorah are that the eight main lights are in a straight line, and that you can easily tell the ninth helper light apart from the rest.
Steps
Simple Menorah Ideas
-
1Know the basics. A menorah does not have to be ornate, or even in the traditional candelabra shape. You don't even need to glue the nine light holders into one object. All you need to know are these basic rules:[1]
- The eight main lights should be in a straight line, all at the same height or along a steady diagonal line.
- The ninth helper light (shamash) should be easily identified. It's usually placed in the center or end of the row, but higher or lower than the rest. If it's the same height as the others, offset it so it's not in the same row.
- Ideally, set up the menorah near a window so passersby can see it.
-
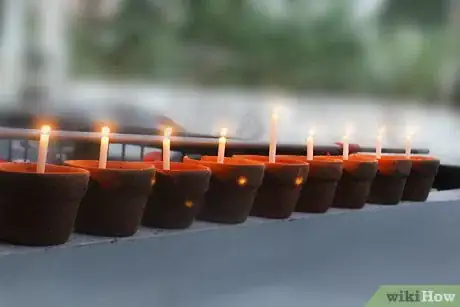
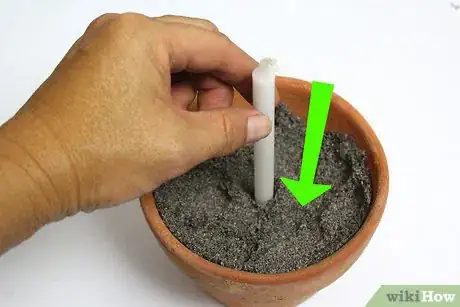
2Fill small terracotta pots with sand. Nine small plant pots make a simple but beautiful display, even if you're craft-challenged. Make sure the pots are wide enough to catch any drips from the candles.
- Bury small candle holders just underneath the sand for stability, so the openings are at the surface.
Advertisement -
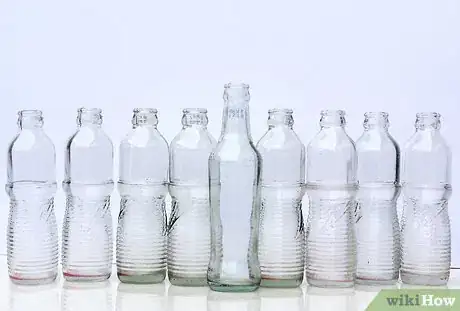
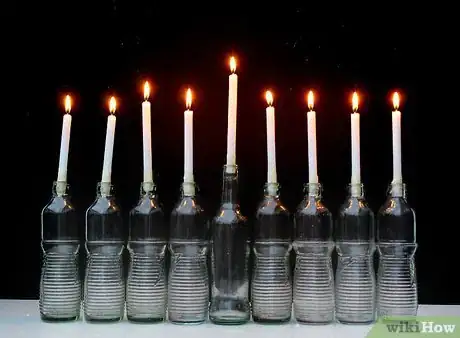
3Use a line of bottles. Pick eight narrow-neck bottles of the same height, plus a ninth at a different height. Tear off the labels and wash off the label residue with soap and water.[2] You can now fit candles into the necks, or fill the bottles partway with water, float olive oil on the top, and hang a cotton wick from the neck to the olive oil.
- If you use candles, place a non-flammable plate underneath to catch the drips.
-
4Add the lights. The light should last at least 30 minutes before it burns down. You'll need 44 lights to last the eight days of Hanukkah, but keep a few extra around just in case. The most common option is Hanukkah candles, which should last well over 30 minutes.
- To represent the original miracle more closely, you may use glass cups of flammable oil instead, ideally olive oil. See the Tips section below for instructions on making your own wick.
- On the last day, the candles are lit before sundown. Many people use larger candles to make sure they keep burning until the Shabbat.
Kid's Menorah
-
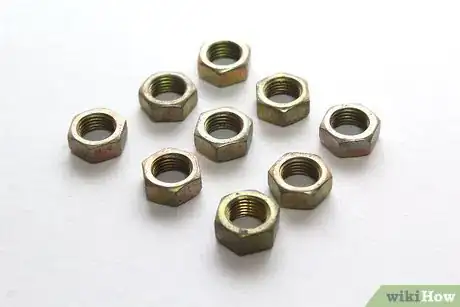
1Gather your supplies. Parents and synagogues often teach young kids to make their own menorah this way. All you need is nine or ten metal hex nuts, nine candles that fit inside the nuts, a long slab of wood, and strong glue. You can find all of these at a hardware store.[3]
- Pick up any decorations you'd like to use as well. See below for some suggestions.
- If you can't find nuts that will hold up your candles, you can glue tea candles directly onto the wood instead.
-
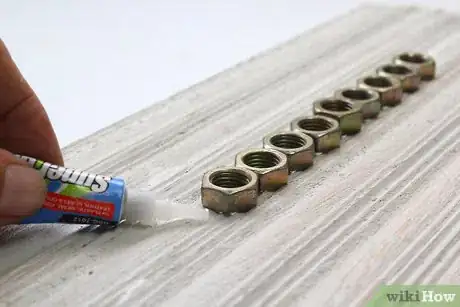
2Glue eight nuts onto the wood in one row. Place all eight nuts first to make sure they are evenly spaced, in a straight row, and that there's room left for the ninth nut. Glue each nut onto the wood and wait for it to dry.[4]
- Weighing down the nuts with heavy objects will help the glue bond.
-
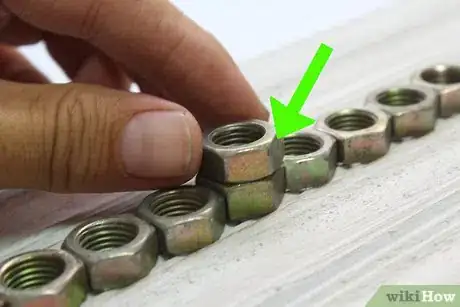
3Glue the nut for the helper candle. The ninth nut will hold the shamash, or helper candle. This candle is the one that will light all the rest, so it has to stand out from the rest. If you have ten nuts, you can stack two on top of each other so the shamash is higher. Otherwise, just glue the ninth nut anywhere that's not in the same line as the other eight.
-
4Decorate. Make the menorah your own with mini decorative tiles, paint, glitter glue, or your favorite kind of decoration.
Clay Menorah
-
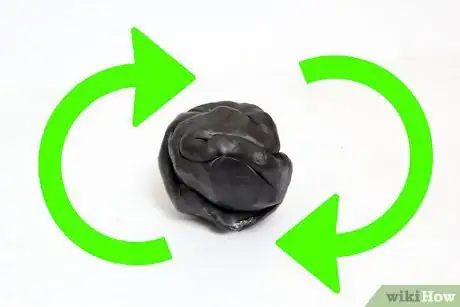
1Set up your workstation. Buy polymer clay such as Fimo or Premo at any craft store. Lay down a piece of wax paper on your work surface — you don't want raw clay touching surfaces you may later use for food.
- Wear gloves. Some clay colors can slightly stain your hands. Alternatively, coat your hands lightly with hand cream to make cleaning up easier.
-
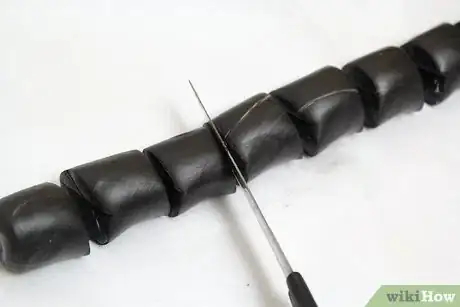
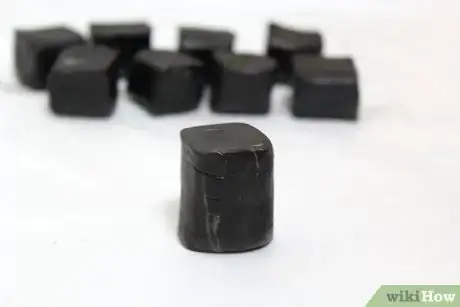
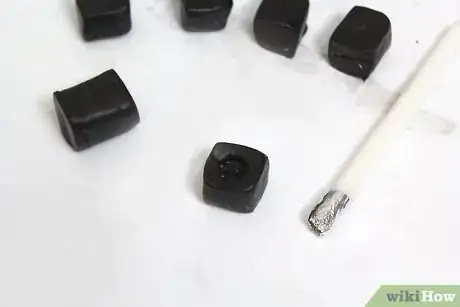
2Cut a block of the clay into eight evenly sized cubes using a craft knife. A craft knife will make good straight, thin cuts for the cubes and is recommended over a regular knife. Make sure that all eight structures have a flat, stable base.
-
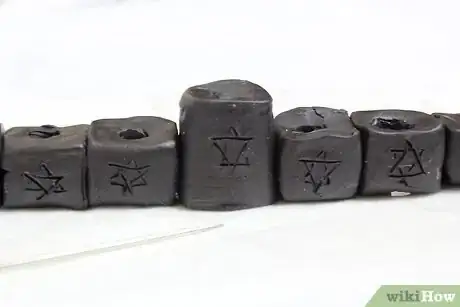
3Make a taller ninth cube. Elongate another piece of clay into a rectangle that is slightly thinner and taller than the eight cubes. This will hold the shamash, or helper candle used to light the eight main lights.
-
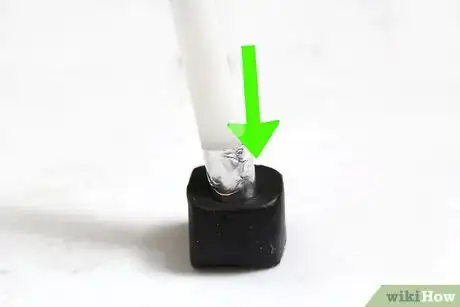
4Wrap foil around a candle. Wrap a small amount of aluminum foil around the base of a small, thin Hanukkah candle. This covering will prevent the candle from sticking to the clay as you make candle holes.[5]
-
5Form the holes for the candles. Push this wrapped candle into the top center of each of the nine clay cubes to create the hole to hold the candle. Make this hole of equal width, and deep enough to securely hold the candle.
- Remove the candle but leave the foil intact, as you'll need it again later.
-
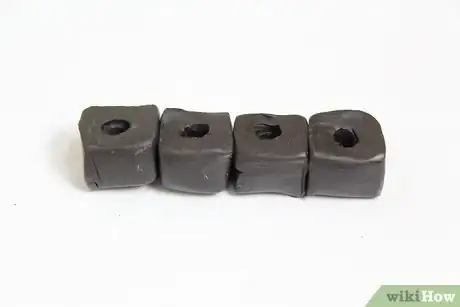
6Press together four of the clay cubes. Line up four of the cubes in a row. Keep them flat on the work surface. Firmly press four of them together one by one to create a solid unit. You should now have one straight row of cubes of equal height, displaying four equally-spaced holes on top.
- Smooth the edges, making sure that this structure is firmly stuck together.
- Check that the bottom of the four-holed structure is still flat and stable.
-
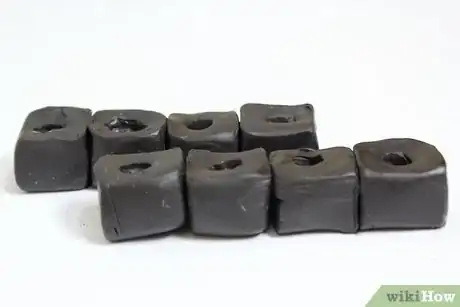
7Repeat with the other four cubes. You will now have two units of clay, each with four holes.
-
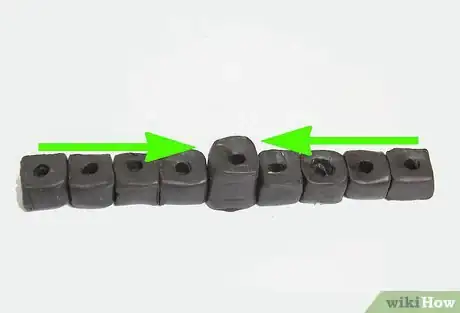
8Make the Chanukiah menorah structure. Check that the base of each rectangle is flat and stable, then connect all nine:
- Place one four-candle holder on the left side of the tall rectangle.
- Place the other four-candle holder on the right of the tall rectangle.
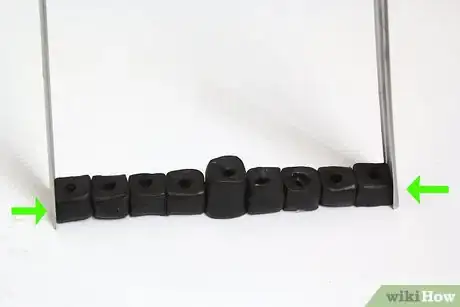
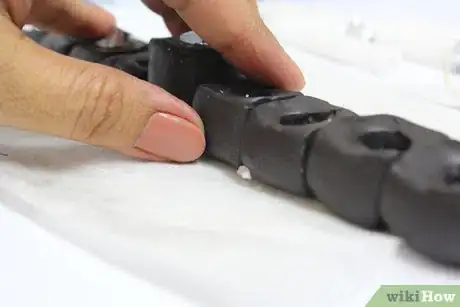
- Press the rectangle from both sides to join it to the other units. Press firmly to ensure joining and smooth the seams by rubbing the clay together with your fingers or a clay tool.
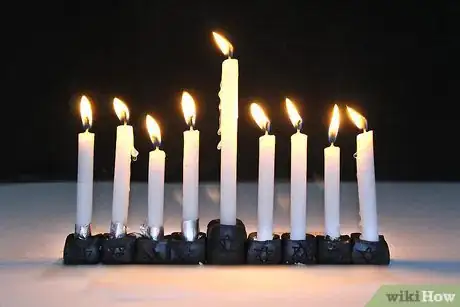
- You should now have one long, solid unit of clay with nine holes in total: four holes of equal height situated on either side of the middle candle hole, which will sit slightly higher.
-
9Make the structure stable by adding a base and support beams as you see fit. A wide base, tall pillar, and two supporting arms should be enough.
-
10Check again that the unit is stable and that all bases are flat. If needed, flatten each cube and rectangle slightly to make it stable, being careful not to close the candle holes. Make sure that the unit holds together as one long piece.
-
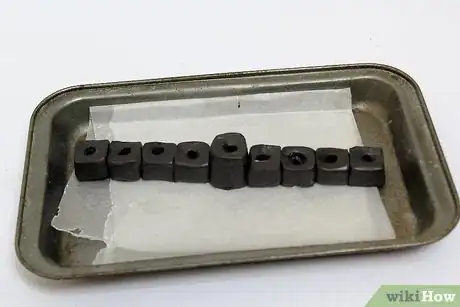
11Transfer the unit to a flat baking tray. Bake according to manufacturer's instructions, being careful to judge baking time by the thickness of the cubes. Cool according to manufacturer's instructions. Note: If you plan to decorate the menorah, please read the next step first prior to baking.
-
12Decorate (optional). If you choose to decorate, read the manufacturer's instructions for any tips related to the specific clay you're using, such as sticking pieces together or using paints. This determines whether painting should be done before or after baking. There are lots of techniques for decorating clay prior to baking with common tools, such as toothpicks and toothbrushes to create textures. A six-pointed star made from 2 overlapping triangles is a traditional symbol used on menorahs.
- See How to light a Chanukah Menorah for instructions on use.
- Prior to lighting the candles, place a small amount of aluminum foil around the bottom of each candle, shaping it into a small cup so that drips from the candle will catch in the foil and not drip onto your creation.
-
13Enjoy!
Community Q&A
-
QuestionHow do I light the menorah?
 Community AnswerYou use the shamash, or extra candle, to light the candles from left to right.
 -
QuestionIf the Shamash is on an end and not in the middle, should it be on the right or the left when I light the candles?
 Community AnswerIt really makes no difference and is up to you and your personal preference. You light the candles from left to right but the Shamash can be on either side. It might be easier on the right side, since you hold it with your right hand.
 -
QuestionIn the photos of the lighted menorah with all the candles lit, the eight candles are not burning at the same length. Why are they not the same?
 Community AnswerIt's probably not on purpose. you're supposed to light all the candles at once, so some probably just happened to burn faster than others.
Warnings
- Do not use clay on surfaces or objects used for food.⧼thumbs_response⧽
- Children should use the oven for baking clay under adult supervision only.⧼thumbs_response⧽
- Never use a microwave to bake clay.[6]⧼thumbs_response⧽
- Be flame aware:
- Candles should always be lit and remain burning under adult supervision.
- Never let children play (including spinning a dreidel) on a surface with a lit menorah.
- Never place the Chanukiah on a flammable surface or near curtains, paper, or anything that might ignite.
⧼thumbs_response⧽
Things You'll Need
Simple Menorah
- 9 small terra cotta pots
- Sand
- Candles
- 9 empty bottles, 1 of a different height than the other 8
Kid's Menorah
- 9-10 metal hex nuts
- Candles candles that fit inside the nuts
- A long slab of wood
- Strong glue
Clay Menorah
- Modeling clay
- Clay tools
- Craft sheet or baking sheet for working on
- Non-stick surface such as parchment or wax paper, silicon sheet
- Craft knife
- Gloves and/or hand cream (olive oil will also keep your hands clay-free)
- Manufacturer's baking instructions
- Decorative elements (optional)
- Oven mitts for handling hot baking sheet
References
- ↑ https://www.chabad.org/holidays/chanukah/article_cdo/aid/103868/jewish/How-to-Light-the-Menorah.htm
- ↑ https://www.mnn.com/your-home/remodeling-design/blogs/a-stylish-make-your-own-menorah
- ↑ http://www.party411.com/PlanYourParty/Holiday/Chanukah/MakeYourOwnMenorah.aspx
- ↑ http://www.party411.com/PlanYourParty/Holiday/Chanukah/MakeYourOwnMenorah.aspx
- ↑ http://www.shalomboston.com/LinkClick.aspx?fileticket=8ZMTJKVa20Q%3D&tabid=93&mid=480&language=en-US
- ↑ https://thebluebottletree.com/bake-polymer-clay-microwave/
About This Article
To make a menorah, try filling 9 small terracotta pots with sand and sticking a candle in the center of each so that the middle candle is the tallest. You can also line up 9 glass bottles and put a candle in the neck of each bottle, using 8 bottles that are the same height and 1 in the middle that's taller than the rest. If you'd prefer a menorah that you can easily pick up and move around, try gluing 9 hex nuts together in a row with a tenth hex nut glued to the top of the middle nut. Then, stick a candle in each hex nut. To learn how to make a clay menorah, scroll down!
