This article was co-authored by wikiHow Staff. Our trained team of editors and researchers validate articles for accuracy and comprehensiveness. wikiHow's Content Management Team carefully monitors the work from our editorial staff to ensure that each article is backed by trusted research and meets our high quality standards.
This article has been viewed 139,134 times.
Learn more...
Elastic based headbands are flexible and useful for keeping hair in place and off your face. They can be made to suit your head size, and alleviate the pinching problem you may get from a plastic headband. Making an elastic headband yourself will ensure you get the perfect fit for your head and your style.
Steps
Getting the Perfect Fit
-
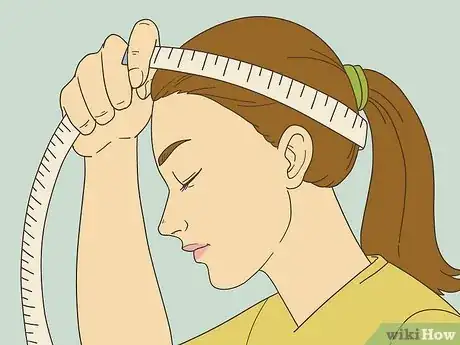
1Measure your head. For the best fit, use a flexible tape measure like one you would find in a sewing kit. Measure the head of the person who will be wearing the headband from the nape of the neck, up over their head where the headband will be and completing the loop back at the nape. If the person is unavailable to be measured, you can use these general guidelines:
- Preemie: 11”-12”
- Newborn: 13”
- Up to 1: 14”
- 1-6: 15”
- 7-Teen: 16.5”
- Adult: 17.5”
- Especially with babies, be sure to get a good fit that is not too tight. Constricting an infant's head could have a problematic effect on its growth and development.[1]
-
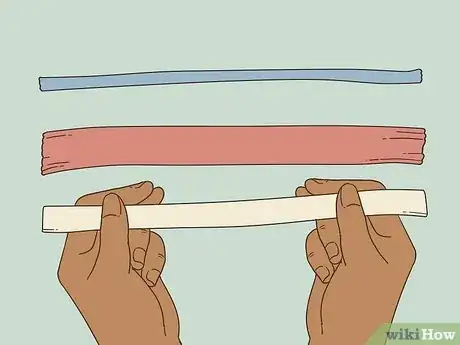
2Choose your elastic. Choose a fold-over elastic. This is the preferred elastic for headbands. It is available in a variety of colors and patterns at your local fabric store or hobby shop. Fold-over elastic has a finished, shiny side and a matte underside, and a seam running longways down the middle.
- This elastic comes in 1/8”, 3/8” and 5/8” widths. The one most commonly use for headbands is 3/8", but some like a thin 1/8" headband, especially for babies.
- Some elastic is made with silicone strips in the back. This is useful if you are concerned about the headband slipping.
Advertisement -
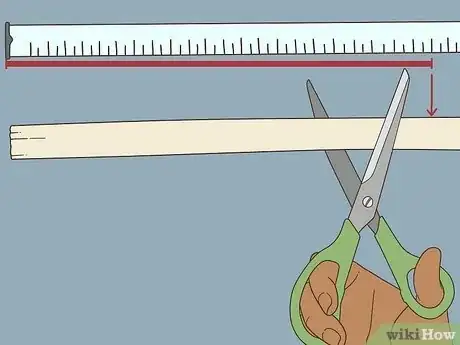
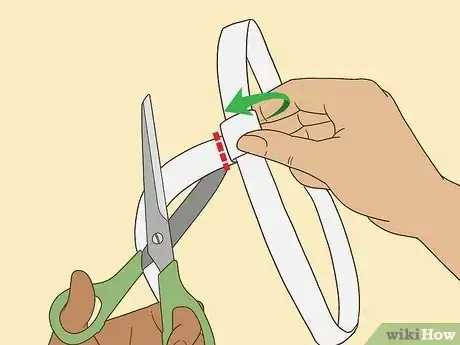
3Cut the elastic to fit your head. Measure the piece of elastic according to the measurements you took or the average length for the age of person you are creating the headband for. If you are using actual head measurements, keep in mind that you want the headband to stretch. Subtract one inch from the head size to make sure the headband will be snug.
-
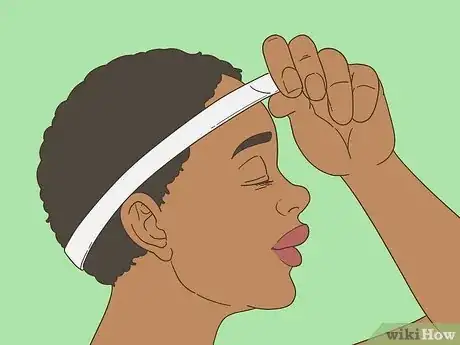
4Test your size to make sure there is some stretch in the fabric. If the person who you are making the headband for is there, wrap the elastic around their head and make sure that the elastic stretches just enough to hold the headband in place once it is complete.
- Beware of making the headband so tight that it would be uncomfortable.
Assembling the Headband
-
1Seal the cut ends of the elastic. There are a couple of ways you could go about sealing the ends of the elastic. You can apply a product which was created to seal fabric, or you may choose to heat the ends. Either way, you want to be sure to seal the ends so that they won’t fray.
- Look for a fray-stop spray at your local fabric store and spray both ends of your elastic.
- To seal the ends with heat, quickly pass the ends through a flame to singe them.
-
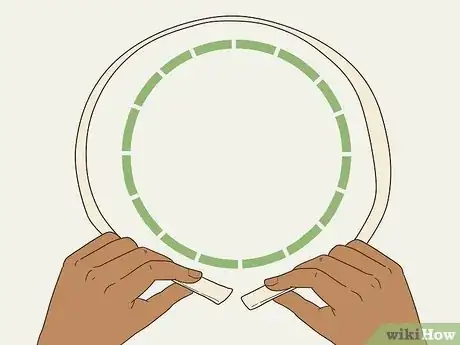
2Curve the elastic into a circle. Keeping the shiny, finished side on top, curve the elastic into a circle until the ends overlap about a quarter of an inch. Be sure not to accidentally twist the elastic when you are creating your circle. The headband should lay flat on your head.
-
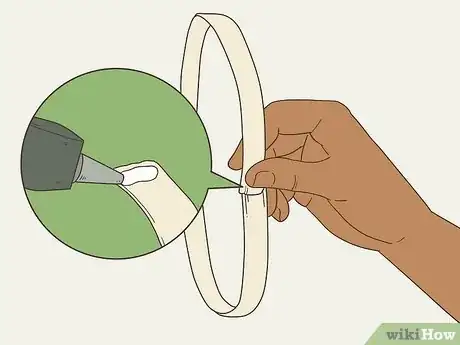
3Connect the ends of the headband together. Heat a hot glue gun to a high temperature. Press the button on the glue gun to release glue and drag it across the width of the top of one end of your elastic band. Carefully place the other end on top of the glue and press the ends together. Hold this in place for a few seconds.[2]
- Be careful not to burn yourself. The glue will be very hot.
- Wait 30 minutes for the glue to dry completely before wearing the headband.
- You can also sew the ends together. Thread a needle with a thread that matches your elastic and put a few stitches through the overlapped ends. Tie a knot to secure the stitches.
Adding Adornments
-
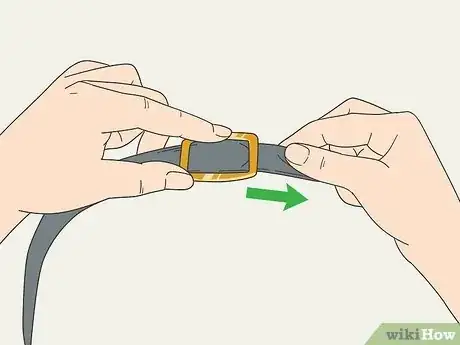
1Slide a decoration onto the headband before securing the ends. You can find headband sliders at craft and fabric stores. These decorative pieces have metal or plastic backs which slide onto the elastic strap. Thread the strap up through the first hole in the slider, over the center piece, and back down through the second hole, then slide it onto the elastic strap.
- Once you secure the ends, you can put the headband on and slide the decoration into the proper place.
-
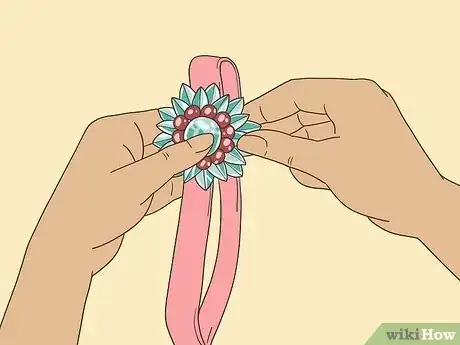
2Pin decorative broaches or pins to the headband. Add a little glitz and glitter with pins and broaches. Once you have completed the headband, decide where you want the decoration and stick the pin through the headband and secure it in place.
- Be sure to line up the pin so that it is not lopsided on the headband.
-
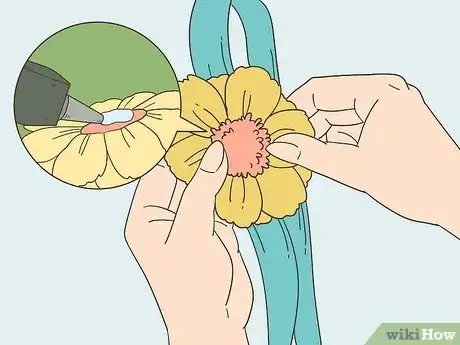
3Glue a decorative flower into the headband. Choose a fabric flower which is larger than the width of your headband. Cut a felt circle slightly larger than the width of your headband and smaller than the size of the flower. Cover one side of the felt with hot glue and do the same with the bottom of the flower. Place the felt piece on the underside of the headband and the flower on top of that part of the headband. Press and hold the two pieces together.[3]
- It is a good idea to place this flower over the seam to cover it and give your headband a nice, clean look.
- Allow 30 minutes for the glue to dry.
-
4Add a loop that allows you to change out multiple decorations. Cut another small piece of elastic. The length should equal to 3 times the width of the headband. Line it up along the top of the seam and wrap one end around the bottom of the headband. Hot glue this end in place, then wrap the other end of the small piece of elastic around the headband and glue it to the first end of the small piece of elastic to finish off the loop.[4]
- Now you have a hairband which can hold any decoration you have on a clip by sliding it through the loop and clipping it in place.
- You can also glue flowers or other decorations to a clip if they are not already fixed to one.
Expert Q&A
-
QuestionHow can you prevent a headband from slipping on your head?
 Janet MirandaJanet Miranda is a Professional Hair Stylist, Makeup Artist, and the Founder of Be.NYLA. With over 15 years of experience, Janet specializes in makeup and hair for advertising, commercial, editorial, runway, special events, television, and videos. She was trained at Vidal Sassoon Academy and with top hair and makeup artists including MAC Cosmetics and Redken. Janet has worked five seasons of New York Fashion Week and one season on Project Runway. She continues to add brands to her growing client list including Armani Exchange, Neutrogena, and Pantene. Janet’s work has been featured on CBS, Brides Magazine, 100 Layer Cake, Style Me Pretty, Green Wedding Shoes, Ireland Image Brides Magazine, and Elle Japan.
Professional Hair Stylist & Makeup Artist Thicker headbands tend to stay in place better. You can also bobby pin the headband in place. Use bobby pins that are closest to your hair color so you don't see them.
 -
QuestionCan I curl my hair with it?
 Community AnswerYes, you may curl your hair while wearing an elastic headband.
Things You'll Need
- Fold-over elastic
- Anti-fray solution, or a lighter
- Hot glue gun with glue
- Measuring tape
- Scissors
- Pins and broaches (optional)
- Fabric flowers (optional)
References
About This Article
To make an elastic headband, start by measuring your head with a flexible tape measure, starting at the nape of your neck and wrapping the tape measure around where you want your headband to rest. Then, cut a piece of fold-over elastic to fit around your head, and seal the cut ends of the elastic using the flame from a lighter. Finally, bring the ends together and connect them using hot glue or by sewing them together. To learn how to add adornments to your elastic headband, scroll down!
