wikiHow is a “wiki,” similar to Wikipedia, which means that many of our articles are co-written by multiple authors. To create this article, 21 people, some anonymous, worked to edit and improve it over time.
This article has been viewed 226,480 times.
Learn more...
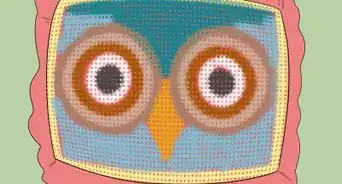
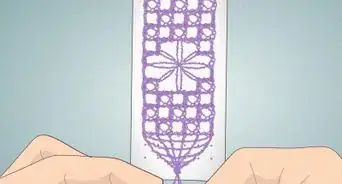
A primitive form of star weaving, reminiscent of a dreamcatcher, Ojo de Dios, or God's Eyes (Tzicuri) are still woven today by the Huichol Indians of Mexico. The idea is to use bright colors to serve as an eye to watch over others (especially babies) and to bring good luck. Quick and easy, (it can be as simple or as complex as you wish), these are attractive as a single dramatic wall accent or as a mobile for a child's room.
Steps
-
Video Player is loading.
This is a modal window.
The media could not be loaded, either because the server or network failed or because the format is not supported.1Select the base sticks. The sticks should be thin but strong, such as craft sticks or bamboo skewers. -
Video Player is loading.
This is a modal window.
The media could not be loaded, either because the server or network failed or because the format is not supported.2Place the sticks in a cross shape. Using embroidery thread or yarn, tie a noose knot (slipknot) in the first yarn and tighten it around the intersection of the sticks. Wind the thread or yarn in a figure eight around the intersection (this technique works on bamboo skewers but not on craft sticks), or alternatively wind the thread or yarn several times, first from right to left diagonally, then from left to right. You want to cover the center of the sticks. Do not cut off the thread or yarn; you will continue weaving with it.Advertisement -
Video Player is loading.
This is a modal window.
The media could not be loaded, either because the server or network failed or because the format is not supported.3Begin weaving your first round. Work counter-clockwise, moving the thread or yarn behind the top stick, back over the top stick, behind the left stick, over the left stick, behind the bottom stick, over the bottom stick, and behind and over the right stick to complete one round. -
Video Player is loading.
This is a modal window.
The media could not be loaded, either because the server or network failed or because the format is not supported.4Continue in the same way to complete as many recessed rows as you like. Many Ojo de Dios are done completely in recessed rows, which show the shape of the sticks. However, you can alternate recessed and raised rows. To do this, you need to reverse direction. Basically, you reverse, and turn the work over, so that you're working on the back. This creates a raised row on the front. -
Video Player is loading.
This is a modal window.
The media could not be loaded, either because the server or network failed or because the format is not supported.5Change colors by knotting the new color to the old one. This way, the knot forms on the back of the sticks. Do not clip off the old color until you've worked over it for a few rows and you're confident that the knot is secure enough. -
Video Player is loading.
This is a modal window.
The media could not be loaded, either because the server or network failed or because the format is not supported.6Reverse again with a new color any time you want. -
Video Player is loading.
This is a modal window.
The media could not be loaded, either because the server or network failed or because the format is not supported.7
Community Q&A
-
QuestionCan I make a God's eye with cooking utensils?
 Community AnswerAs long as there are 2 usable sticks of some sort, most likely yes.
 -
QuestionWill chopsticks and string work?
 Community AnswerAll you need for the base is two long, straight sticks, so chopsticks will work well.
Warnings
- Use age appropriate stick-like material. Do not use sharp sticks like bamboo skewers around young children. Use round-ended craft sticks, instead.⧼thumbs_response⧽
Things You'll Need
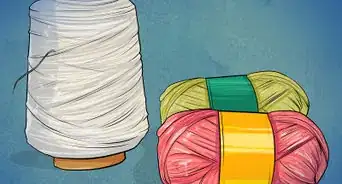
- Several colors of embroidery thread or yarn; scraps will do nicely
- 2 straight sticks for each God's Eye; craft sticks, bamboo skewers, or twigs are good choices
You Might Also Like
This is a modal window.
This is a modal window.
This is a modal window.
This is a modal window.
This is a modal window.