This article was co-authored by wikiHow Staff. Our trained team of editors and researchers validate articles for accuracy and comprehensiveness. wikiHow's Content Management Team carefully monitors the work from our editorial staff to ensure that each article is backed by trusted research and meets our high quality standards.
The wikiHow Video Team also followed the article's instructions and verified that they work.
This article has been viewed 201,533 times.
Learn more...
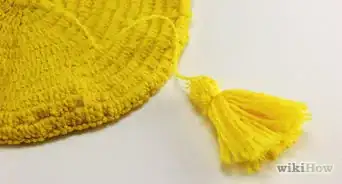
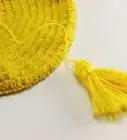
The most common tassels are made out of yarn or embroidery floss. They are most often used to decorate knit hats, scarves, and blankets. Did you know that you can also make tassels out of paper and leather or suede? Paper tassels make great garlands for parties, and leather/suede tassels make great additions to boots and purses.
Steps
Using Yarn or Embroidery Floss
-
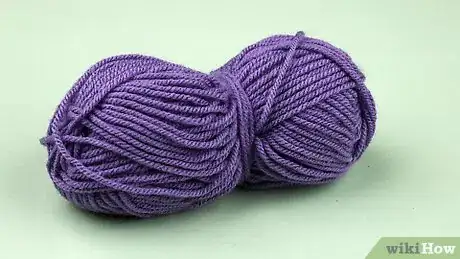
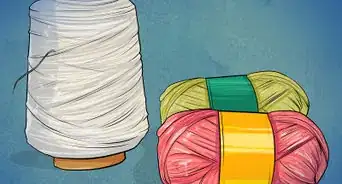
1Choose some yarn or embroidery floss. You can make tassels out of just about anything, but this method works best with stringy materials, such as yarn or embroidery floss. You can also use other types of string, such as twine, cording, or very thin rope.
-
2Cut a rectangular piece of cardboard. The longer your cardboard is, the longer your tassel will be. For a standard tassel, start with a 4 inch (10.16 centimeters) piece of cardboard.[1] You can always trim the tassel shorter when you are done if it is too long for you.Advertisement
-
3Cut a piece of string, and tape it across the top of the cardboard. This will make the string your tassel hangs from. You can use the same color as the rest of your tassel, or a contrasting color. The string should be at least 5 inches (12.7 centimeters) long.[2] Remember, you can always cut it shorter at the end, if you need to.
- Consider braiding three strings together first, and then taping them to the cardboard. This will not only make the handing string stronger, but also prettier.
-
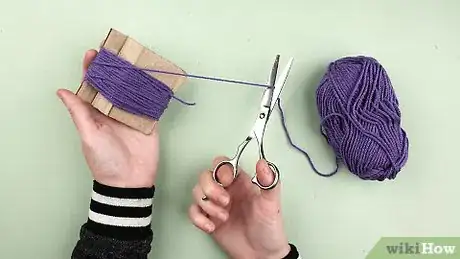
4Start wrapping your string around the cardboard, lengthwise. Make sure you are wrapping across/over the string you taped to the top of your cardboard. The more you wrap, the fuller your tassel will be. Plan on wrapping it at least 24 times.[3]
-
5Cut the string when you reach the bottom of the cardboard on the final wrap. Don't cut it any higher, of your tassel will be uneven.
-
6Take the tape off, and tie the ends of the string into a tight knot. This will help hold your tassel together.
-
7Cut the wrapped string along the bottom and take it off the cardboard. Your tassel is almost ready. Don't worry if a few strings fall out.
-
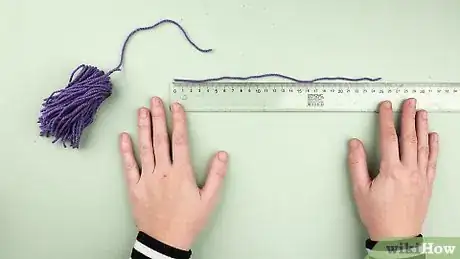
8Cut a 10 inch (25.4 centimeters) piece of string.[4] You will be wrapping this string around the top part of your tassel to hold it together. You can match the color to your tassel, or use a contrasting color.
-
9Tie the string around the tassel, ½ inch (1.27 centimeters) down from the top. Make the knot as tight as you can without breaking the string.
-
10Wrap the string around the tassel 6 to 8 times. Try to stay as close to the knot as possible.
-
11Tie the ends of the string into a tight, double-knot. If you are worried about the knot coming loose, you can secure it with a drop of super glue.
-
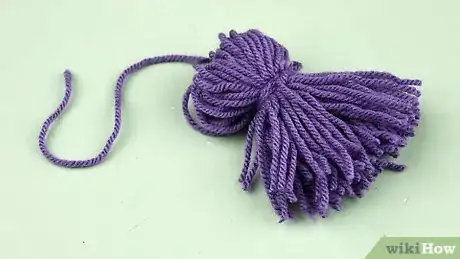
12Trim the bottom of your tassel. Your tassel may not be even along the bottom. If this happens to you, take a sharp part of scissors, and trim the tassel across the bottom until it is even.
-
13Finished.
Using Tissue Paper
-
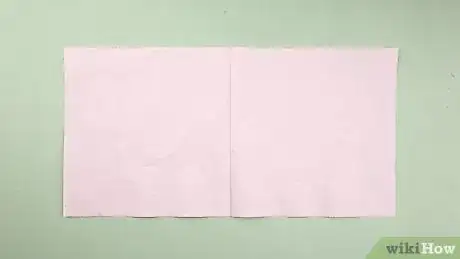
1Cut a piece of tissue paper into a 24 by 14 inch (60.96 by 35.56 centimeters) rectangle. Position the rectangle so that the narrower end is facing you.
-
2Fold in half so that the narrower end of the rectangle has the fold. Make sure that the folded edge is at the top of the rectangle, facing away from you.
-
3Draw a horizontal line 1½ inches (3.81 centimeters) down from the fold. Use a pencil to draw the line, and a ruler to make the line as straight as possible. This is your guideline. You will be cutting up towards this line, but you won't be cutting past it.
- Draw lightly with the pencil so that you won't see the marks when you are done.
-
4Draw a series of vertical lines, all the way up to your guideline. Space them ½ inch (1.27 centimeters) apart. Again, use a pencil to draw the lines, and a ruler to make them straight. These will be your cutting lines.
-
5Cut along the cutting lines up towards the horizontal guideline. Do not cut past the guideline. Also, make sure that you are cutting through both layers of tissue paper at the same time.
-
6Unfold the rectangle. The rectangle will now have a fringe on both of the narrow ends, like a giant set of whiskers.
-
7Start rolling the rectangle, from left to right. Straighten the strands as you roll.
-
8Twist the rolled up tissue paper tightly around the middle. Leave the "whiskers" loose. The only part you should be twisting is the solid, uncut part.
-
9Fold the rolled up tissue paper in half. Keep the top part of the loop (the twisted part) at the top.
-
10Wrap some tape around the base of the loop to hold the tassel together.[5] Wrap the tape around the twisted part, about 1½ inches (3.81 centimeters) down from the top. Do not get any tape on the tassels.
- You can use clear tape, or patterned/washi tape.
-
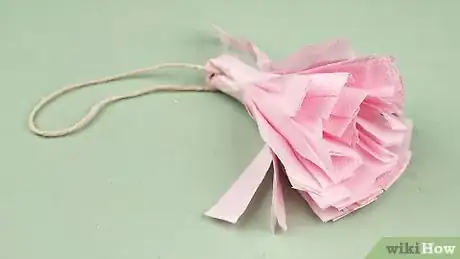
11String the tassel onto a long piece of string. If you make enough tassels, you can make a garland to hand across your doorway. Typical tassel garlands are between 3 and 4 feet (0.91 and 1.22 meters) long.
Using Leather or Suede
-
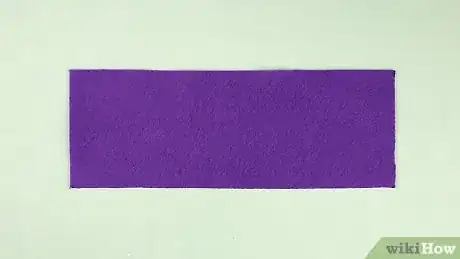
1Cut a 10 by 3½ inch (25.4 by 8.89 centimeters) rectangle of leather or suede.[6] This will make the body of your tassel. Make sure that the material you are using is thin and soft, of your tassel will be too stiff.
-
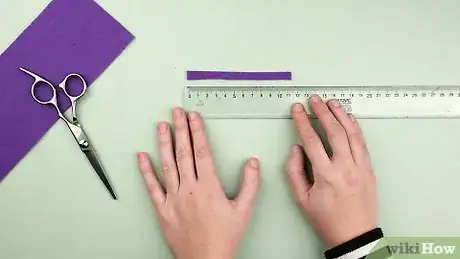
2Cut a 3 by ¼ inch (7.62 by 0.64 centimeters) strip of leather or suede.[7] This will make the loop so that you can hang your tassel later on. You can use the same color as your tassel, or a contrasting color.
- Make sure that the rectangle is oriented horizontally, with the long edge facing you.
-
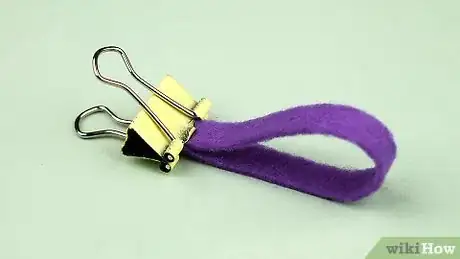
3Fold the small strip in half to make a loop, and secure the ends with glue. If you'd like to make a keychain, place a key ring inside the loop before you add the glue.
-
4Hold the ends together with a binger clip or a clothespin until the glue dries. Once the glue dries, you can remove the clip. If you don't have any clips, then place a heavy object, such as a book or jar, down on top of the folded loop.
-
5Draw a horizontal line across the rectangle, ¾ inch (1.91 centimeters) from the top/long edge.[8] This will be your guideline. You will be cutting the fringe up to this line. Make sure that you are drawing the line on the back of the leather/suede. This way, you won't see it when you are done.
- If your leather/suede is very dark, try a light-colored pen or a white colored pencil.
- Use a ruler to make your line as straight as possible.
-
6Draw vertical lines, spaced ¼ inch (0.64 centimeters) apart.[9] Make sure that they are going from the bottom of the rectangle up to the horizontal line. These will be the cutting lines for your fringe. The vertical lines should not go past the horizontal line.
- Remember to use a ruler so that the lines will be as even as possible.
-
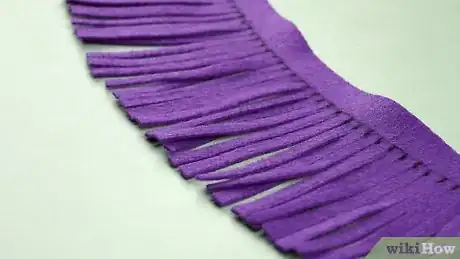
7Cut the vertical lines using a sharp pair of scissors or a craft blade. Do not cut past the horizontal line, or your tassel will be uneven.
-
8Glue the small loop to the left side of your fringe. The edge of the loop should be aligned with the narrow end of the rectangle. The bottom of the loop should be touching the horizontal guideline.
-
9Start rolling the fringe around the loop, from left to right. Apply some glue every inch or so to help the tassel hold together. Also, try to roll it as tightly as possible. This will keep your tassel from being too bulky.
-
10Secure the end of the rectangle with glue. Once you reach the end of the rectangle, draw a line of glue along the side, going from the horizontal guideline all the way up to the top. Do not get any glue on the fringe. Press the glued edge down firmly onto the tassel.
-
11Wrap a rubber band around the tassel to hold it together until it dries. You don't need to wrap anything around the fringe part, because there is no glue there. Once the glue dries, you can remove the rubber band.
-
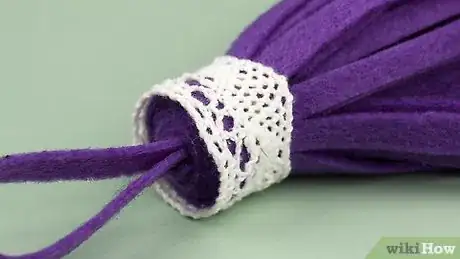
12Consider wrapping a piece of ribbon or colored thread around the top to hide the seam. Once you have pulled the rubber band off, your tassel is ready to go. If you want, however, you can wrap a piece of ribbon around the top part of the tassel to hide the side seam.
-
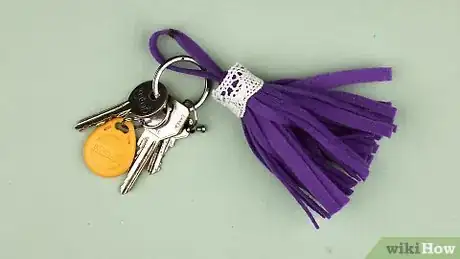
13Use your tassel. You can attach it to a key ring, or sew it onto a purse, handbag, or pair of boots.
Things You'll Need
Using Yarn or Embroidery Floss
- Yarn or embroidery floss
- Cardboard
- Scissors
Using Tissue Paper
- Tissue paper
- Scissors
- Ruler
- Pencil
- Tape
- 3 to 4 feet (0.91 and 1.22 meters) of string (optional, for garland)
Leather or Suede Tassels[11]
- Leather or suede
- Scissors or craft knife
- Pen
- Ruler
- Super glue
- Binder clip or clothespin
- Rubber band
- Key ring (optional)
References
- ↑ http://www.aliceandlois.com/10-minute-diy-tassel-necklace/
- ↑ http://www.aliceandlois.com/10-minute-diy-tassel-necklace/
- ↑ http://www.aliceandlois.com/10-minute-diy-tassel-necklace/
- ↑ http://www.aliceandlois.com/10-minute-diy-tassel-necklace/
- ↑ http://inspiredbycharm.com/2015/02/diy-tassel-garland.html
- ↑ http://lovelyindeed.com/diy-leather-tassel-keyring/
- ↑ http://lovelyindeed.com/diy-leather-tassel-keyring/
- ↑ http://lovelyindeed.com/diy-leather-tassel-keyring/
- ↑ http://lovelyindeed.com/diy-leather-tassel-keyring/
About This Article
To make standard length tassels with yarn, cut a 4-inch piece of rectangular cardboard. Next, tape a 5-inch piece of string across the top of the cardboard, wrap it around 24 times, and tie the ends in a tight knot when you reach the bottom. Then, cut the wrapped string along the bottom and take it off the cardboard. Finally, tie a 10-inch piece of string around the tassel 6-8 times, ½ inch from the top. Tie the ends of the string into a tight double-knot and trim the bottom to make the tassel even. For tips on making tassels with leather, read on!
