X
wikiHow is a “wiki,” similar to Wikipedia, which means that many of our articles are co-written by multiple authors. To create this article, volunteer authors worked to edit and improve it over time.
This article has been viewed 36,723 times.
Learn more...
This project is intended for parents and children to build together, and have fun doing it. It'll get the kids get away from technology and will allow you to spend some quality time with them. Your kids will enjoy tinkering on this hourglass creation, with your input and supervision, of course. This project is both a great way to spend time with the kids when you are feeling like building some memories and to recycle those light bulbs that no longer glow.
Part 1
Part 1 of 3:
Preparing the light bulb
-
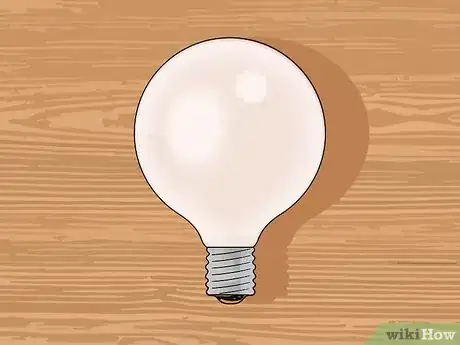
1Get started with a light bulb. Globe light bulbs work best for this project. Use a light bulb that is burned out, so as to save you money. Don’t use the soft white bulbs because they are a little too fragile to work with.
-
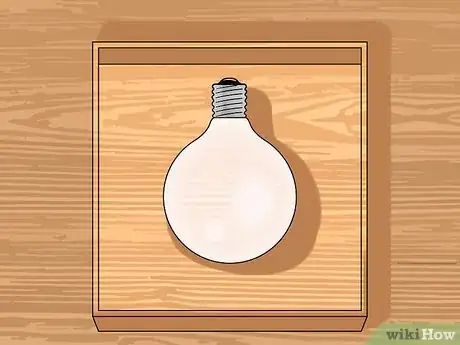
2Start by hollowing out the inside of the light bulb. Place a cardboard box under the light bulb, so that it catches any falling glass. Goggles are needed in this step because it involves breaking glass. This is the part that is done by adults only.
-
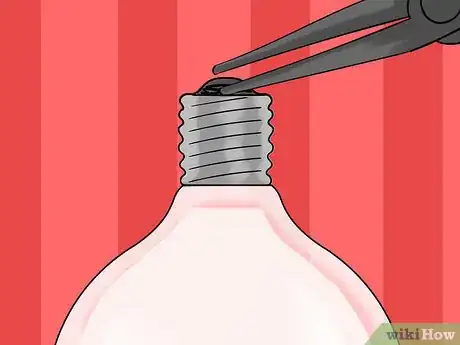
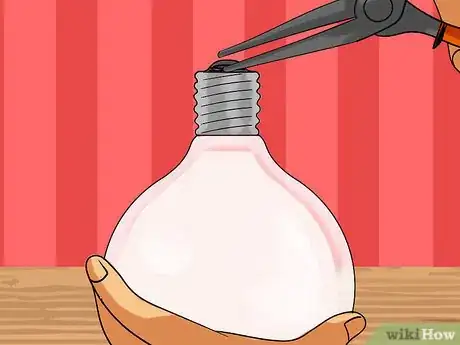
3Use needle-nose pliers to remove the metal tip from the bottom of the light bulb. Carefully push up the sides of metal tip away from the black glass part.
-
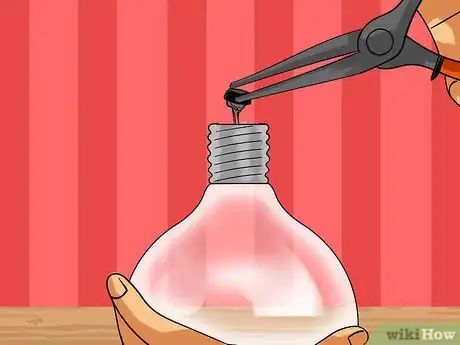
4Hold on really tightly on one side of the bulb. Yank out the metal piece. You will feel some little wires snap when this is done.
-
5Break away the black glass carefully and remove it. This is done by firmly holding one side of the glass with pliers and twisting it up to break the glass. Hold on the bulb firmly––the black glass is quite thick and it takes some force to break. Be very careful while doing this step.
-
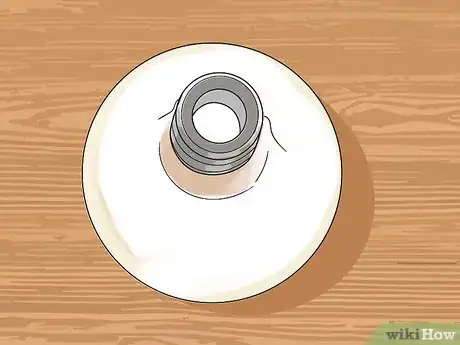
6Look at the bulb. You will be able to see the inside parts of the light bulb at this step.
-
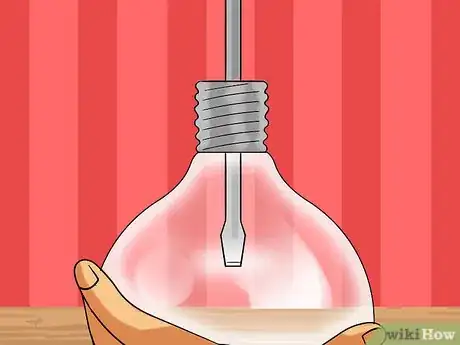
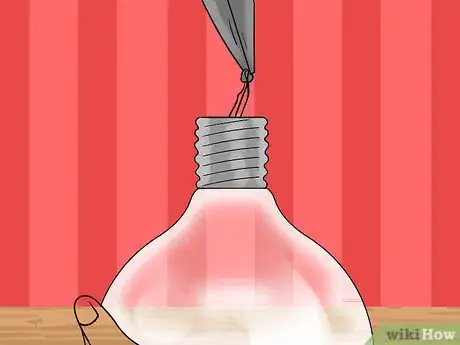
7Use a flathead screwdriver to carefully snap the interior tube, using the screwdriver as a lever from the bottom. It will make a little sound as the gas escapes. Smash the remaining glass containing the tube. It takes a little force to do this, so hold on the light bulb firmly. The light bulb will not break, provided that you keep the screwdriver away from the bulb itself.
-
8Pull out any remaining wires and glass tube with the pliers.
-
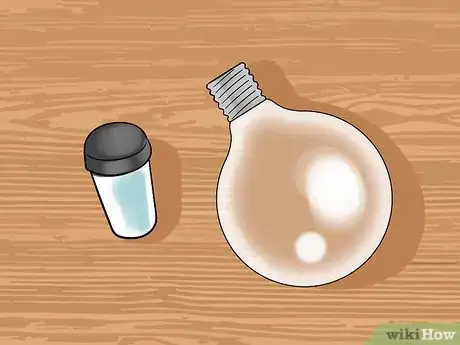
9Pour salt into the light bulb and shake it. This will remove all the white substance from the inside edge of the light bulb.
-
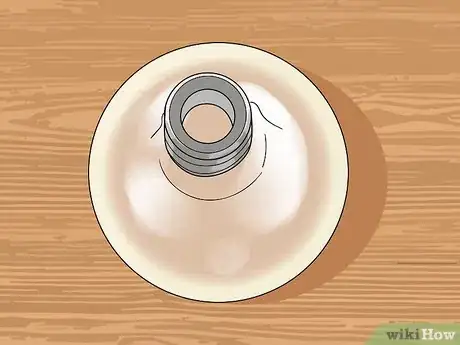
10Use a screwdriver to break off any remaining bits of glass around the interior edge. Now you have a hollow light bulb. That was the hardest part of this project.
Advertisement
Part 2
Part 2 of 3:
Making the hourglass
-
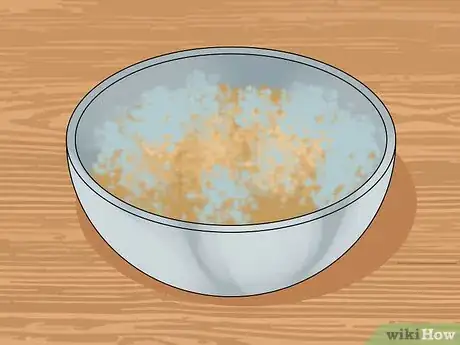
1Obtain sand. Make sure that you have enough sand to place in the cookie sheet. The sand can be bought either at a garden store or obtained free from a beach. If you are using beach sand, rinse it thoroughly to remove any non-sand materials.
-
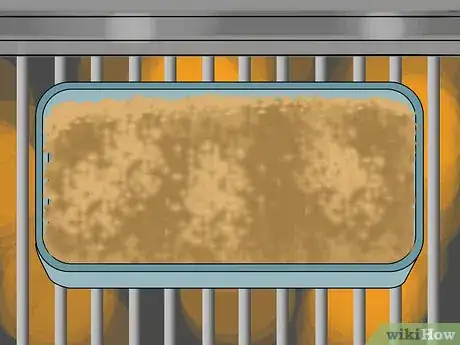
2Dry the sand and spread it out on a cookie sheet. Put it into the oven at 350ºF/180ºC. Be very careful when taking it out, because it will be very hot. Wear suitable oven mitts.
-
3Make sure that the sand is completely dry before continuing. Any condensation left in the hourglass it will cause the sand to stick to the light bulb.
-
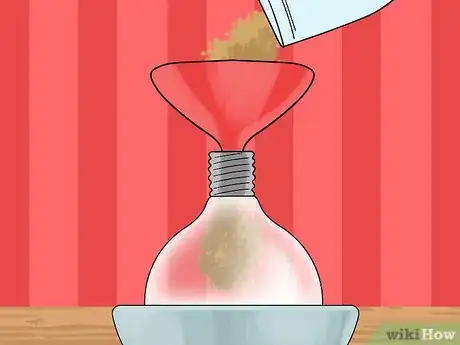
4Pour approximately one cup of completely dry sand about ¼ under the silver rim. Use a funnel or a folded piece of cardboard to make it easier to pour.
-
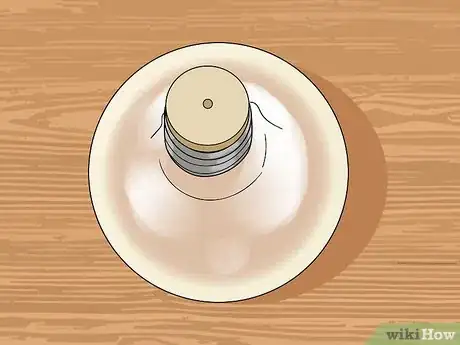
5Tighten up the plastic bottle caps on both light bulbs. This will hold the light bulbs tighter. Make sure that you place a hole in the center of both for the sand to flow through. The picture is similar, but it gives you an idea of what you have to do.
Advertisement
Part 3
Part 3 of 3:
Making the frame
-
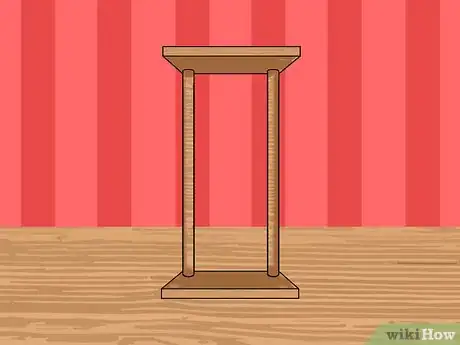
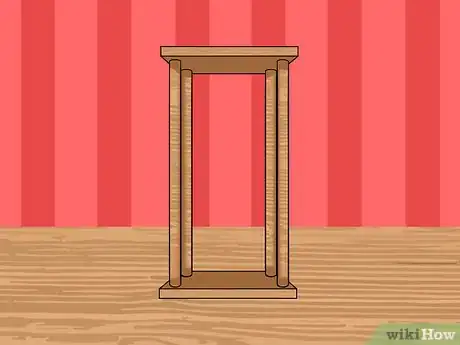
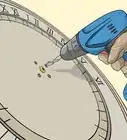
1Build the frame. This is the fun part because you can make it any way you want it to look. A simple hand saw can take care of the whole job. You will need measuring tape and a hammer for the nails. Also, you need four columns, a base, and a top for the frame.
-
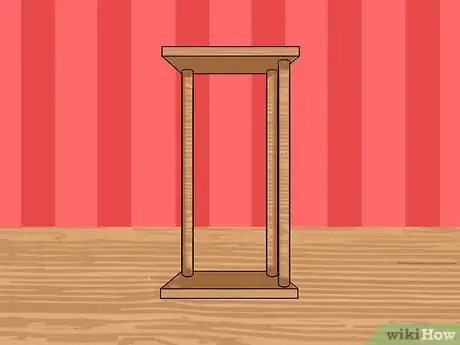
2Look at your work so far. You are almost done; you can see that there are three columns in place.
-
3Do a mock-up. This is the part in which you set up your materials in the way that you want it to ultimately look. Once everything looks good in the mock-up, glue the light bulbs and build the frame around the light bulbs.
-
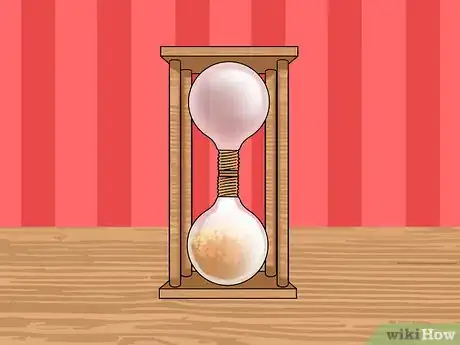
4Finish. You can now decorate your hourglass in any way that you want. The image in this step show an example of what a finished light bulb hourglass looks like.
Advertisement
Community Q&A
-
QuestionWhat glue should I use to glue the light bulbs to the frame?
 Community AnswerGorilla Glue, you can't go wrong with it. You can buy it at a local hardware store.
 -
QuestionCan I make the sand?
 Community AnswerIf you want to, then yes, feel free to make the sand! However, sand is naturally found in a variety of places, and it's easier to find already-made sand than to make it yourself.
 -
QuestionWhat kind of bottle caps fit bulbs?
 Community AnswerMost soda bottle caps will fit.
Advertisement
Warnings
- Never use cheap light bulbs. The glass is a lot thinner and will break when hollowing out the light bulb.⧼thumbs_response⧽
- Never hollow out a hydrogen energy-saving light bulb; they tend to have lead in them.⧼thumbs_response⧽
- Wearing gloves and goggles is highly recommended when extracting the bulb’s inner components. You should be wearing gloves and goggles when performing the delicate work on the light bulb. One a slip with the screwdriver could lead to a handful of glass shards. Glass shards can be very painful if they enter your eyes.⧼thumbs_response⧽
Advertisement
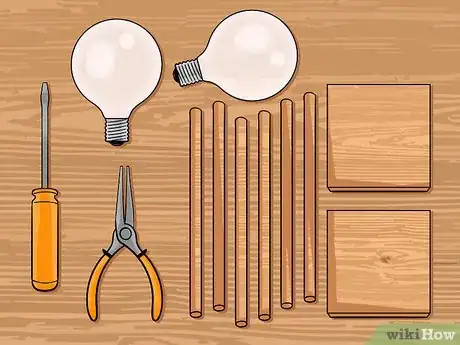
Things You'll Need
- Flathead screwdriver
- Scissors
- Needle-nose pliers
- Goggles
- 4x4 plywood for top and base
- 6-1/2 columns of wood
- Two light bulbs
- Sand
- Hammer
- Long tweezers
- Glue
- Nails
About This Article
Advertisement
