X
wikiHow is a “wiki,” similar to Wikipedia, which means that many of our articles are co-written by multiple authors. To create this article, 40 people, some anonymous, worked to edit and improve it over time.
This article has been viewed 360,065 times.
Learn more...
The Etch-A-Sketch is widely known as a children's toy, but did you know that it could be used for much more? Etch-A-Sketch is becoming increasingly popular as an art form. With just time and practice, you could draw almost anything on an Etch-a-Sketch.
Steps
-
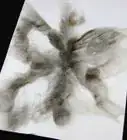
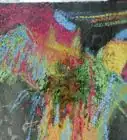
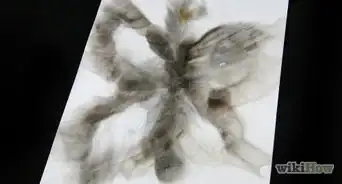
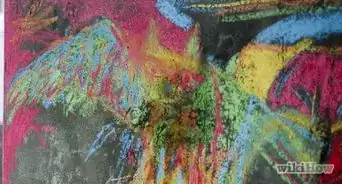
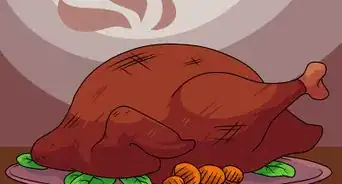
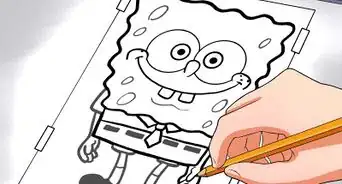
1First, don't be intimidated by any of the pictures in this article, none of them were actually created on an Etch-A-Sketch, and some would actually be impossible to create on one. We've just photoshopped some illustrations as a guide. Start with the classic red Etch-a-Sketch. There are many other models including miniatures, color variations, and upgraded ones, and all work exactly the same. The left knob controls the horizontal lines. Turning it clockwise will make the cursor move right, counter-clockwise will move the cursor left. The right knob controls the vertical lines. Clockwise: up, and Counter-clockwise: down. You should practice until you can control the direction with little thought.[1]
-
2Practice doing diagonal lines. This can be done by turning both knobs evenly at the same time. But ensure that they move together otherwise you will end up creating a circular shape, which you don't want. The combination of their directions will guide the cursor in a diagonal line. This will take diagonal lines all the way from one corner to the next in all directions. With practice it will get straighter.[2]Advertisement
-
3Make simple shapes. Start with triangles. Get to the point where you have control over the cursor. That is the trick: control. The hardest shape to make is the circle. You must carefully direct the cursor using all four diagonals in a circle motion. If you can make a fairly large perfect circle, you will have much more capabilities with your drawings.[3]
-
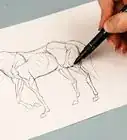
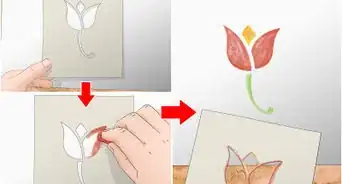
4Move on to organic shapes. Try to draw still life. Set out fruit and try to draw the shapes. try to draw plants or flowers. Find things with odd curves or shapes, and try to draw them on the Etch-A-Sketch.
-
5Become familiar with shading. You can do this by simply starting at the left, filling in the area you want by moving the cursor up and down while slightly moving it to the right until the area is shaded. You may read more about shading in sketching, then try to imitate some shading styles. What you do is up to you.[4]
-
6Move on to simple pictures. Buildings are a good start. You can easily draw the square structures, but then try to draw two dimensional buildings with façade details. Try a city-scape. Get pictures of buildings online, and try to make replicas of them. Draw a farm building. Draw bridges, or anything structural and simple.
-
7Find and replicate landscape pictures with backgrounds. Practice making depth. Draw trees, grass, animals. try to put together a picture with multiple things happening. Also try to start developing tricks to damage control; the ways you can cover up or lessen the impacts of mistakes. Sometimes, shading over or over-tracing can make some mistakes disappear, but also know that some attempts simply need a good shake.
-
8Draw faces and portraits. On the Etch-A-Sketch, you can not draw completely separate objects, so you must find ways to connect them, whether making subtle extensions or using the border to transport the cursor. The eyes and the nose are the hardest, but using the design of the hair and the eyes, you can easily work with what you have.
-
9Draw things completely free style, and make your own art. Be creative. This is a new medium to master, so there are no rules to break.


Advertisement
Community Q&A
-
QuestionHow do I make the lines more visible?
 Community AnswerGo over them a few times by moving the controls back and forth. That will help darken the line.
 -
QuestionHow do I make a circle?
 Community AnswerTurn the right knob slowly up and down while gradually moving the left knob side to side. It's tricky, but with practice, you will get used to it.
 -
QuestionWhen I draw a face, how do I draw the eyebrows not connected to the eyes?
 Community AnswerYou could connect it with hair by making it so that the hair is covering part of the eye and eyebrow.
Advertisement
Warnings
- Be careful when you drain the aluminium powder, as it can stain clothing, etc. It is, however, non-toxic.⧼thumbs_response⧽
- When taking a picture of a finished work, turn off the flash to avoid a glare. And make sure to use the "Macro" focus settings on your camera⧼thumbs_response⧽
- Make sure you store your finished work somewhere that is visible, but safe. It is very easy to lose a work just by having the wrong placement.⧼thumbs_response⧽
Advertisement

References
- ↑ https://www.youtube.com/watch?v=CWahzTC9nrI
- ↑ https://www.youtube.com/watch?v=QGQuYzxD1hU
- ↑ https://www.youtube.com/watch?v=QGQuYzxD1hU
- ↑ https://www.youtube.com/watch?v=_vWlzbo78iI
- Permission was granted by the owners of the Etch A sketch pictures. They could be found on Flickr along with many others Click on the pictures to be directed to the site. We thank them for allowing them to be used for this article.
About This Article
Advertisement