This article was co-authored by wikiHow Staff. Our trained team of editors and researchers validate articles for accuracy and comprehensiveness. wikiHow's Content Management Team carefully monitors the work from our editorial staff to ensure that each article is backed by trusted research and meets our high quality standards.
There are 7 references cited in this article, which can be found at the bottom of the page.
This article has been viewed 30,852 times.
Learn more...
The term “bolt pattern” refers to the number of bolt holes and the diameter of the circle that they form on your wheels. When you need to update or replace the wheels on your vehicle or trailer, having an accurate bolt pattern measurement is key to finding wheels that fit correctly. Luckily, it’s actually really easy to measure a bolt pattern. First, count the number of bolts on the wheel well, then measure the diameter of a circle that runs through the center of each bolt. Put those two numbers together, and bam! You’ve got an accurate measurement of your bolt pattern.
Steps
Counting the Bolts
-
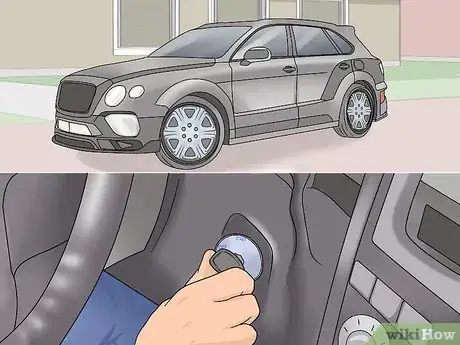
1Park the vehicle and turn off the engine. You don’t want your vehicle or trailer to move while you’re measuring the bolt pattern! Park it in a flat area and engage the emergency brake so it’s stable and won’t move.[1]
- If you’re measuring the bolt pattern for a vehicle that doesn’t have wheels, like a parts car in a junkyard or a repair shop, make sure it’s either stable on the ground or secure on a jack stand.
- Make sure your trailer is secure before you measure its bolt pattern.
-
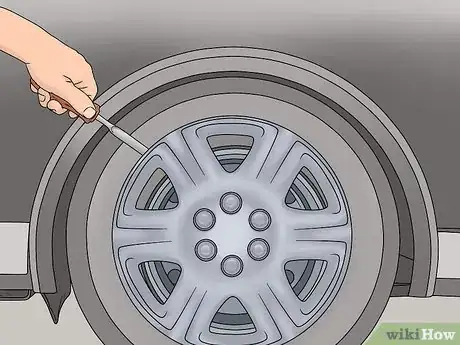
2Use a screwdriver to remove the hubcap from 1 of the tires. The wheels on your vehicle may have a cap over the hub that covers and protects the lug nuts. Take a flat-head screwdriver and wedge it in between the outer edge of the hubcap and the rim. Apply gentle pressure to pry off the hubcap.[2]
- You only need to remove the hubcap from 1 tire, because all of the wheel hubs on your vehicle will be the same.
- You may be able to see the lug nuts without removing the hubcap. If that’s the case, then don’t worry about removing the hubcap.
Tip: If you have a plastic hubcap that covers the entire face of the wheel, remove the whole thing. Use your screwdriver to pry the hubcap off where it connects to the rim.
Advertisement -
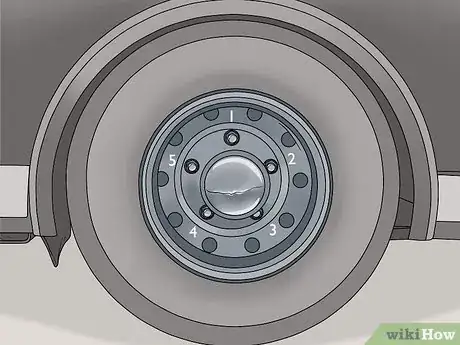
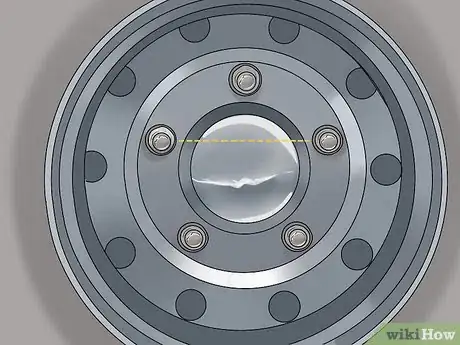
3Count all of the bolts in the pattern. In the center of the wheel, you’ll see a circle of large, rounded nuts covering heavy-duty bolts. These are the lug nuts and they keep the wheel attached to your vehicle. Count the total number of bolts with lug nuts that you see.[3]
- Most vehicles will have either 4, 5, 6, or 8 lug nuts.
-
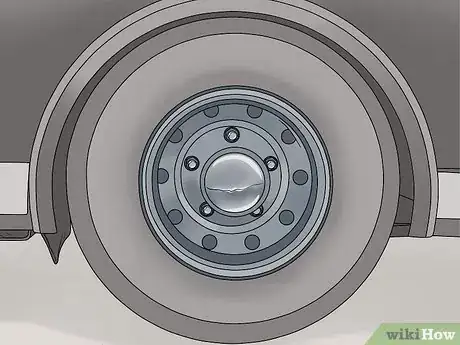
4Keep the lug nuts exposed so you can measure them. After you’ve removed the hubcap from 1 tire and counted the number of lug nuts, keep the hubcap off of the tire for now. You don’t want to have to remove it again when you go to measure the bolt pattern.[4]
- You only need to leave the lug nuts of 1 tire exposed.
Finding the Bolt Circle Diameter
-
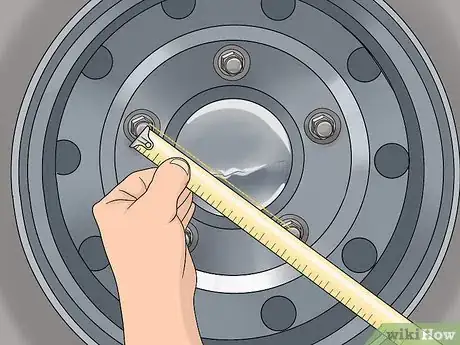
1Measure the distance between 2 parallel lug nuts for wheels with an even number of bolts. If your wheel has an even number of bolts, then take a tape measure and measure from the center of 1 lug nut to the center of the lug nut directly across from it.[5]
- Regardless of how many lug nuts your wheel has, if it’s an even number, you can measure the diameter this way.
- For example, you could have a measurement of 205 millimetres (8.1 in) from the center of 1 lug nut to another.
-
2Find the distance from the top of 1 lug nut to the center of another for wheels with odd-numbered bolts. If your wheel has 5 bolts, or another odd number of bolts, measure from the very top of 1 lug nut to the center of the bolt that is directly across from it in order to find the diameter.[6]
- A common measurement for a 5 bolt pattern is 120 millimetres (4.7 in) from the top of 1 lug to the center of another.
Tip: If you’re measuring a 5 bolt pattern, make sure that you skip the adjacent bolt and measure the bolt directly across the center of the wheel.
-
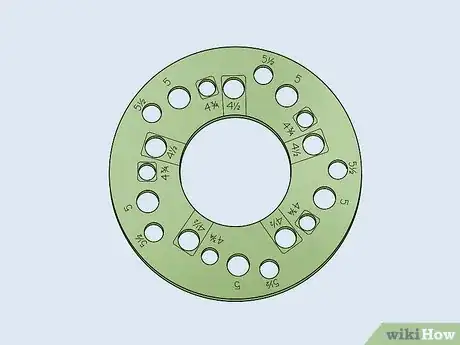
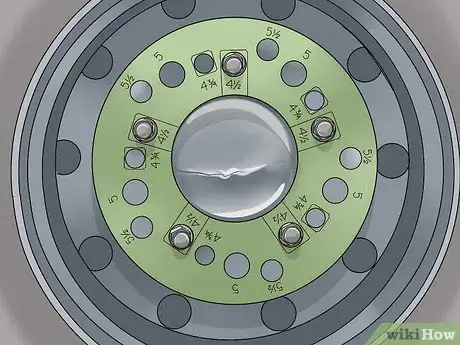
3Use a bolt circle template for a convenient alternative. If you want to have the most accurate measurement, use a bolt circle template. They’re inexpensive and easy to use. Slide the template over the studs and read the size markings on it.[7]
- Use a tire iron to remove the lug nuts to expose the bolts before you use the bolt circle template. You don’t need to jack up the vehicle or trailer because you’re not removing the tire to take your measurement.
- You can find bolt circle templates at auto supply stores or online.
-
4Combine the number of bolts and the diameter to get a measurement. Take the 2 numbers and separate them with an “x” to create the measurement that you can use to get the right wheels for your vehicle or trailer. Provide the diameter in either inches or millimeters, depending on where you purchase your wheels.[8]
- An example bolt pattern size could look like: 4 x 130 millimetres (5.1 in). That means the vehicle has 4 bolt holes and a diameter of 130 millimetres (5.1 in).
Things You’ll Need
- Flat-head screwdriver
- Tape measure
- Bolt circle template (optional)
References
- ↑ https://www.popularmechanics.com/cars/how-to/a5855/how-to-change-a-flat-tire/
- ↑ https://youtu.be/zjmDF686Nk8?t=77
- ↑ https://youtu.be/RzT9XAcz3RA?t=63
- ↑ https://youtu.be/RzT9XAcz3RA?t=104
- ↑ https://youtu.be/RzT9XAcz3RA?t=104
- ↑ https://youtu.be/RzT9XAcz3RA?t=117
- ↑ https://youtu.be/RzT9XAcz3RA?t=137
- ↑ https://youtu.be/RzT9XAcz3RA?t=62
