X
wikiHow is a “wiki,” similar to Wikipedia, which means that many of our articles are co-written by multiple authors. To create this article, 16 people, some anonymous, worked to edit and improve it over time.
This article has been viewed 183,110 times.
Learn more...
Even if you are not planning to mount your binding yourself, it is a helpful skill when you are on your ride and your binding loosens up. If you fail to tighten it, you will not be able to transfer your energy to the board efficiently, and your turns will suffer.
Steps
-
1Check for boot-binding compatibility. If you mix Burton bindings (3x3 holes), with a non-Burton snowboard (4x4 holes) you may need a special plate that comes in the box with Burton bindings. Burton uses a 3-hole pattern, while other brands use a 4 hole pattern. The plate will make sure your gear will mount correctly.
-
2Measure your stance width. Typically, you will want to have your feet shoulder width apart. For the average male, this is around 1/3 of your height or 20 inches (51 cm).Advertisement
-
3Choose your stance style: Stances includes the duck, alpine, or forward stance. This wikiHow assumes you are using a standard, regular stance.
-
4Place the bindings on the board. Locate them your measured stance width apart. While most people will want the bindings centered, you may modify this as you see fit.
- On a powder day, you may want to move your bindings back towards your rear foot so that your nose tilts slightly up allowing you to float above the powder without needing to lean back.
-
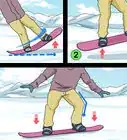
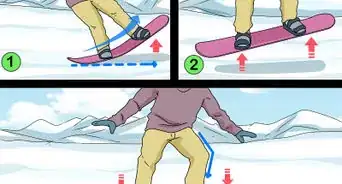
5Set the front binding in the direction you are riding at an angle. For example, if you are riding regular (i.e. right foot in back), you can set the front (left foot) binding facing forward to an angle usually 15-20 degrees. The rear (right foot) binding is usually set to 0 degrees.
-
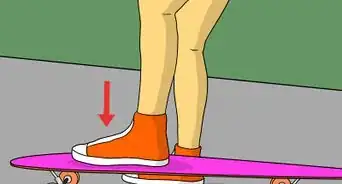
6Screw the bindings in hard. Tighten the screws. Return to tighten all the screws again. Loose screws will give you a hard time or even cause an accident.
-
7Set your forward lean on the highback. In order to do so, you have to play with the tab at the base of your binding. While there is no rule how to set this, forward leans of 10-15 degrees are common. Use trial and error to find an angle comfortable for your knee and that still lets let you bend enough to keep your balance.
-
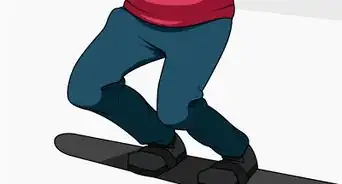
8Strap your boots in. Check your straps for safety. Tighten your straps to ensure that your boots don't move. The goal is to tighten the straps as much as possible without constricting your blood or hurting your feet. You are now ready to ride.
Advertisement
Warnings
- Never ride with improperly mounted bindings.⧼thumbs_response⧽
Advertisement
Things You'll Need
- Snowboard
- Binding
- Flathead screwdriver
- Philips head screwdriver
-Step-9.webp)

About This Article
Advertisement