wikiHow is a “wiki,” similar to Wikipedia, which means that many of our articles are co-written by multiple authors. To create this article, 9 people, some anonymous, worked to edit and improve it over time.
This article has been viewed 108,381 times.
Learn more...
Microsoft Publisher treats each object in your publication as a table, a text box, an AutoShape, a picture or piece of clip art as an independent layer. You can place these layers on top of each other for visual effect, and you can change the order (z-order) in which these layers are stacked on top of one another. The methods for how to order layers in Microsoft Publisher are similar across the versions, but the positioning of the commands differs in Microsoft Publisher 2010 from earlier versions such as Publisher 2003 and 2007 due to its use of the ribbon interface now used in other Microsoft Office products. Here are the steps for the 3 most recent versions.
Steps
Ordering Layers in Microsoft Publisher 2003, 2007 and 2010
-
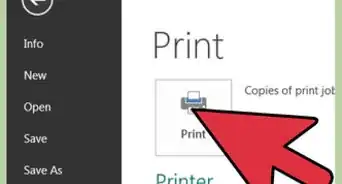
1Click on the object you want to move up or down in the stack. The selected object will be surrounded with a set of sizing handles.
- If you don't see the object you want to select immediately, click on any visible object and press either the TAB key or SHIFT and TAB together repeatedly until the object you want to reposition is selected.
- You can select more than 1 object to reposition by holding down the CTRL key and selecting each object you want to reposition. Release the CTRL key after you've selected the last object.
-
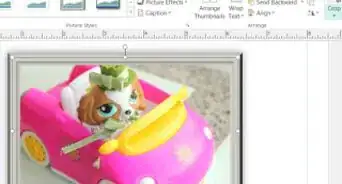
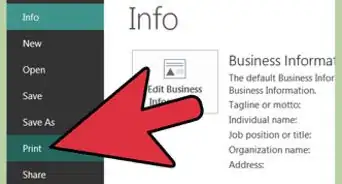
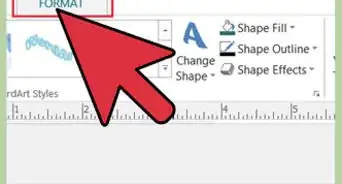
2Select "Order" from the "Arrange" menu/ribbon. The 4 layer positioning options are grouped here. Choose the option that moves the object where you want to move it in the stack of layers.
- Click "Bring to Front" to bring the selected object to the front of the stack. If the objects are positioned so they overlap, this will place it on top of all the other objects.
- Click "Bring Forward" to bring the selected object in front of the object it was immediately behind (or beneath if the objects overlapped).
- Click "Send Backward" to move the selected object behind the object it was immediately in front of (or on top of if the objects overlapped).
- Click "Send to Back" to place the selected object at the back of the stack. If the objects are positioned so they overlap, this will place it under all the other objects.


Community Q&A
-
QuestionThe picture has been deleted, but still comes out when new item is printed. How do I get rid of it?
 Community AnswerIf you see the little printer icon in the bottom right corner of your task bar, click on that and then cancel all print commands to clear the printing cache. If this is still not effective, make sure your document is saved or make a copy and print the copy.


References
- Rodney Ruff, Omaha, NE; Microsoft Publisher user, with Publisher 2007 on laptop computer and Publisher 2010 on desktop computer