wikiHow is a “wiki,” similar to Wikipedia, which means that many of our articles are co-written by multiple authors. To create this article, volunteer authors worked to edit and improve it over time.
This article has been viewed 113,713 times.
Learn more...
Microsoft Publisher lets you incorporate photographs and drawings into your booklets, brochures, certificates, cards, and other desktop publishing. Although not a graphic editing program on the order of Photoshop or Paint Shop Pro, Publisher does let you crop your graphic images so that only the part of the picture or drawing you want to show is visible. Older versions of Microsoft Publisher that feature a toolbar interface let you crop rectangular images, while Publisher 2010, the first version of Publisher to feature the ribbon interface, lets you crop images in one of several shapes. The following instructions tell you how to crop graphics in your version of Microsoft Publisher.
Steps
Cropping Rectangular Images in Publisher 2003 and 2007
-
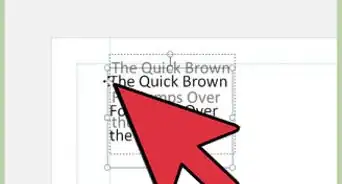
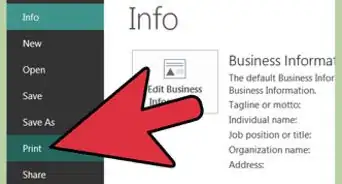
1Click the picture you wish to crop. Your picture is surrounded by a set of white dot-shaped sizing handles. The floating Picture toolbar appears above the picture.
-
2Click the "Crop" button on the "Picture" toolbar. The "Crop" button displays a pair of overlapping right angles. After clicking it, the dot-shaped sizing handles change to a set of black dashes, which are the cropping handles.Advertisement
-
3Move your cursor over a cropping handle. Your cursor will change from a 4-headed arrow to the shape of the cropping handle it is over.
-
4Drag the cropping handle to crop the picture. Which handle you drag depends on how you wish to crop the picture.
- To crop a single side, drag the center cropping handle on the side you wish to crop toward the center of the picture.
- To crop adjacent sides, drag the corner cropping handle touching the sides you wish to crop toward the center of the picture.
- To crop opposite sides evenly at the same time, drag the center handle on either of the opposite sides while holding down the CTRL key.
- To crop all 4 sides of the picture at once, drag any of the corner handles toward the center while holding down both the CTRL and SHIFT keys.
-
5Click the "Crop" button again to turn off cropping once your picture has been cropped to the size you want. The cropping handles will change back to sizing handle dots.


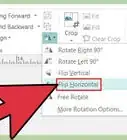
Cropping Non-Rectangular Images in Publisher 2003 and 2007
-
1Insert a picture image into a Publisher shape. This shape will serve as a frame/border for cropping the picture.
-
2Crop the picture to the edge of the shape using a photo editing program. Possible programs to use for the cropping include Microsoft Digital Image Pro, Digital Editing, Photoshop, or Paint Shop Pro. The version of the program you use needs to support cropping images in the shape you used to create the frame for the picture.


Cropping Images in Publisher 2010
-
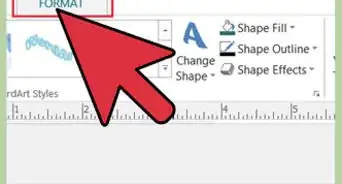
1Click the picture you wish to crop. Your picture is surrounded by a set of white dot-shaped sizing handles. The "Picture Tools Format" ribbon appears over the work area.
-
2Select the frame for your picture from the "Picture Styles" menu in the "Picture Styles" group. There are 6 available border styles for each of 4 frame shapes: rectangle, oval, rounded rectangle, and wave-bottomed rectangle. Click the frame style you want to display your picture in.
- You can edit the appearance of the frame by clicking the down arrow button to display the "Format Shape" dialog box. Select the options you want and click "OK" to apply them and close the dialog box.
-
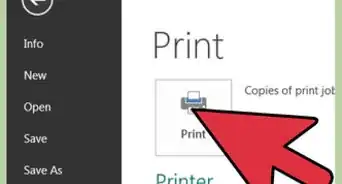
3Click the "Crop" button in the "Crop" group. The sizing handle dots change to dashed blank lines, which are the cropping handles.
-
4Move your cursor over a cropping handle. Your cursor will change from a 4-headed arrow to the shape of the cropping handle it is over.
-
5Drag the cropping handle to crop the picture. Which handle you drag depends on how you wish to crop the picture.
- To crop a single side, drag the center cropping handle on the side you wish to crop toward the center of the picture.
- To crop adjacent sides, drag the corner cropping handle touching the sides you wish to crop toward the center of the picture.
- To crop opposite sides evenly at the same time, drag the center handle on either of the opposite sides while holding down the CTRL key.
- To crop all 4 sides of the picture at once, drag any of the corner handles toward the center while holding down both the CTRL and SHIFT keys.
-
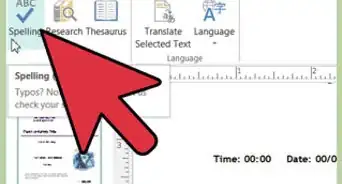
6Choose how you want to crop the picture. Click 1 of the 3 small buttons to the right of the larger "Crop" button in the "Crop" group to determine how your picture will be cropped.
- Click the "Fit" button at the upper right to make the entire picture display in the cropping area while retaining the proportion of the picture's height to its width. This essentially resizes the picture.
- Click the "Fill" button at right center to make the picture fill the entire area bounded by the cropping handles while retaining the proportion of its height to its width. Areas of the picture that fall outside this area will be cropped.
- Click the "Clear Crop" button at the lower right to cancel the effects of the other 2 buttons. Any cropping you gave the picture with the "Fill" button will be removed, and any space around the picture created as a result of using the "Fit" button will also be removed. The picture will be restored to its original appearance, but not necessarily to its original size.
-
7Click the "Crop" button again to turn off cropping. The cropping handles will revert to sizing handles.
- You can also turn off cropping by clicking somewhere in the work area other than the picture. The cropping handles will disappear altogether, as will the "Picture Tools Format" ribbon.


Community Q&A
-
QuestionI have rotated an image by 1 degree and now I want to square it up. I figured I could crop to a square or rectangle, but it keeps the same 1 degree tilt. How do I accomplish this?
 Community AnswerMove it back to its original, then start again by going into the settings for the photo, pressing ORIGINAL PHOTO, then pressing ALLOW.
 -
QuestionHow can I crop an oval shaped logo out for future logos?Community AnswerBasically, get a solid square or rectangular shape and place it behind your image. Next, all you have to do is crop it as you normally would and place the new logos in the outcropped area.
Warnings
- Dingbat characters, such as the images in the Wingdings font, are treated as text characters within Microsoft Publisher. You cannot use Publisher's graphics cropping features on them. You also cannot crop AutoShapes, WordArt objects, or animated GIFs.⧼thumbs_response⧽
Things You'll Need
- Graphic editing program (for cropping non-rectangular graphic images to use with Publisher 2003 and 2007)


References
- Rodney Ruff, Omaha, NE; Microsoft Publisher user, currently using Publisher 2007 and 2010