This article was co-authored by Lauren Kurtz. Lauren Kurtz is a Naturalist and Horticultural Specialist. Lauren has worked for Aurora, Colorado managing the Water-Wise Garden at Aurora Municipal Center for the Water Conservation Department. She earned a BA in Environmental and Sustainability Studies from Western Michigan University in 2014.
wikiHow marks an article as reader-approved once it receives enough positive feedback. In this case, 97% of readers who voted found the article helpful, earning it our reader-approved status.
This article has been viewed 21,355 times.
Zoysia is a hardy grass that requires less water than other grasses. It expands sideways instead of growing taller, creating a thick, soft carpet to cover your lawn.[1] By knowing how to prepare, plant plugs, and care for your zoysia, you, too, can have a healthy and lush zoysia lawn.
Steps
Preparing to Plant Your Zoysia Plugs
-
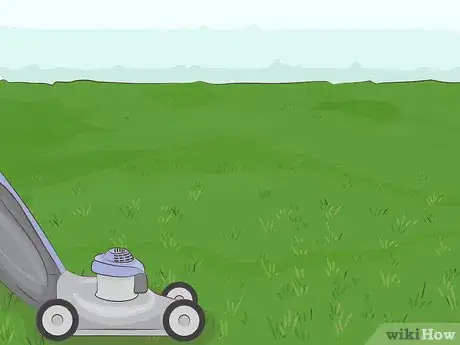
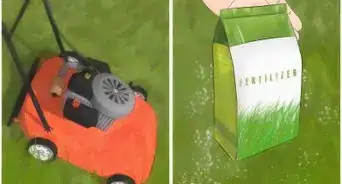
1Mow your lawn as low as possible. If you are planting your zoysia plugs in an area that already contains lawn, you’ll want to mow the existing lawn as low as possible before beginning to plant. Use the lowest blade height setting on your lawn mower.[2]
- Most mowers can cut lawn down to 1 inch (2.5 cm). The lower the better!
-
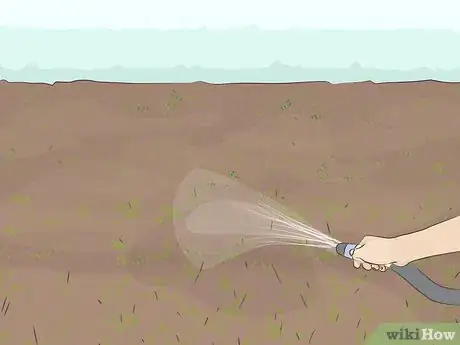
2Moisten the ground. If the ground where you’re planting is dry, water it with a garden hose to make the planting and digging process easier.[3]
- It is difficult for plants to thrive in hard, dry ground.
Advertisement -
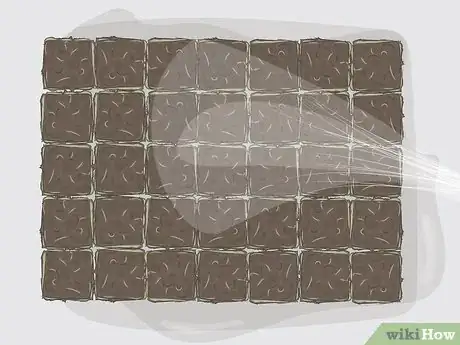
3Water the sod sheet. Your zoysia plugs will come in a sheet of sod consisting of small plugs that you will cut apart. In the meantime, water the sod sheet and make sure the roots of the plugs are moist.[4]
- This will keep the zoysia healthy while you finish preparing to plant. It will also make it easier to cut the plugs apart.
-
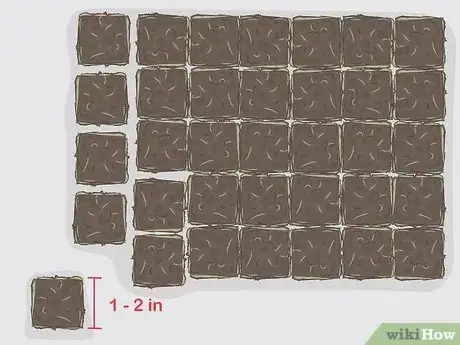
4Cut the sod sheet into 1–2 in (2.5–5.1 cm) plugs. Using sharp shears, cut the zoysia sod sheet into 1–2 in (2.5–5.1 cm) plugs. Cutting larger plugs will speed up the planting process because there will be fewer plugs to plant. Smaller plugs will result in a thicker lawn because you can plant them closer together.[5]
Planting the Plugs
-
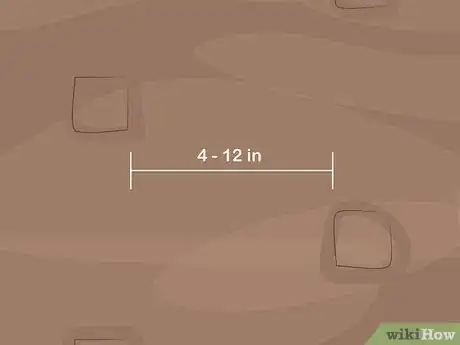
1Space your holes 4–12 inches (10–30 cm) apart. Choosing how far apart you want your holes depends on how thick you want your grass. Planting your plugs closely together will also help your lawn fill in faster. Plant your plugs 4–6 inches (10–15 cm) apart for a thick lawn or 7–12 inches (18–30 cm) apart for a sparser covering.[6]
-
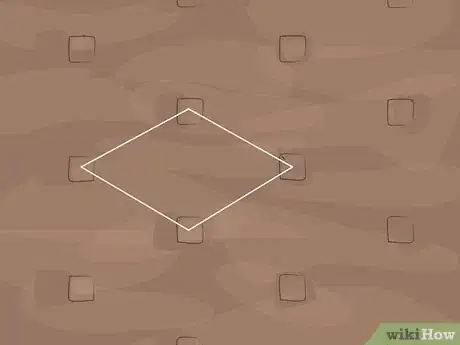
2Plant in a diamond pattern. When planting in rows, stagger your planting to create a diamond pattern. The second row of plugs should be offset from the first instead of directly in line. The second row's plants will be spaced in the gap of the first row's plants, creating a diamond shape once three rows are planted in this manner.
- This planting pattern makes all plugs the same distance from each other.
- This will give each plug more space to establish its roots and grow.
-
3Dig holes for your plugs. Using an auger, step-on plugger, or garden trowel, dig holes for your zoysia plugs. Dig each hole 1 inch (2.5 cm) wider and deeper than your plug so there is space to back-fill it with loose soil.[7]
- A step-on plugger is a specialized plug-planting tool. When you step on the tool, it cuts a plug-sized chunk of soil out of the ground.[8]
-
4Water each hole and partly refill it with loose dirt. Using a garden hose, fill each hole halfway, or about 1 inch (2.5 cm) deep, with water. This will help give your zoysia plugs the moisture they need to establish roots. Also add 1 inch (2.5 cm) of loose soil to the hole so the plug has a soft bed to sit on.[9]
-
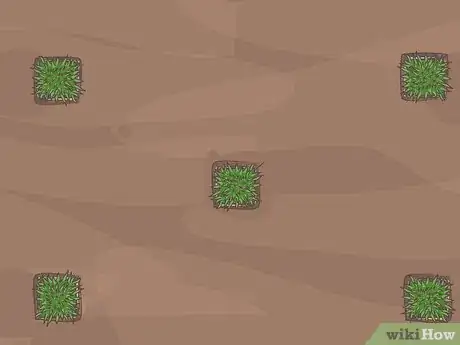
5Plant the plugs root-deep. Plant each plug in its hole and bury it with loose soil just to its roots. The rest of the plug will sit atop the soil. Do not cover the entire plug with dirt, or it will not grow properly.[10]
-
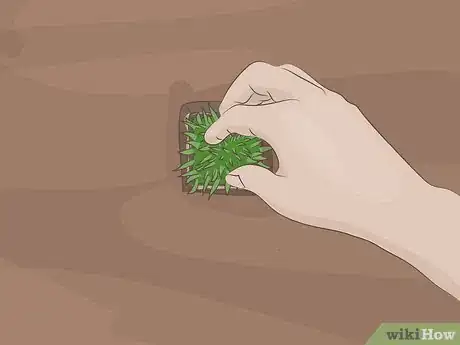
6Press down firmly on each plug. Press down firmly on each plug with your hands or feet to decrease any remaining space between the soil and the roots of the plug.[11]
- You want to create contact between the soil and roots so the plugs can establish themselves.
Caring for Your Plugs
-
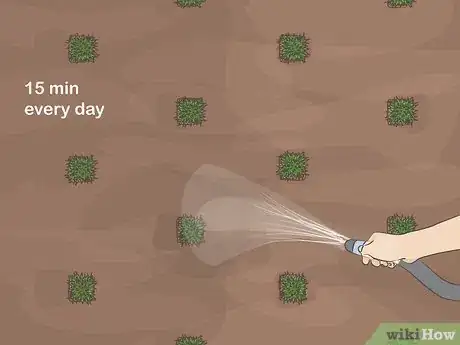
1Water the plugs every day for 15 minutes for the first 3 weeks. For the first 3 weeks after planting, water the plugs for 15 minutes daily using a gentle stream of water.[12]
- Using a gentle stream of water protects the plants from damage that could be caused by a harder spray.
- It's best to water your lawn in several short intervals, rather than all at once. This gives the water time to soak into the ground instead of running off. Repeat until the ground is saturated.
-
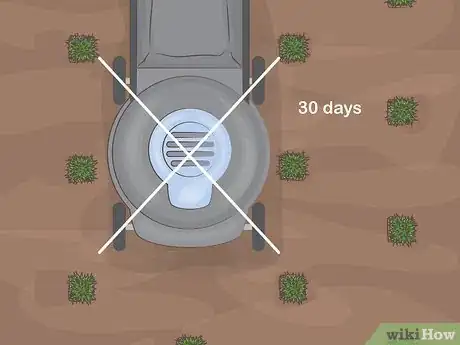
2Don’t mow for at least 30 days after planting your zoysia plugs. Avoid mowing your lawn for at least 30 days after planting zoysia plugs. This will give them time to establish roots and ensure that they survive and thrive.[13]
-
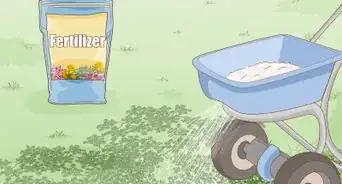
3Add a turf fertilizer 1-2 weeks after planting your plugs. This will provide the nutrients needed to help your grass thrive. Choose a turf fertilizer or a balanced 10-10-10 mix. You can find 1 at your local gardening store or online.
- Fertilize your lawn every 4-6 weeks throughout the first growing season after you plant your zoysia.[14]
- Make sure that you read the label on the fertilizer and follow all of the instructions.
-
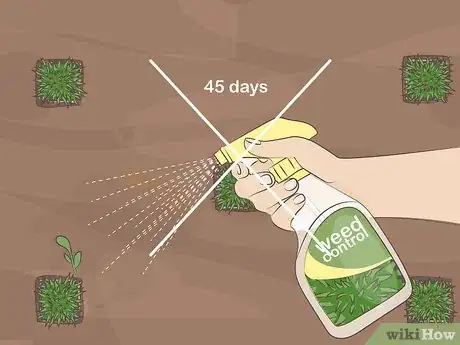
4Avoid using chemical weed control for 45 days after planting. Be sure to not spray any chemical weed control on the zoysia plugs for at least 45 days after you plant them. Chemicals could harm the young plants, causing them to die or stunt their growth.[15]
Things You’ll Need
- Zoysia plugs
- Garden shears
- Lawn mower
- Garden hose
- Trowel, auger, or step-on plugger
References
- ↑ https://njaes.rutgers.edu/fs521/
- ↑ https://extension2.missouri.edu/g6706
- ↑ https://extension2.missouri.edu/g6706
- ↑ https://njaes.rutgers.edu/fs521/
- ↑ https://extension2.missouri.edu/g6706
- ↑ https://njaes.rutgers.edu/fs521/
- ↑ https://extension2.missouri.edu/g6706
- ↑ https://extension2.missouri.edu/g6706
- ↑ https://extension2.missouri.edu/g6706
