X
wikiHow is a “wiki,” similar to Wikipedia, which means that many of our articles are co-written by multiple authors. To create this article, volunteer authors worked to edit and improve it over time.
This article has been viewed 48,974 times.
Learn more...
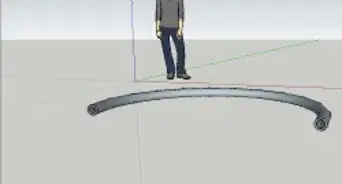
When you 'paint' a texture in SketchUp, what it does is tile the texture repeatedly. However, when this happens with a curved surface, the result can really look odd. This article will show you how to overcome this problem.
Steps
-
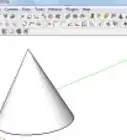
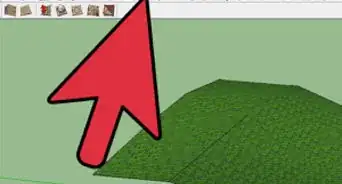
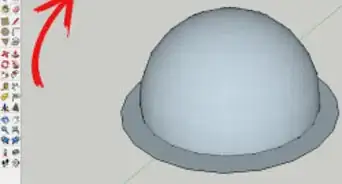
1Open up the project in SketchUp that you want to project the texture on. The image here is a lathe design created in SketchUp and it's what will be used to demonstrate the solution.
-
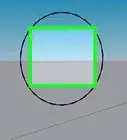
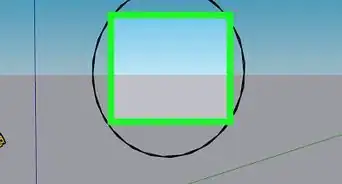
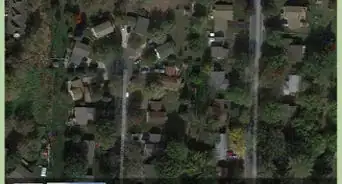
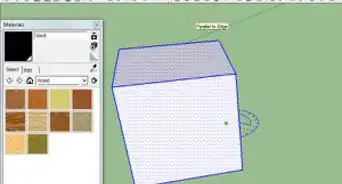
2Create a rectangle next to your project. Make sure that it is in the position that a projector (it there was one there) could project through it.Advertisement
-
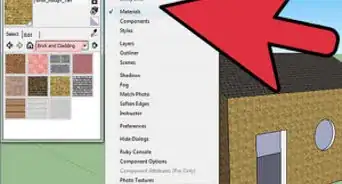
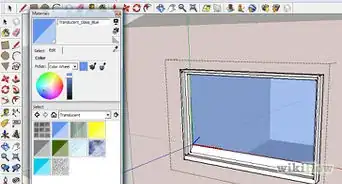
3Paint the rectangle the color/type of wood that you want your project to be in.
-
4Right click on the rectangle. Go to Texture >> Edit Texture Image.
-
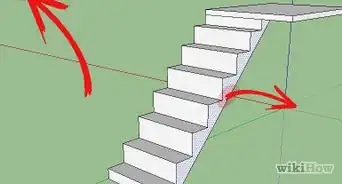
5Move the rectangle around. Note the four pins. They will help you match it more closely to the rectangle so that it has the correct angle, perspective and appearance that you're seeking.
-
6Right click again on the texture. Select Texture >> Projected.
-
7Select the entire project that you want it to be projected on.
-
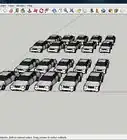
8Click on the eyedropper in the Materials dialog box. Click on the texture that you will be using.
-
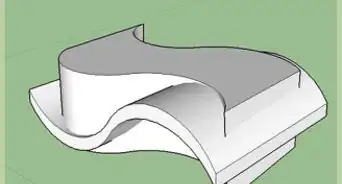
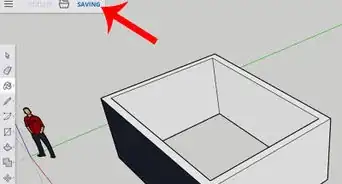
9now.]]Go to your project and paint/project the texture. Note the difference between the first step and the final result.


Advertisement
Things You'll Need
- SketchUp


About This Article
Advertisement