This article was co-authored by Jon Rowland and by wikiHow staff writer, Janice Tieperman. Jon Rowland is a Plant Specialist and the Founder of the Green House Center blog. With over eight years of plant and garden experience, he specializes in greenhouse care, lawn and garden maintenance, and home appliance recommendations. Jon aims to share his knowledge so that others can live a more convenient, efficient, and environmentally friendly lifestyle.
There are 12 references cited in this article, which can be found at the bottom of the page.
This article has been viewed 25,049 times.
Air plants, also known as Tillandsia, are unique, low maintenance plants that don’t need to develop a root system in order to grow. If you already have an air plant on hand, you can wait for it to sprout pups or offsets. You can also collect, soak, and germinate seeds to produce new plants. Whether you’re a seasoned or amateur garden, air plants can be a great addition to your home.
Steps
Using an Offset or Pup
-
1Watch for your air plant to develop offsets or pups. As air plants mature, they develop offsets, otherwise known as pups. Examine the bottom of your plants to see if any new offsets are growing from the main plant.[1] Air plants are part of the bromeliad family, which take a notoriously long time to grow. If you’re caring for a young plant, be prepared to wait several years before seeing any offsets or pups.[2]
- Some plants may have multiple pups or offsets growing from the mother plant, which is normal.[3]
- If you don't already have a mature air plant, buy one from your local gardening center or nursery.
-
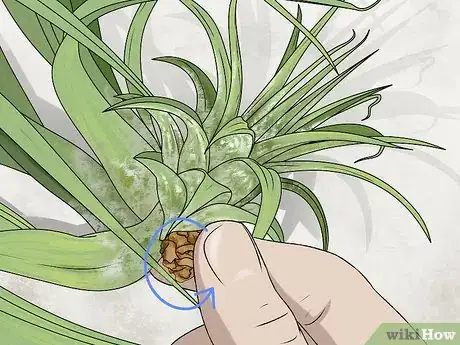
2Twist off the pup to separate it from the base plant. Wait for the offset to be a third of the size of the actual air plant. Pinch this growth with your fingers, then slowly twist it counter-clockwise. Continue rotating the plant slowly until you’ve completely pulled it off the main air plant.[4]
- Don’t remove the pup too quickly, or you could damage the plant.
Advertisement -
3
-
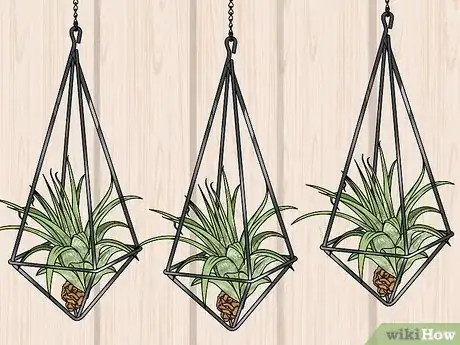
4Move the air plant to a new place to use as a decoration. Once the plants have grown to your desired size, place them somewhere around your home as an accent. Use fishing line, liquid nails, or hot glue to display the plant, or use another method of your choice![6]
Germinating the Seeds
-
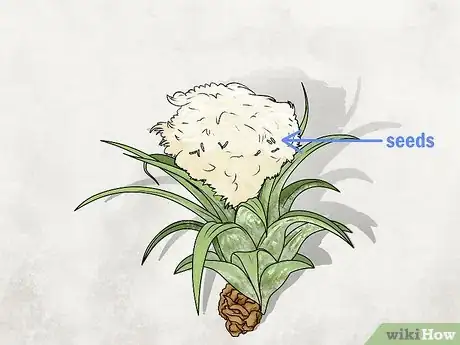
1Collect seeds from an existing air plant. Examine the surface of an air plant that’s currently blooming, and look for wisps of cotton along the tips of the plant. Remove these wisps and set them aside in a small bowl or container.[7]
-
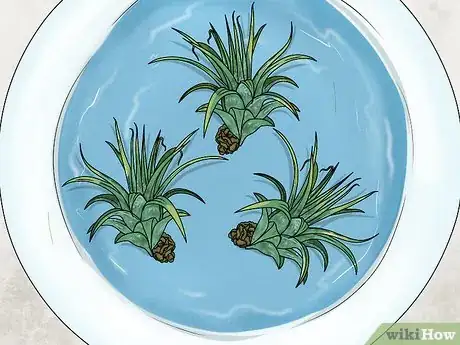
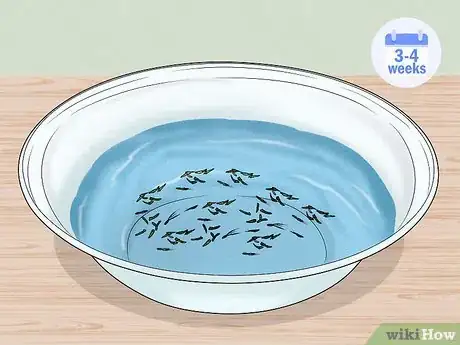
2Soak your seeds in a bowl of water for 3-4 weeks. Fill a bowl or other container with tap water and place them somewhere you won’t forget about them. Keep an eye on the seeds over the next few weeks and wait for them to swell and grow in size. When the seeds are beginning to germinate, they’ll look slightly green and be about the size of a rice grain.[8]
- You don’t need to cover the seeds—just place them in an area where you can monitor them.
- The seeds don’t need to be kept under any kind of direct sunlight while they soak, so you can leave them wherever you’d like.
- You can purchase these seeds at a garden center or nursery.
-
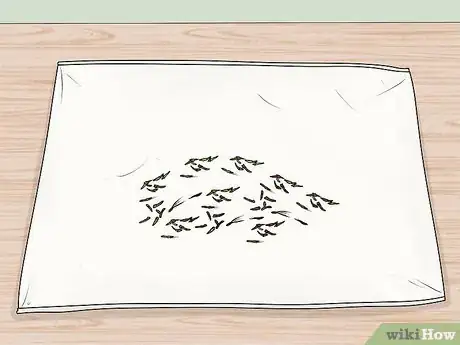
3Place your seeds on a piece of cheesecloth in indirect sunlight. Scoop the seeds out of the container and spread them along a piece of cheesecloth. Arrange this cloth in an area that gets a lot of indirect sunlight, like a porch or patio.[9]
- You can also use a soft sheet of Velcro for this.
- If you keep your air plants inside, leave them near an eastern- or western-facing window.[10]
-
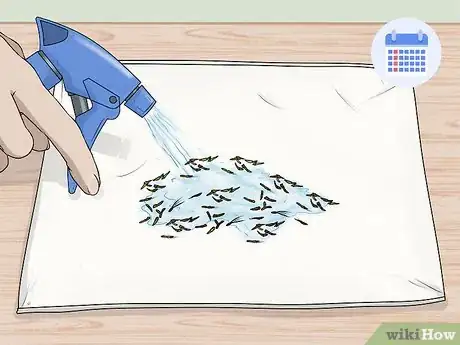
4Spritz the seeds with water on a weekly basis. Fill a spray bottle with tap water and lightly mist your growing air plants 1 time each week. You can also submerge and soak the seedlings for 20 or so minutes, then drape the plants upside-down to get rid of any extra water.[11]
- If your air plants aren’t getting enough water, they’ll start withering and curling in on themselves.
- Always water your air plants in a place where they can drain easily.
-
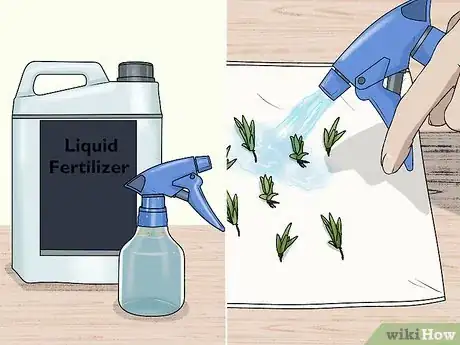
5Nourish the growing seedlings with a basic liquid fertilizer. Search a gardening center or nursery for liquid fertilizer that’s designed for air plants. Follow the instructions on the fertilizer bottle by using ¼ of the recommended amount of product. Pour the small amount of fertilizer into the spray bottle or bowl that you normally use to water your plants. Fertilize the plants once per month, if you desire.[12]
- You don’t have to use a fertilizer, but it could provide extra nutrients to your plants.
-
6Transfer your plants to a new surface once they bloom. Wait for your plants to be several inches or centimeters long, or large enough to soak up water on their own.[13] Find a place in or around your home where you’d like to arrange your plants. For a natural look, you can attach your air plants to rocks, seashells, or other natural surfaces. If you’d like a more creative option, use a decorative plant stand or piece of line to show off your plants.[14]
- Don’t display your air plant in an area with water, as this will cause long-term damage.
- Air plants grow very slowly, and it may take more than 9 months for the plants to reach their full size.[15]
Caring for Air Plants
-
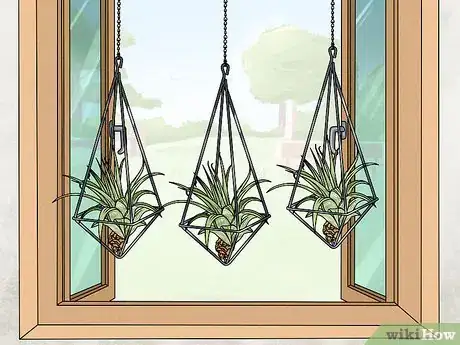
1Place your air plants in any area with indirect light. Search for a place in your home with southern-facing windows. Leave your plants in an environment that’s somewhere between 50 and 80 °F (10 and 27 °C) so they won’t wither or freeze.[16]
- If you place your air plants outside, make sure that they’re not in direct sunlight.
- As long as your air plants are kept in an area with indirect sunlight and a consistent temperature, you can place them wherever you want.
-
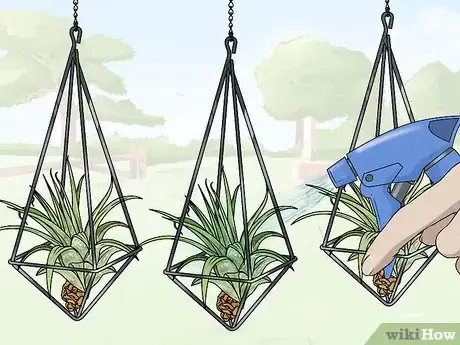
2Mist or submerge your air plants on a weekly or regular basis. Fill a spray bottle with cool tap water and spritz the surface of your plants 2-3 times each week. If you don’t want to tend to the plant as frequently, soak it in a glass or bowl of water for 30 minutes. You only need to soak your plants once every week or so.[17]
-
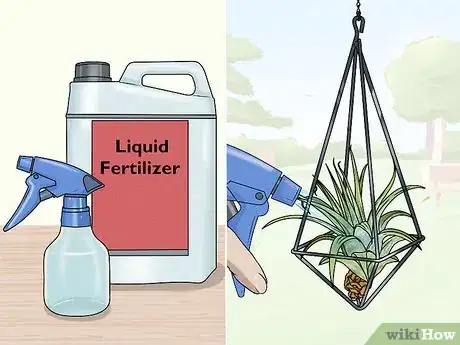
3Add a small amount of liquid fertilizer to your plants on a monthly basis. Read the instructions on a package of basic liquid fertilizer and pour out ¼ of the recommended amount. Mix the product into a bowl or spray bottle filled with water, then spritz or soak the plants as you normally would. Only use fertilizer once a month, as it isn’t essential to your air plants’ health.[18]
Expert Q&A
-
QuestionWhat do you need to do to propagate plants in general?
 Jon RowlandJon Rowland is a Plant Specialist and the Founder of the Green House Center blog. With over eight years of plant and garden experience, he specializes in greenhouse care, lawn and garden maintenance, and home appliance recommendations. Jon aims to share his knowledge so that others can live a more convenient, efficient, and environmentally friendly lifestyle.
Plant Specialist First, you need all the essential equipment. If you are not someone who takes this as a full-time job, you will only need a pair of clippers, a sharp knife, and a pair of gloves. Those are the fundamental tools. However, it depends on the propagation method you’re about to use. There are five common ways to do propagation: leaf cuttings, stem cuttings, rhizome propagation, tuber propagation and water propagation.
Warnings
- Air plants only bloom once before withering away, so be sure to have plenty of seeds on hand.[19]⧼thumbs_response⧽
Things You’ll Need
Using an Offset or Pup
- Water
Germinating the Seeds
- Bowl or container
- Air plant seeds
- Cheesecloth
- Water
- Spray bottle
- Liquid fertilizer
Caring for Air Plants
- Water
- Spray bottle
- Bowl
- Liquid fertilizer
References
- ↑ https://extension.psu.edu/tillandsia-air-plants
- ↑ https://www.bromeliads.info/forcing-bromeliads-to-bloom/
- ↑ https://m.youtube.com/watch?v=hWHkMEJZVi8&t=0m29s
- ↑ https://m.youtube.com/watch?v=hWHkMEJZVi8&t=1m42s
- ↑ https://gardeningsolutions.ifas.ufl.edu/plants/houseplants/air-plants.html
- ↑ https://gardeningsolutions.ifas.ufl.edu/plants/houseplants/air-plants.html
- ↑ https://m.youtube.com/watch?v=UIalFJhVuZI&t=0m16s
- ↑ https://m.youtube.com/watch?v=UIalFJhVuZI&t=0m34s
- ↑ https://m.youtube.com/watch?v=UIalFJhVuZI&t=1m17s
- ↑ https://extension.psu.edu/tillandsia-air-plants
- ↑ https://hgic.clemson.edu/factsheet/air-plants/
- ↑ https://hgic.clemson.edu/factsheet/air-plants/
- ↑ https://m.youtube.com/watch?v=UIalFJhVuZI&t=2m4s
- ↑ https://gardeningsolutions.ifas.ufl.edu/plants/houseplants/air-plants.html
- ↑ https://m.youtube.com/watch?v=UIalFJhVuZI&t=1m59s
- ↑ https://www.gardeningchannel.com/how-to-grow-air-plants/
- ↑ https://www.gardeningchannel.com/how-to-grow-air-plants/
- ↑ https://hgic.clemson.edu/factsheet/air-plants/
- ↑ https://extension.psu.edu/tillandsia-air-plants

