This article was medically reviewed by Shayne Guffey, DMD. Dr. Shayne Guffey, DMD is a Dentist and the owner of Mountain View Family Dental in Mesa, Arizona. With over 20 years of experience, Dr. Guffey specializes in family dentistry and cosmetic dentistry. He earned his Doctor of Dental Medicine (DDM) from Oregon Health & Science University. Additionally, he’s a professional member of the Academy of General Dentistry and the Dental Organization for Conscious Sedation.
There are 11 references cited in this article, which can be found at the bottom of the page.
This article has been viewed 114,438 times.
Life happens. Despite your best intentions, you might have missed out on wearing your invisalign alignment trays for a while. You should always check with your dentist or invisalign provider if you have gotten off of your treatment plan, but in the meantime there are some things you can do to help ease your invisalign back in to your mouth.
Steps
Inserting Invisalign
-
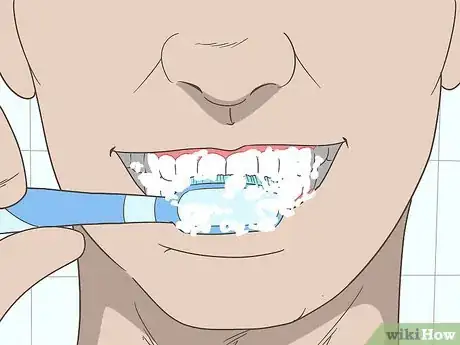
1Thoroughly clean your teeth. Invisalign fits snugly to the shape of your teeth; ideally there should be no gap between your teeth and invisalign. Cleaning your teeth prior to inserting invisalign ensures that no food particle is caught in your mouth that could change the contour of the invisalign fit. It also guarantees that no bacteria is caught underneath the invisalign tray, which could erode your teeth and cause increased dental bills during your treatment.[1]
-
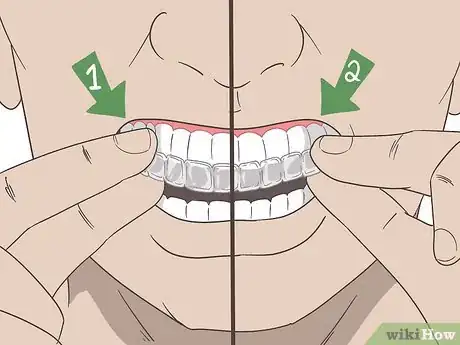
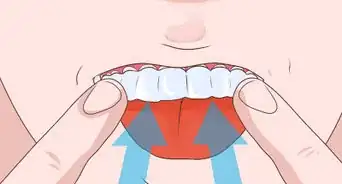
2Use the side to side method of insertion. If you have not worked your aligner tray in a while, your teeth might have shifted back. It might be difficult to insert the entire tray into your mouth, so try this method of inserting one side at a time.
- Find the easiest point of insertion. Depending on which teeth have the most alignment problems (e.g., crowding, rotation, etc.), the tray might be easier to insert on one side of your mouth versus the other. If you know the side of your mouth (either the right side, left side, or center of the arch) that requires the most adjustment, insert the tray on the opposite side: the tray will fit the best on the side that requires the least amount of adjustment. If you are unsure, try trial and error: try inserting the tray on either side, and go with the side that causes the least amount of discomfort.[2] The tray is quite flexible and it is not that easy to break it, so don't get scared to press the tray a little bit on your teeth.
- Insert invisalign on the other side of your mouth. Once you have inserted the tray on the side of your mouth that has the least amount of discomfort, slide the tray on to the other side.
Advertisement -
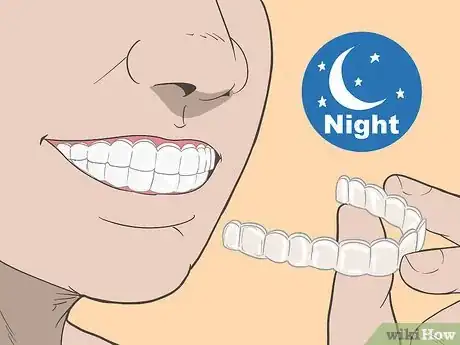
3Change your aligner trays at night before bed. This allows an uninterrupted period for your aligners to settle in, which makes it easier to get them in and out during the day.[3] .
-
4Use a mirror. Put the aligner tray in in front of a mirror, which will allow you to visualize the prior insertion. This is especially important if you are trying to fit the tray over malpositioned teeth that may stick out in the arch.[4]
-
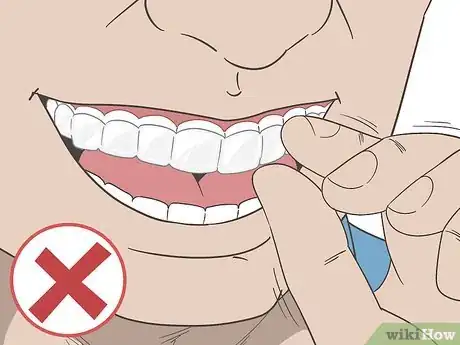
5Don't force it. If you have difficulty inserting the aligner tray or are experiencing a lot of pain, stop trying and call your dentist: you could do damage to your teeth or to the aligner tray, or both.[5] Invisalign should be a relatively seamless fit; a lot of difficulty or pain is a sign that something is the matter. Most likely the doctor will need to adjust the fit, or you might need to go down to another tray size, which is usually kept by your dentist.[6]
-
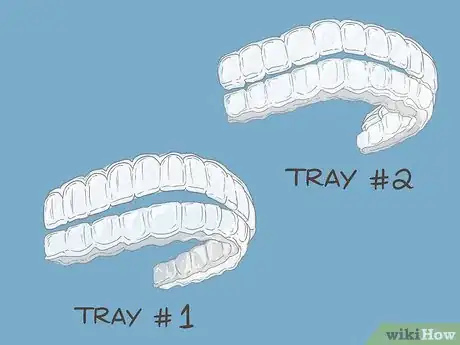
6Try another tray size. If you have not worn invisalign for a while, your teeth might have shifted back to a previous stage in treatment, or even back to the beginning before treatment began. If you have trouble inserting a specific aligner tray, try a previous tray (for example, #7 instead of #8). Continue to wear this smaller size and see your dentist as soon as possible.[7]
- If it has been a long time since you have worn your aligner tray, it might be necessary to do a “refinement” – which requires getting new impressions and getting a new series of aligners, but this can be expensive.[8]
Checking the Fit of Invisalign
-
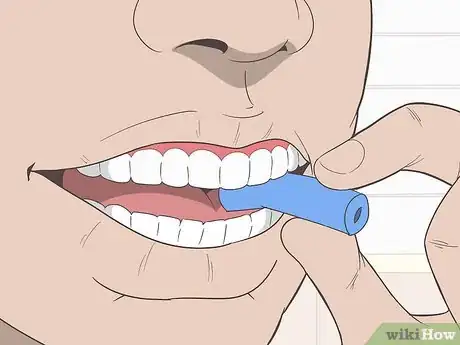
1Use“chewies”. If your aligner is not fitting well or there are air gaps between your teeth and the tray, try biting down on chewies. Chewies are small cylindrical cushions made of a plastic-like material; when used regularly they help your aligner conform to the shape of your mouth and get rid of any gaps that might exist. Bite down on chewies a few times a day for 5-10 minutes at a time. You can obtain chewies through your orthodontist or you can order them online.[9]
- You can also try doing this with cotton balls, but make sure the tray is properly fit on the correct position
-
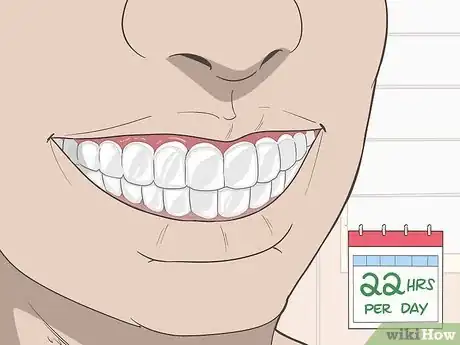
2Give it time. Each aligner starts out “ill-fitting” on purpose. It is designed to fit the shape of your teeth after you have finished wearing it correctly for two weeks, so when you first put it in it might feel a little snug or a little tight.[10]
- If worn correctly (up to 23 hours a day) the tray should sink down and settle in. By the end of the two weeks of wearing them correctly, your tray should conform perfectly to the shape of your mouth. If not, continue to wear the existing tray a few more days until you are able to see your dentist, he/she might have to do a mid-course correction.[11] [12]
-
3Consult your dentist. Your dentist is the best expert on the fit of your invisalign alignment trays; he/she should be your first contact in getting back on your course of treatment if you have not worn invisalign for a while. Be honest; in most cases your dentist will be able to tell if you have not worn your aligner trays as much as you claim (Invisalign Teen has a built in “lie-detector” – each aligner contains a blue indicator dot that fades over time when used as directed).
Expert Q&A
Did you know you can get expert answers for this article?
Unlock expert answers by supporting wikiHow
-
QuestionWhat if it's hard to take the trays out?
 Cristian Macau, DDSDr. Macau is an oral surgeon, periodontist, and aesthetician at Favero Dental Clinic in London. He received his DDS from Carol Davila University of Medicine in 2015.
Doctor of Dental Surgery It is unlikely for this to be happening but if it happens then you should start from the back. Using your index fingers try to detach the tray from the back and easily pull down or up (depending on the arch ) from the lateral sides. Being flexible enough the tray will allow you to take it out. If it hurts really bad then you should visit the orthodontist.
References
- ↑ http://www.orthobeaumont.com/en/use-care-instructions-for-invisalign-aligners/
- ↑ https://vancity.dental/how-to-insert-and-remove-your-invisalign/
- ↑ https://yourazbraces.com/invisalign-instructions/
- ↑ https://www.sabydental.ca/what-happens-if-you-dont-wear-your-invisalign-for-a-week/
- ↑ https://diamondbraces.com/invisalign/smartforce-invisalign-attachments/
- ↑ https://www.realself.com/question/invisalign-question2
- ↑ https://www.realself.com/question/number-my-invisalign-brace-fit-number-normal
- ↑ https://www.realself.com/question/invisalign-question2
- ↑ http://www.bethesdadentalspecialties.com/invisalign/6-tips-to-optimize-your-invisalign-treatment/
About This Article
If you need to put Invisalign back in and you haven’t worn them for a long time, begin by finding the side of your mouth that requires the least amount adjustment, because it should be more comfortable to get the tray inserted there. Put that side of the tray in place and then slide in the other side without forcing it. Also, change your aligner trays before bed to give them longer to settle in. If you’re having too much trouble, stop trying and call your dentist. For more tips from our Dental co-author, like how to get your aligner to better fit your teeth, read on!













Medical Disclaimer
The content of this article is not intended to be a substitute for professional medical advice, examination, diagnosis, or treatment. You should always contact your doctor or other qualified healthcare professional before starting, changing, or stopping any kind of health treatment.
Read More...