This article was co-authored by wikiHow staff writer, Darlene Antonelli, MA. Darlene Antonelli is a Technology Writer and Editor for wikiHow. Darlene has experience teaching college courses, writing technology-related articles, and working hands-on in the technology field. She earned an MA in Writing from Rowan University in 2012 and wrote her thesis on online communities and the personalities curated in such communities.
This article has been viewed 48,750 times.
Learn more...
Are you ready to start receiving money using Apple Pay but unfamiliar with how the process works? We can help you out with that! In this article, we'll tell you everything you need to know about using Apple Pay to accept money for personal or business purposes. Keep reading to learn how to receive your funds without missing a beat.
Steps
Accepting a Personal Payment
-
1Open Wallet. This app icon is multicolored wallet slots. You'll find this app on your home screen.
- In order to set up and use Apple Pay, you must be at least 18, living in the United States, have an iPhone or iPad running 11.2 or later or an Apple Watch running watchOS 4.2 or later, have two-factor authentication set up with your Apple ID, and a bank debit card added to Apple Pay.
-
2Navigate to and tap on your card. When you've found your card and tapped on it, you'll see a list of recent transactions below the card's face.Advertisement
-
3Tap the payment transaction you are trying to accept. You'll see canceled, declined, and accepted transactions in this list as well.
-
4Tap Accept. That money is now in your Apple Cash and you can use it at a vendor that accepts Apple Pay or you can transfer that money to your bank account.[1]


Accepting a Business Payment
-
1Have an NFC-enabled terminal. You can buy one directly from Square at https://squareup.com/us/en/hardware/contactless-chip-reader.
- If you're accepting payments as a business, you have to have a contactless payment-capable point-of-sale terminal, a merchant account provider or Independent Sales Organizations (ISO), a payment processor, a merchant ID (MID) or merchant account number, and a way to contact your merchant account provider.[2]
-
2Set up your reader. Make sure customers can see it, and that they can comfortably reach it.
-
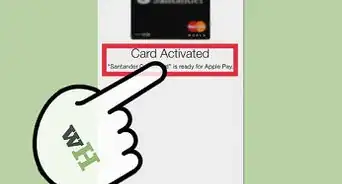
3Have customers hold their iPhone, iPad, or Apple Watch near the reader. You'll see four green lights flash and hear a chime when the payment is accepted.[3]
- You have accepted the Apple Pay transaction and your customer will have a copy of the receipt in their Wallet.


References
About This Article

1. Open Wallet.
2. Navigate to and tap on your card.
3. Tap on the transaction you want to accept.
4. Tap Accept.