This article was co-authored by wikiHow staff writer, Darlene Antonelli, MA. Darlene Antonelli is a Technology Writer and Editor for wikiHow. Darlene has experience teaching college courses, writing technology-related articles, and working hands-on in the technology field. She earned an MA in Writing from Rowan University in 2012 and wrote her thesis on online communities and the personalities curated in such communities.
This article has been viewed 22,312 times.
Learn more...
This wikiHow teaches you how to reduce noise in FL Studio using the plug-in Edison. The plug-in best works to remove continuous sounds, like a fan or electrical hissing, but not transient sounds, like a door slamming.
Steps
-
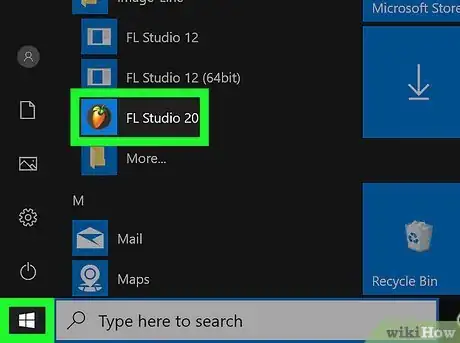
1Open FL Studio. You'll find this program or app in your Start Menu or Applications folder.
- If you don't have FL Studio, you can download a trial at https://www.image-line.com/downloads/flstudiodownload.html. This software works on both Windows and Mac computers.
-
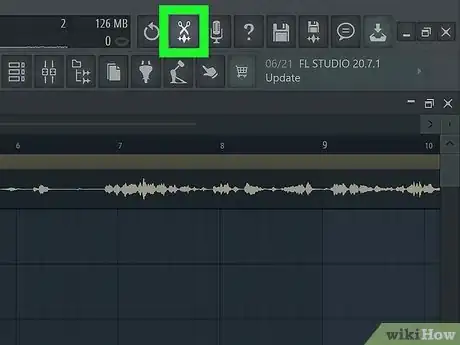
2Click the Edit icon that looks like a pair of scissors. You'll find this icon in the top right corner of your screen next to icons of a microphone and a rectangular piece of paper.
- Edison (Master) will open in a new window over your project window.
Advertisement -
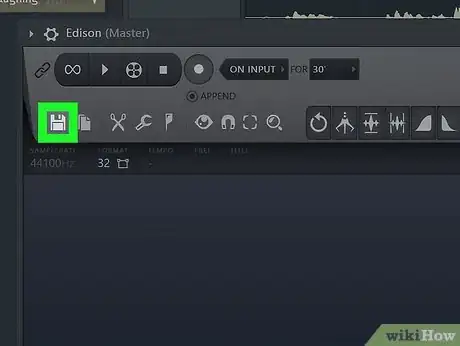
3Click the New icon that looks like a floppy disk. This is the first icon in the horizontal menu.
- A menu will drop-down.
-
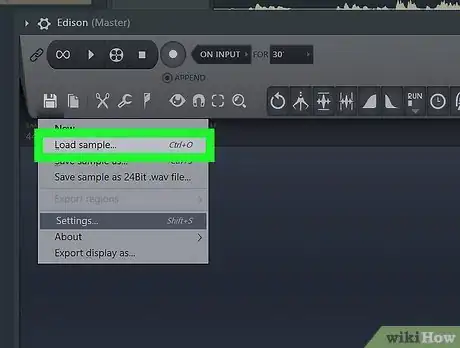
4Click Load Sample or click a suggestion from "Recent Projects." If you opted to load a sample, your file explorer will pop up and you can navigate to a sample. Otherwise, your selected project will load in Edison, the noise reducing tool.[1]
-
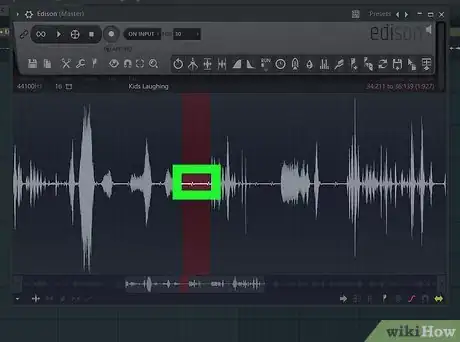
5Select the noise. Edison works best to remove continuous noise, like a fan or a hiss in the background.
- You can either select the noise from the wavelength screen or you can switch to spectral view to see the horizontal lines that usually indicate a continuous noise and click to select just the noise.
-
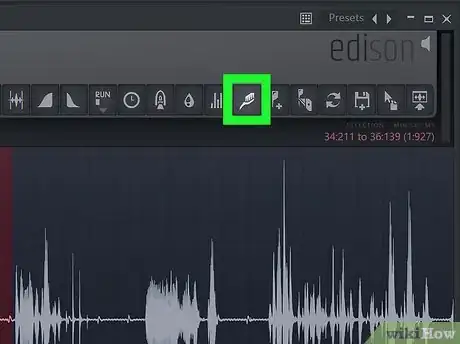
6Right-click the noise-reduction tool. This icon looks like a brush that you'll find in the horizontal menu running along the top of the editing space.
- You should see "Noise profile acquired" scroll up.
-
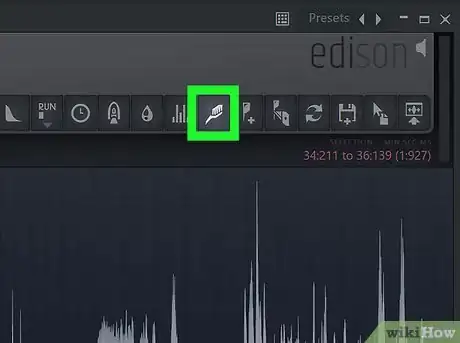
7Click the noise-reduction tool. This will open the clean up (denoise) window.
-
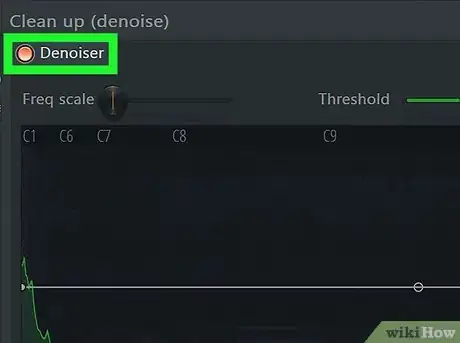
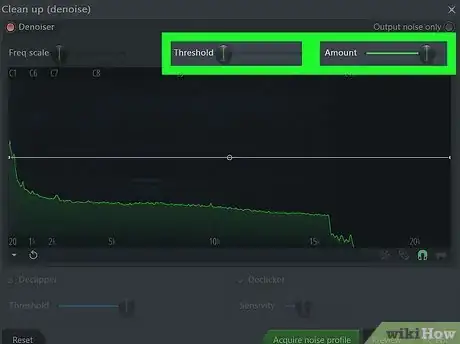
8Make sure "De-Noiser" is selected and "De-Clipper" and "De-Clicker" are off. This will ensure that all levels of the sound you previously selected will be removed from the audio sample.
-
9Set "Threshold" to 0db and "Amount" to 22. You can move your mouse to increase or decrease those amounts.
-
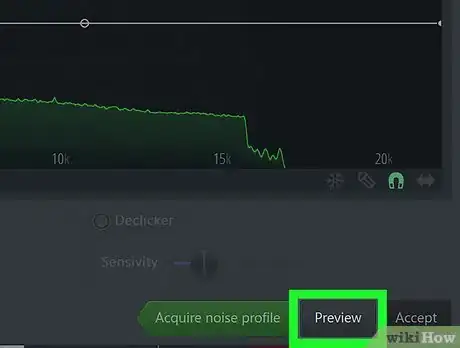
10Click Preview. You'll find this at the bottom of the window. If you don't like the sound, go back and change the threshold and amount settings.
- You can select "Output Noise Only" to hear the noise that will be removed.[2]
-
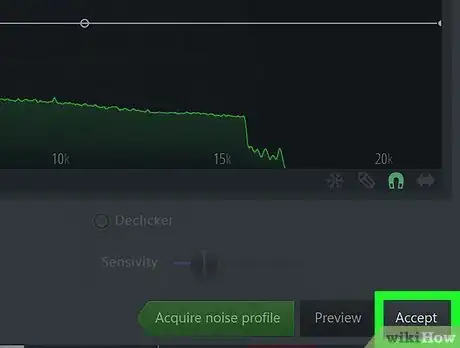
11Click Accept. You'll find this at the bottom of the window and will be redirected to the spectral view of your sound.[3]
- Save the file once you are done by going to File > Save.
References
About This Article
1. Open FL Studio.
2. Click the Edit icon that looks like a pair of scissors.
3. Click the New icon that looks like a floppy disk.
4. Click Load Sample or click a suggestion from "Recent Projects".
5. Select the noise.
6. Right-click the noise-reduction tool.
7. Click the noise-reduction tool.
8. Make sure "Denoiser" is selected and "Declipper" and "Declicker" are off.
9. Set "Threshold" to 0db and "Amount" to 22.
10. Click Preview.
11. Click Accept.
