wikiHow is a “wiki,” similar to Wikipedia, which means that many of our articles are co-written by multiple authors. To create this article, 40 people, some anonymous, worked to edit and improve it over time.
The wikiHow Video Team also followed the article's instructions and verified that they work.
This article has been viewed 191,375 times.
Learn more...
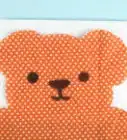
After being subjected to years of relentless hugging, squishing and being dragged through the dirt, your teddy bear will harbour grime that it has accumulated over the years, will have failing seams through which the stuffing is falling out, and won't be soft and cuddly anymore. But no teddy is ready for the trash; your teddy can likely be rehabilitated and made ready for the next generation, as this 25 year old bear was.
Steps
-
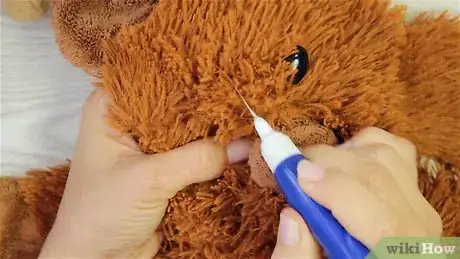
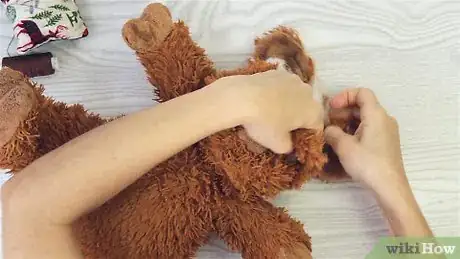
1If your bear does not already have a hole in a seam through which the stuffing can be removed, very carefully open a straight seam (such as the back seam) by cutting the seam thread with a pair of scissors, a very sharp knife, or a seam ripper. Remove all of the stuffing and discard.[1]
-
2Very gently hand-wash the now empty fur in warm water with a mild laundry detergent. Rinse well with warm water. Repeat these steps as necessary, until the wash water no longer becomes coloured with the dirt that may come out of the fur. Gently squeeze (do not wring) the fur to remove most of the water.[2]Advertisement
-
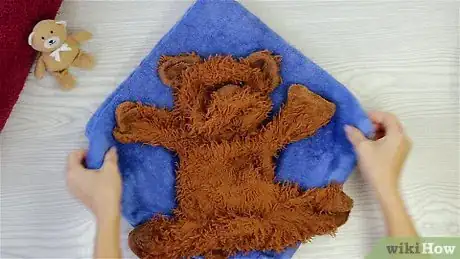
3Remove the excess water by placing an old towel on the floor, placing the bear on the towel, folding the towel over the bear, then standing on it. This will squeeze excess water from the fur without wringing it, which could damage the fabric.[3]
-
4Blow dry the bear with a blow dryer, being careful not to scorch the fur. Allow it to further air dry overnight to ensure the seams are completely dry.
-
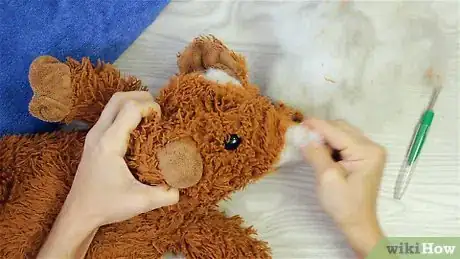
5Tease out the matted knots if the bear's fur was matted, after the bear is dry. A dental pick works well. Work the pick through the knots, being careful not to pull the fur out.
-
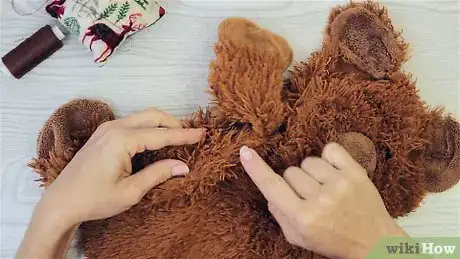
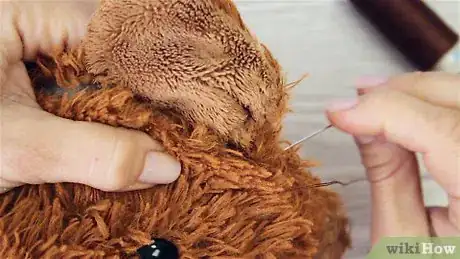
6Turn the teddy bear inside out to examine each seam for holes and to examine the thread which may be, if the teddy bear is very old, weak and rotten. Sew the holes closed and reinforce the seams as needed, using either a needle and thread or a sewing machine. If a needle and thread is used, be sure to place the stitches close together and pull each stitch tight.[4]
-
7Turn the bear right side out. Examine the seams and areas you've stitched to ensure the seams are tight and the stitches are invisible from the outside. Tight seams are crucial!
-
8Replace missing eyes if necessary. Buttons work well.
-
9Fill each of the legs and arms using a ball of polyester fiberfill approximately 6 times the size of the volume of the cavity to be filled, packing each very tightly. Using one ball for each arm and leg is better than filling them with many smaller balls of fiberfill.[5]
-
10Fill the head and body cavity, using one large clump of fiberfill for each. Pack tightly, ensuring there is enough fiberfill to make the arm, leg and neck joints firm.
-
11Sew the seam closed that you've packed the fiberfill through.
-
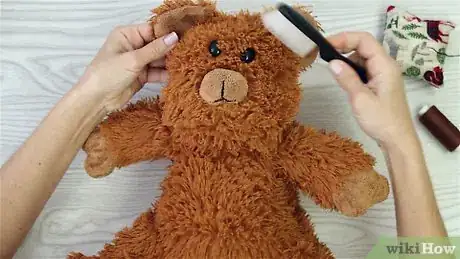
12Comb the fur to make it fluffy.
-
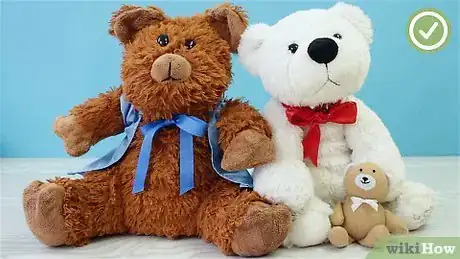
13Dress your teddy in nice, clean clothes, if you and (s)he agree on it.
-
14Take care of your newly refurbished teddy. It'll be good for decades to come.
Community Q&A
-
QuestionI have a new teddy bear that has filling that sounds like it might be hay or something coarse. How do I go about replacing the filling?
 Community AnswerYou may be able to use the filling from pillows. Alternatively, craft stores sell stuffing in large bags that would be suitable.
 -
QuestionHow could I do that to my teddy? He has feelings.
 Community AnswerTell him he is going to hospital and has to have an operation and make it fun. After all, he will love his new look at the end and so will you.
 -
QuestionCan I use this method if my teddy bear has a zipper?
 Community AnswerYes; because of the zipper, it will be easy to replace stuffing. Just unzip it and take out the old stuffing, replace with new stuffing and zip it back up.
Warnings
- Do not wring the water out of the fur! Doing so will damage the fur.⧼thumbs_response⧽
- Use caution when refurbishing a collectible teddy bear -- it could lose its value.⧼thumbs_response⧽
- Don't overstuff your bear. This will cause your teddy bear to be hard, not fluffy.⧼thumbs_response⧽
- Do not immerse a bear with hardboard and metal joints. The joints will rot and/or rust. Surface wash it only!⧼thumbs_response⧽
- Use a thimble if sewing with a needle and thread.⧼thumbs_response⧽
Things You'll Need
- Heavy duty thread, in a colour similar to the colour of the teddy bear
- A fine pick, such as the dental instrument illustrated
- Needle or sewing machine
- Scissors
- Thimble (if sewing with a needle and thread)
-
A bag of natural cotton or polyester fiberfill (approximately six times the size of the bear)
- An alternative to fiberfill stuffing is worn out panty hose. If you choose to use this you won't need to take the stuffing out of the bear next time you wash it. You will be able to machine wash and dry it using gentle cycles.
References
- ↑ https://www.ifixit.com/Guide/How+to+Repair+a+Stuffed+Teddy+Bear/50205
- ↑ https://www.youtube.com/watch?v=52FKHWO4Evk
- ↑ https://offspring.lifehacker.com/how-to-wash-your-kids-precious-stuffed-animals-1803133014
- ↑ https://www.ifixit.com/Guide/How+to+Repair+a+Torn+Stuffed+Animal/50456
- ↑ https://whileshenaps.com/2012/11/how-to-repair-a-stuffed-animal-restuffing.html
