This article was co-authored by Gerber Ortiz-Vega. Gerber Ortiz-Vega is a Masonry Specialist and the Founder of GO Masonry LLC, a masonry company based in Northern Virginia. Gerber specializes in providing brick and stone laying services, concrete installations, and masonry repairs. Gerber has over four years of experience running GO Masonry and over ten years of general masonry work experience. He earned a BA in Marketing from the University of Mary Washington in 2017.
There are 7 references cited in this article, which can be found at the bottom of the page.
This article has been viewed 413,268 times.
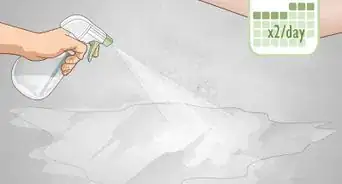
While concrete is a strong construction material, it can still crack. Temperature changes, heavy weights, and dropped objects can all damage your concrete floor by causing cracks and holes. Fortunately, patching damaged concrete is an easy task. Start by chiseling and cleaning the cracked area so the mortar bonds better. Then, mix the repair mortar and scoop it into the hole. Even it out and let it cure for 24 hours to complete the job.
Things You Should Know
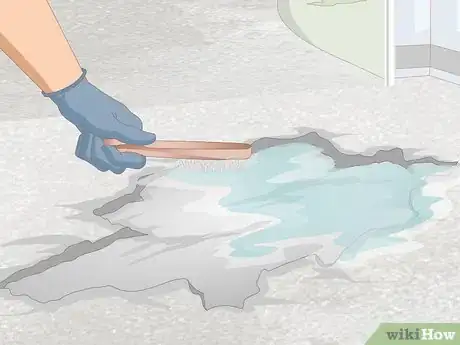
- To prepare, chisel the sides of the hole to make it square, remove loose concrete from the hole, and scrub the hole with a wire brush and water.
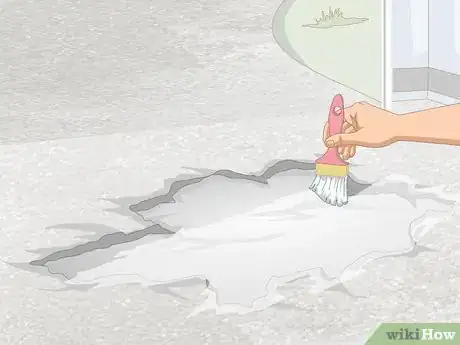
- Brush the concrete bonding agent before laying the mortar in the hole and leveling the surface with a trowel.
- If the mortar is in direct sunlight, cover it with a cardboard box while you wait 24 hours for it to dry.
Steps
Cleaning the Surface
-
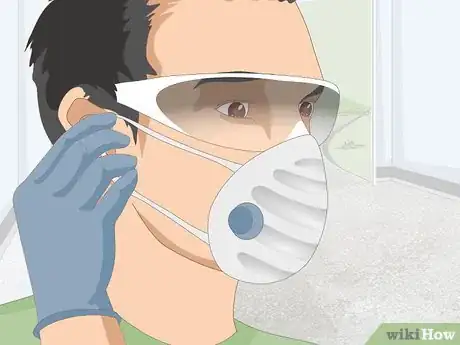
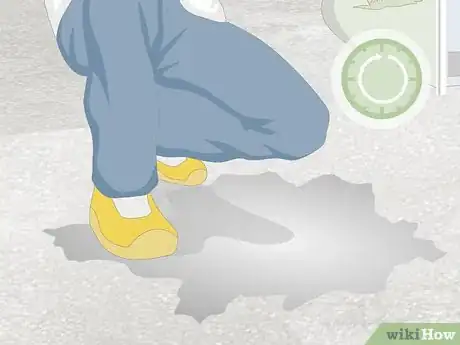
1Put on goggles, gloves, and a dust mask to protect yourself. This job sends a lot of dust and concrete debris into the air. Prevent injuries by wearing goggles and a dust mask. Protect your hands with a thick pair of work gloves.[1]
- For added comfort, wear knee pads. These will prevent pain and bruising when you kneel down on the concrete.
- If you don’t have knee pads, you can also lay a padded mat in your work area.
-
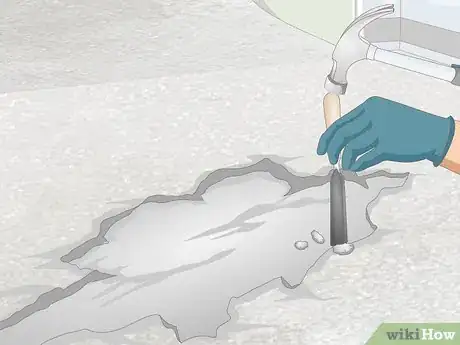
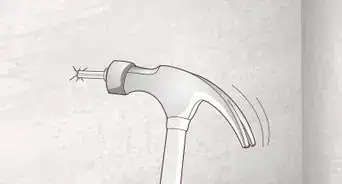
2Chisel the sides of the crack or hole to make them square. The bonding material won’t stick as well to rounded edges. Take a chisel and hammer and tap any rounded edges to straighten them out.[2]
- If you make a mistake and chisel off too much, don’t worry. You can patch those holes the same way you’re patching the main crack.
- Don’t chisel just for the sake of it. If the edges are already squared and straight, then skip this step.
Advertisement -
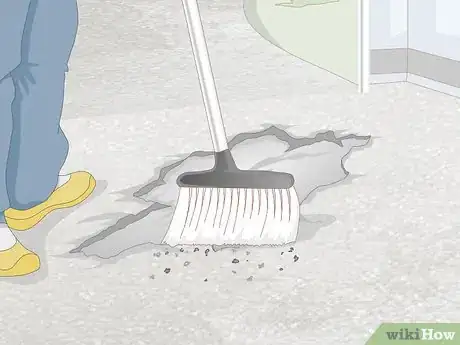
3Sweep any large concrete chunks out of the hole. Large pieces of concrete and debris will prevent the bonding agent from making a good seal. Remove all large pieces with a broom and scoop them into a pail.[3]
- Don’t worry if there is dust or smaller debris left behind. This step is only to remove large pieces that a vacuum can’t pick up.
-
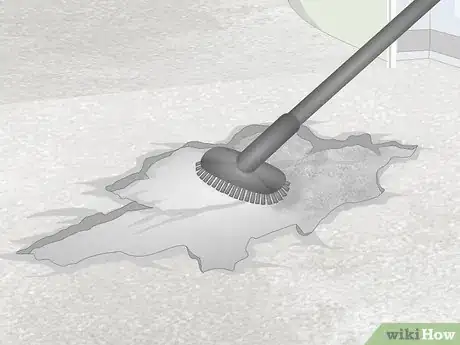
4Vacuum the area with a shop vac. Remove any dust and small debris from the crack to help the mortar bond better. Use a shop vac to clean the crack and surrounding area. Pass over the area several times and ensure you’ve picked up all the debris.[4]
- If you don’t have a shop vac, don’t use a normal vacuum cleaner. Concrete shards could damage it. Instead, use a fine brush to sweep up dust and smaller debris as well as you can.
-
5Scrub the damaged area with a wire brush and water. Dip the brush in water and scrub every part of the crack or hole. This gives the bonding material a greater surface area to adhere to. Make sure you get all the edges, sides, and the bottom of the damaged area.[5]
- Generally, you don't have to wait for the water to evaporate before applying the bonding agent. However, read the instructions on the product you use. If it tells you to apply the agent to dry concrete, then wait for the water to dry.
Laying the Mortar
-
1Brush a concrete bonding agent into the crack or hole. Bonding agent is a liquid that helps concrete stick better. Dip a paintbrush into the bottle and spread an even layer into the damaged area. Cover every part of the crack or hole. Then let the bonding agent dry for 1 hour.[6]
- Bottles of bonding agent are available at hardware stores. Ask an employee for product recommendations if there are multiple to choose from.
- The product you use may give specific directions on the amount to use and drying time. Follow the instructions provided.
-
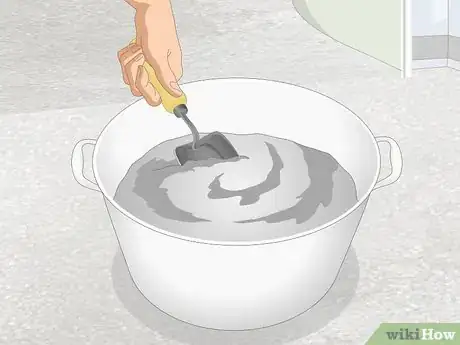
2Mix the repair mortar in a bucket. Mortar is used to patch cracks in concrete. Look for specialized mortar designed for repairing concrete at the hardware store. Pour out the dry mortar into a bucket. Then add the instructed amount of water. Mix it with a trowel, electric mixer, or your hands until it reaches a thick, peanut butter-like consistency.[7]
- If the mortar is too watery, it won’t bond well. Add more dry mortar to make it thicker if you have to.
- The amount you use depends on the size of the hole you have to fill. Most packages have directions on how much to use for different sizes.
- The recipe and mixing time may vary for different products. Always follow the instructions on the product you use.
- Always wear gloves, safety glasses, and a mask when mixing mortar.[8]
-
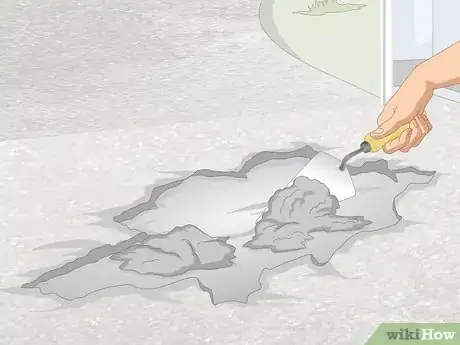
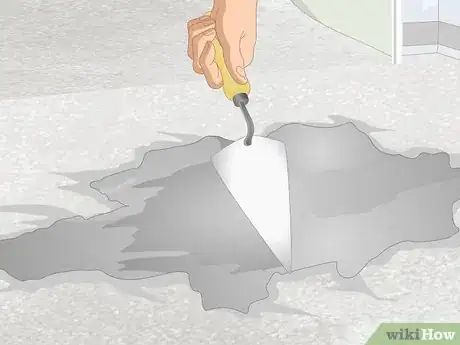
3Scoop the mortar into the crack or hole. Use a trowel or your hands and fill the space with mortar. Press it down so it fills all the small holes in the concrete. Keep adding mortar until it makes a small, rounded mound on over the concrete surface.[9]
- Be sure to press the mortar against the edges of the damaged area as well. You need a strong bond throughout the entire crack.
-
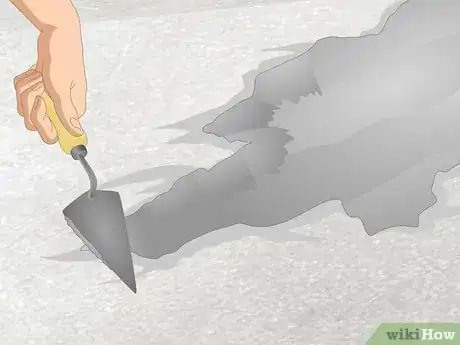
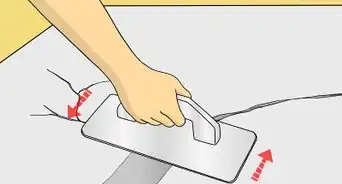
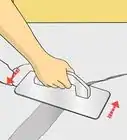
4Level the surface by scraping a trowel across the mortar lengthwise. Work in whichever direction the crack is longer. Press a long trowel down at the top and pull it towards you. Then go in the opposite direction. Scoop away any mortar that scrapes off when you do this.[10]
- Repeat this motion if the mortar is still not level.
- If the hole is round, then don't worry about working lengthwise. Just pull the trowel across the surface to even it out.
- Note that the mortar won’t be completely flush with the surface of the concrete yet. This step just levels out the top.
-
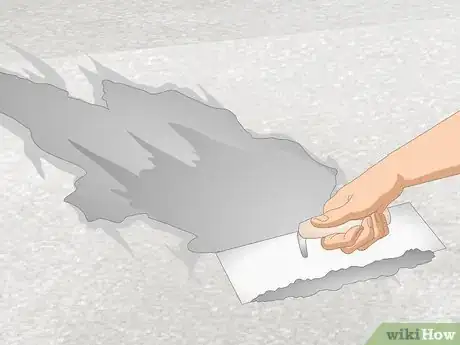
5Make the mortar flush by scraping it horizontally onto the damaged edges. Use a smaller trowel or paint scraper and scrape along the edges of the crack or hole where the concrete meets the mortar. Push the mortar so it is even with the concrete surface. Work around the whole border of the crack.[11]
- You might need to repeat this several times. Continue working around the mortar until it’s all even with the concrete.
-
6Scrape the surface once more with the long trowel to even it out. This final pass removes any excess mortar above the surface and smooths it out. Use the same back and forth motion that you used before. Make multiple passes if the mortar doesn’t flatten out after your first pass.[12]
-
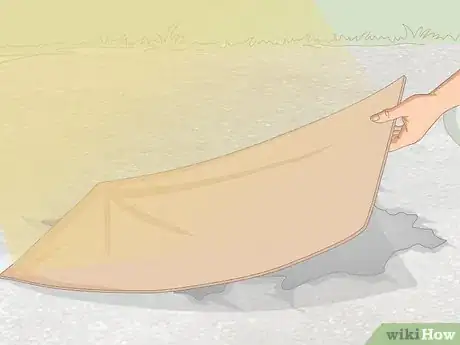
7Cover the mortar while it dries if it's in direct sunlight. High heat causes the mortar to dry too quickly, making it weaker. Protect your repair by covering it if it's in direct sunlight. Place a cardboard box or similar covering over the mortar while it dries.[13]
- Don't let anything you use to cover the mortar touch it directly. A sheet, for example, could get stuck on the mortar.
- If you've repaired an indoor floor, then this probably isn't an issue unless a window focuses the sun right on the repair. Keep the window closed until the mortar dries.
-
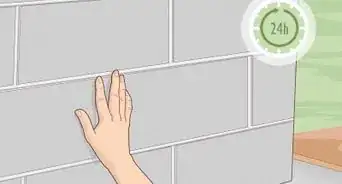
8Let the mortar dry for at least 24 hours before walking on it. Mark the area off so no one steps on the mortar by accident. Keep pets and children away as well. After 24 hours, the mortar should be dry enough to walk on normally.[14]
- Check your product instructions to see if there is a different drying time.
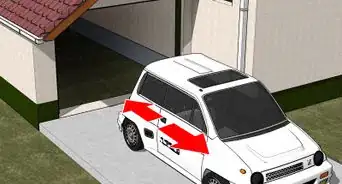
- If this floor was in your garage, wait a week before driving over it with your car.
Community Q&A
-
QuestionI've rented a flat and at the bottom of the back stairs, the bottom floor is sinking, what do I need for it?
 Community AnswerIt sounds like the house may have some structural issues; this could be dangerous for you, so you should contact your landlord about it.
 -
QuestionHow can you repair the cement if it was damaged before it finished drying?
 DonaganTop AnswererIf it's still wet, you can smooth it out with a trowel. If it's too hard for that, you can wet it down and trowel in some wet cement.
 -
QuestionI have a cement floor in my garage, which is now full of potholes. How do I lay a new floor over the existing one?
 Community AnswerTo lay a new floor, you will first need to fill out the existing potholes. Once they have dried, you can lay a new floor. This will ensure that the new floor has a smooth final finish. However, if the number/size of potholes and the level of damage is high, it is better to tear down the existing floor and then lay a new one.
Warnings
- Always wear eye protection, a dust mask, and gloves when chipping, grinding, or placing concrete.⧼thumbs_response⧽
Things You'll Need
- Goggles
- Gloves
- Dust mask
- Broom
- Shop vac
- Wire brush
- Hammer
- Chisel
- Water
- Bucket
- Mortar
- Bonding agent
- Long and short trowel
- Paintbrush
References
- ↑ https://www.cement.org/docs/default-source/fc_concrete_technology/durability/is177-concrete-slab-surface-defects-causes-prevention-repair.pdf
- ↑ https://www.thisoldhouse.com/more/how-to-patch-concrete-floor
- ↑ https://www.cement.org/docs/default-source/fc_concrete_technology/durability/is177-concrete-slab-surface-defects-causes-prevention-repair.pdf
- ↑ https://www.cement.org/docs/default-source/fc_concrete_technology/durability/is177-concrete-slab-surface-defects-causes-prevention-repair.pdf
- ↑ https://www.thisoldhouse.com/more/how-to-patch-concrete-floor
- ↑ https://www.thisoldhouse.com/more/how-to-patch-concrete-floor
- ↑ https://www.bobvila.com/articles/concrete-floor-repair/
- ↑ Gerber Ortiz-Vega. Masonry Specialist. Expert Interview. 10 March 2020.
- ↑ https://www.cement.org/docs/default-source/fc_concrete_technology/durability/is177-concrete-slab-surface-defects-causes-prevention-repair.pdf
- ↑ https://youtu.be/wpoP7KWM-ig?t=172
- ↑ https://youtu.be/wpoP7KWM-ig?t=178
- ↑ https://www.thisoldhouse.com/more/how-to-patch-concrete-floor
- ↑ https://www.cement.org/learn/materials-applications/masonry/masonry-contractors'-corner/ten-tips-for-hot-weather-masonry-construction
- ↑ https://www.thisoldhouse.com/more/how-to-patch-concrete-floor
- ↑ https://www.thisoldhouse.com/more/how-to-patch-concrete-floor
About This Article
You can repair a concrete floor by cleaning and straightening the damaged area, and then filling it with mortar. Start by taking a hammer and chisel and tapping any rounded edges around the crack or hole to make them straight, which will help the mortar stick better. Then, sweep out and remove any large chunks of concrete and vacuum the area to remove dust and small debris. Once the area is clean, mix together repair mortar and water in a bucket and use a trowel to scoop it into the crack or hole. Use the trowel to scrape over the surface and level it out, making sure the mortar is flush with the damaged edges. Allow the mortar to dry for at least 24 hours so it fully hardens. To learn how to use a concrete bonding agent to help the repair mortar stick better, keep reading!
