This article was co-authored by Duston Maynes and by wikiHow staff writer, Eric McClure. Duston Maynes is an Automotive Repair Specialist at RepairSmith. Duston specializes in leading a team that handles a variety of automotive repairs including replacing spark plugs, front and rear brake pads, fuel pumps, car batteries, alternators, timing belts, and starter motors. Duston holds an Associate’s degree in Automotive/Diesel Technology from The Universal Technical Institute of Arizona and is a Certified Diagnostic Technician and Automobile Mechanics Technician through BMW STEP. RepairSmith received The 2020 Big Innovation Award by Business Intelligence Group and The Startup of the Year by the American Business Awards. RepairSmith was also included in Built in LA’s 50 Startups to Watch and The Business Intelligence Group’s 52 Names Leading the Way in Customer Service. RepairSmith offers in-home services to provide car owners convenient and complete auto repair everywhere.
This article has been viewed 3,122 times.
If your engine misfires, your check engine light is on, and your RPM needle dances around when you accelerate, you may have some faulty fuel injectors. Every engine requires air, gas, and a spark to ignite the air and gas, which pumps the cylinders in your engine. The fuel injector is the part of your vehicle fees that gas into the chamber where it’s ignited, so if they’re clogged or damaged, your engine won’t get the juice it needs to run efficiently. In this article, we’ll break down everything you need to do to replace the fuel injectors in your vehicle.
Things You Should Know
- Start with a cold car, disconnect the battery, and remove the connectors on top of the fuel rail.
- Remove any clips or nuts holding the fuel rail in place and physically pull out the individual fuel injectors.
- Purchase new injectors designed for your specific engine and dip the tips in fuel before reinstalling the injectors and fuel rail.
- As a note, replacing fuel injectors can be a tough and dangerous DIY job. You may be better off having a professional do this one.
Steps
Removing the Old Injectors
-
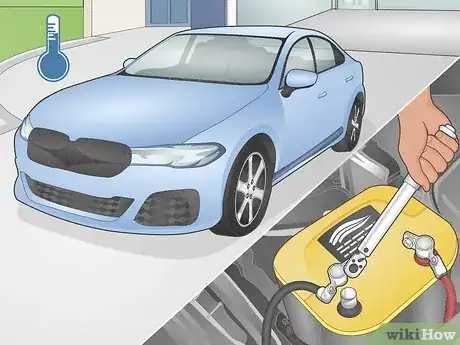
1Let your car cool down and disconnect the battery. The fuel injectors fire fuel into your engine’s cylinders, so you may start a fire if you remove them while your vehicle is running. Let the car cool off for 30-45 minutes if you were driving recently. Pop your hood and put some gloves on. Then, remove the battery terminals to disconnect the battery.[1]
- Gas will irritate your skin and you’ll be touching the parts of the engine that get covered in the stuff, so wear rubber or nitrile gloves when you do this.
- Consider having a pro do this if you can. This isn’t a super difficult DIY job, but it involves working with gasoline. You could cause a gas leak or fire if you do this incorrectly.
-
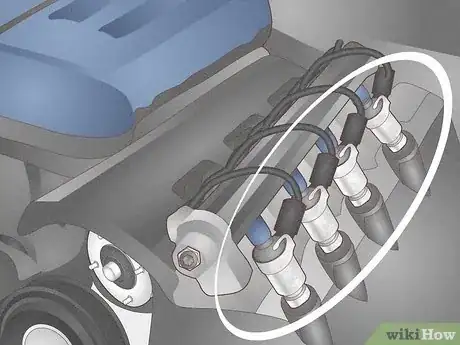
2Locate the fuel injectors on your intake manifold. Take a look right behind your engine (or above your engine, depending on how you think about it). See the 4-8 pipes leading into your engine? That’s your intake manifold. Your fuel injectors are the 4-8 connectors that run from the fuel rail into those pipes where they meet your engine.[2]
- Your cylinders fire on a combination of fuel and air, which is ignited to create the combustion. The intake pulls the air in while the fuel injectors fire the fuel.
Advertisement -
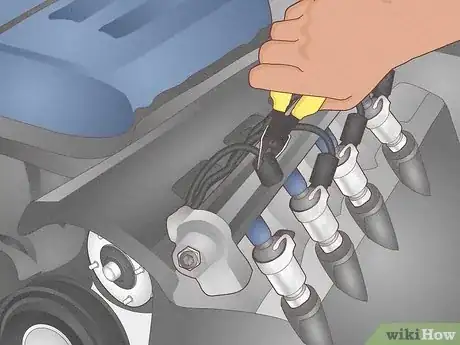
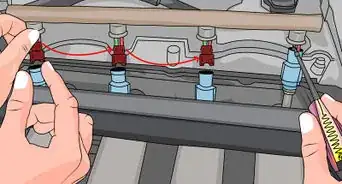
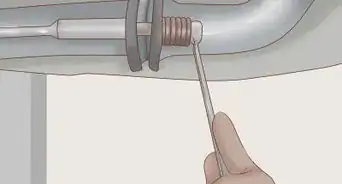
3Use pliers to remove the fuel injector connectors on the fuel rail. The connectors should all have sleeved cables running from the injectors or rail and away from the engine. This will free up the fuel rail so you can safely pull it out without damaging any of the relevant wires. Depending on the make and model of your vehicle, you may need to use a screwdriver or wrench to unlock the connectors first.[3]
- On most connectors, there are tabs on the side that you press with your pliers to unlock the connector.
- In some vehicles, you may need to relieve the pressure in the fuel line. Refer to your manual for help. You may need to hold a rag over an air valve or unscrew the fuel line with a socket wrench to release the air.
-
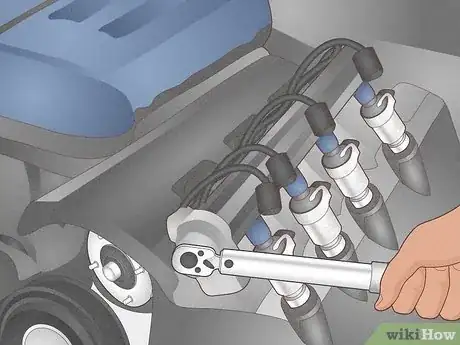
4Unlock the fuel rail using a socket wrench or screwdriver. Look at how the fuel rail is connected to the intake manifold. There may be clips, screws, or bolts. Remove them to release the fuel railing as one piece. Gently pull the railing up and away from the engine.[4]
- You may want to put a rag down under the railing before setting it down, just to soak up any gasoline droplets.
-
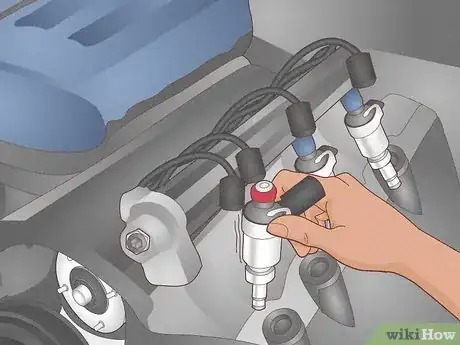
5Wiggle the injectors gently until they pop out. There may be clips you need to press on to remove each injector from the fuel rail. Gently pry each injector out by hand. Depending on how much buildup there is, you may need to use a little bit of pressure to pull them out.[5]
- Snap a quick photo with your phone so that you have a reference for the orientation and direction of each injector. You’ll install your new injectors the same way your current injectors are installed.
- It’s always a good idea to change each of your injectors as a set—even if only 1 or 2 of them need replacing. This ensures each cylinder in your engine gets an equal amount of gas.
Installing the New Injectors
-
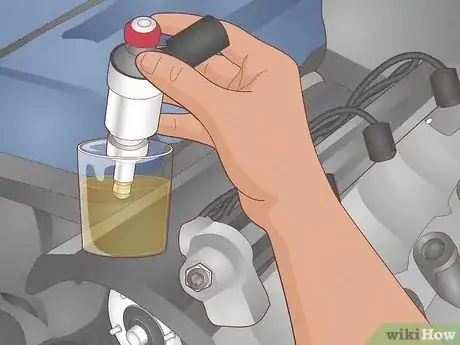
1Dip the tip of each new injector in a small cup of gasoline. Purchase fuel injectors designed specifically for your make and model’s engine. Then, dip the end of each injector into a small cup of gasoline. This will lubricate the O-rings and ensure that gas doesn’t leak once you install the new injectors. Let all of the droplets stop.[6]
- If you absolutely cannot find replacement injectors, you can clean your old injectors and replace the O-rings.
- Never re-use the O-rings from the old injectors. These are the pieces of an injector most likely to fail over time.
-
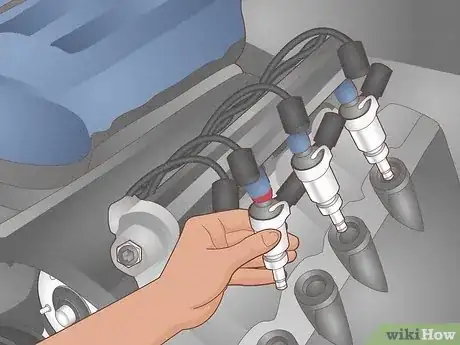
2Slide the new injectors into their slots on the fuel rail. Reinstall the injectors the same exact way they were removed. Insert the end with the clips into the fuel rail with the gas-dipped side hanging on the other end facing your engine’s intake manifold. Insert each of the injectors into the railing.[7]
-
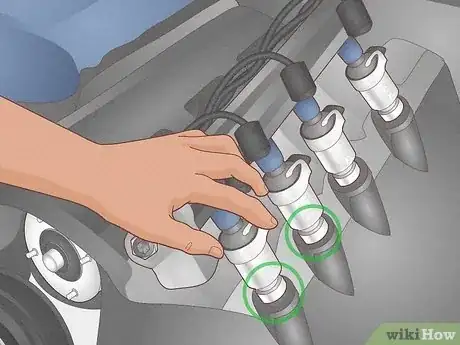
3Line the injectors into the corresponding holes on the engine. Locate each of the openings in the intake manifold where you originally removed the injectors. Raise the fuel rail up, line the injectors up with the holes, and carefully slide the fuel injectors into their corresponding slots.[8]
-
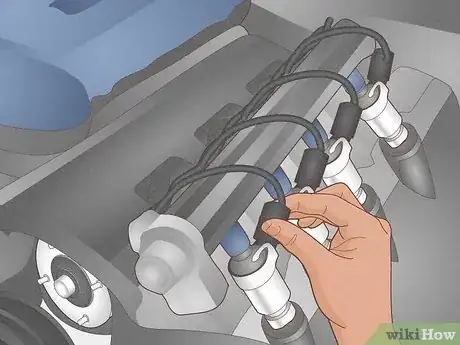
4Reinstall all of the connectors and clips that hold the fuel rail in place. Put the fuel injectors back where they belong. Screw in any corresponding retaining screws or reattach any clips you removed. Whatever you did to remove the fuel rail from the intake manifold, do that in reverse.[9]
- If there was a cover on top of the fuel rail, replace that as well.
- If you removed a fuel line to bleed the system of the air, reconnect that with your socket wrench.
Restarting Your Vehicle
-
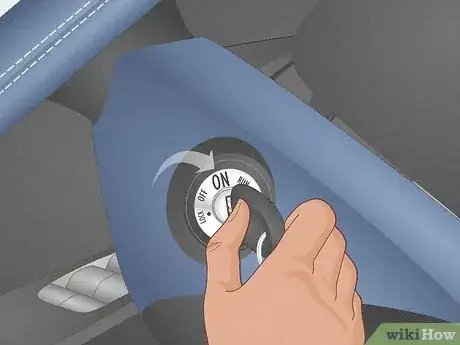
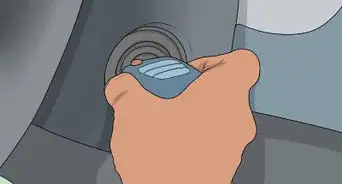
1Turn the key into the “on” position. You fuel rail doesn’t have any fuel in it right now (you relieved the pressure, remember?). Insert the key in the ignition and turn it to the “on” position—but don’t start it yet! This will prep your vehicle’s starter and fill the fuel rails with gasoline so that you don’t pump your engine full of air.[10]
-
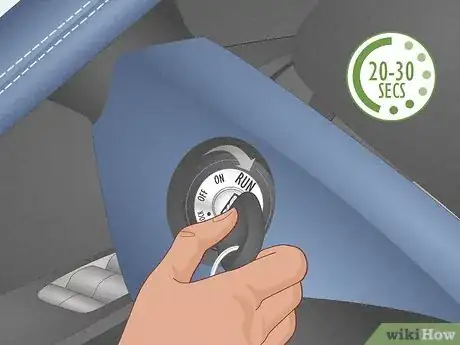
2Wait 20-30 seconds before starting the engine. If your injectors are installed correctly, your vehicle should run just like new. Let the vehicle run for a minute or so. This will give your system time to equalize and refill.[11]
-
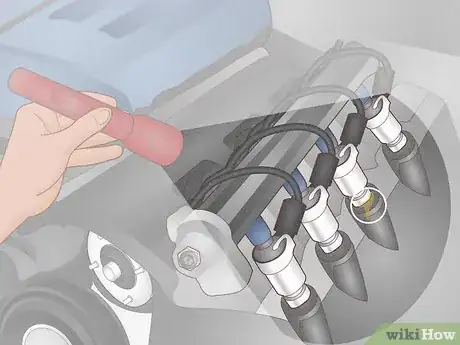
3Inspect the engine for leaks after letting your engine cycle. Shut the vehicle off. Grab a flashlight and inspect the fuel rail for leaks. If you see any leaks, confirm that your injectors are inserted into the manifold correctly. If the fuel rail is installed correctly and you don’t see any leaks, get on your knees and confirm that nothing is leaking under your vehicle.[12]
- Even if it’s bright outside, use a flashlight. It’ll be a lot easier to spot the reflection on any leaking gas.
- If you cannot fix a leak, do not continue to drive the vehicle. The gas can catch fire. Have your vehicle inspected and repaired by a mechanic before driving it again.
Warnings
- Do not drive if your fuel injectors are leaking. A gas leak can spark a fire if you drive long enough.[14]⧼thumbs_response⧽
- If you are not confident working on your vehicle, do not attempt this repair. It’s better to pay a professional to fix this one than it is to risk letting a gas leak get out of hand with a faulty repair.⧼thumbs_response⧽
References
- ↑ https://tlfperformanceparts.com/blog/how-to-remove-fuel-injectors
- ↑ https://mechanicbase.com/engine/fuel-injector-symptoms/
- ↑ https://tlfperformanceparts.com/blog/how-to-remove-fuel-injectors
- ↑ https://tlfperformanceparts.com/blog/how-to-remove-fuel-injectors
- ↑ https://www.clarks-garage.com/shop-manual/fuel-02.htm
- ↑ https://youtu.be/hEIP9ZYnnRc?t=98
- ↑ https://www.clarks-garage.com/shop-manual/fuel-02.htm
- ↑ https://www.clarks-garage.com/shop-manual/fuel-02.htm
- ↑ https://www.clarks-garage.com/shop-manual/fuel-02.htm
- ↑ https://www.clarks-garage.com/shop-manual/fuel-02.htm
- ↑ https://www.clarks-garage.com/shop-manual/fuel-02.htm
- ↑ https://www.clarks-garage.com/shop-manual/fuel-02.htm
- ↑ https://askcarmechanic.com/can-you-drive-a-car-with-a-bad-fuel-injector/
- ↑ https://askcarmechanic.com/can-you-drive-a-car-with-a-bad-fuel-injector/
